
Rainy afternoons at my house have a very specific sound: three kids bored at once, plus our rescue dog trotting in circles like it is his job to supervise the whining. My favorite save the day move is also the cheapest one: I keep a small stash of empty toilet paper rolls in a paper grocery bag, and when the weather turns, we build something.
Below are 15 toilet paper roll crafts that actually work with typical “junk drawer” supplies. Pick one, set a 30 to 60 minute timer, and let the rolls do the heavy lifting.
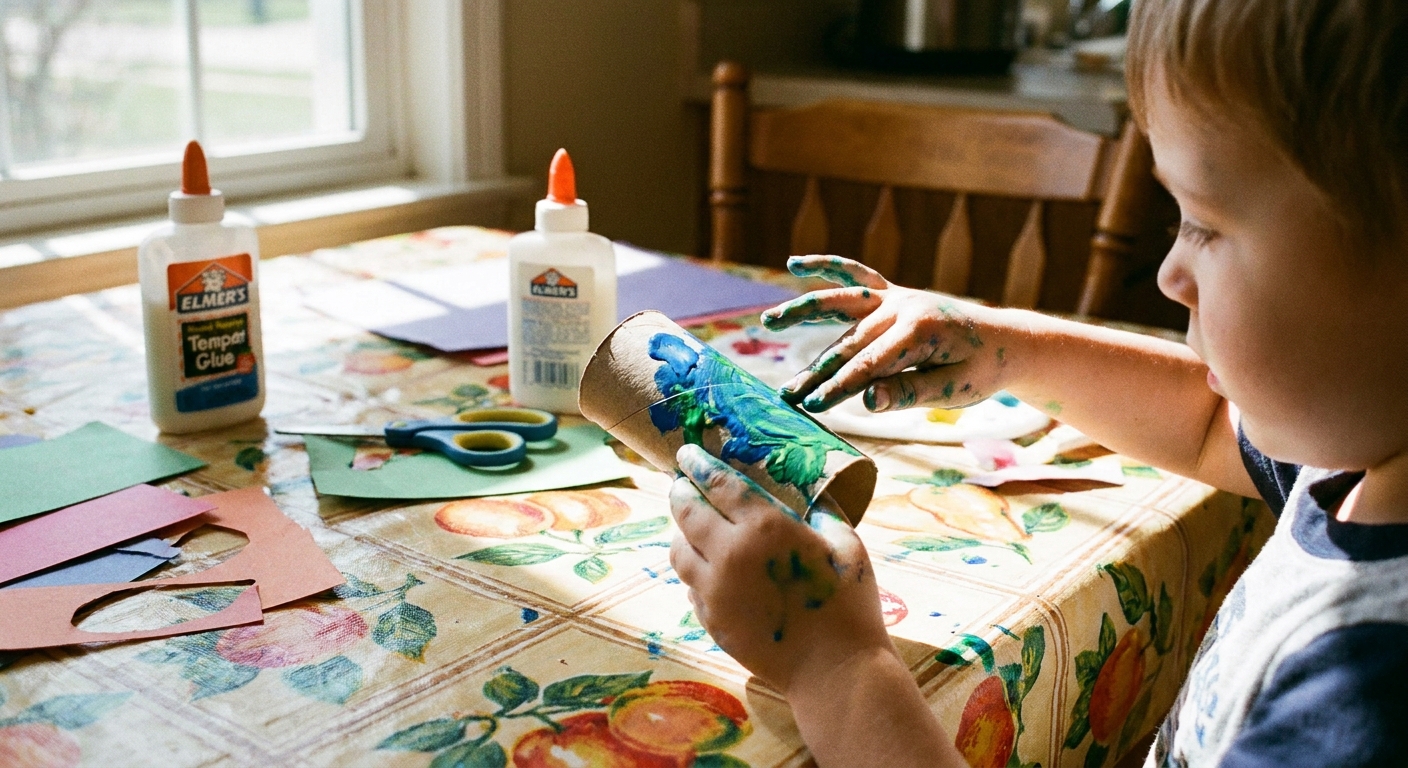
Quick setup
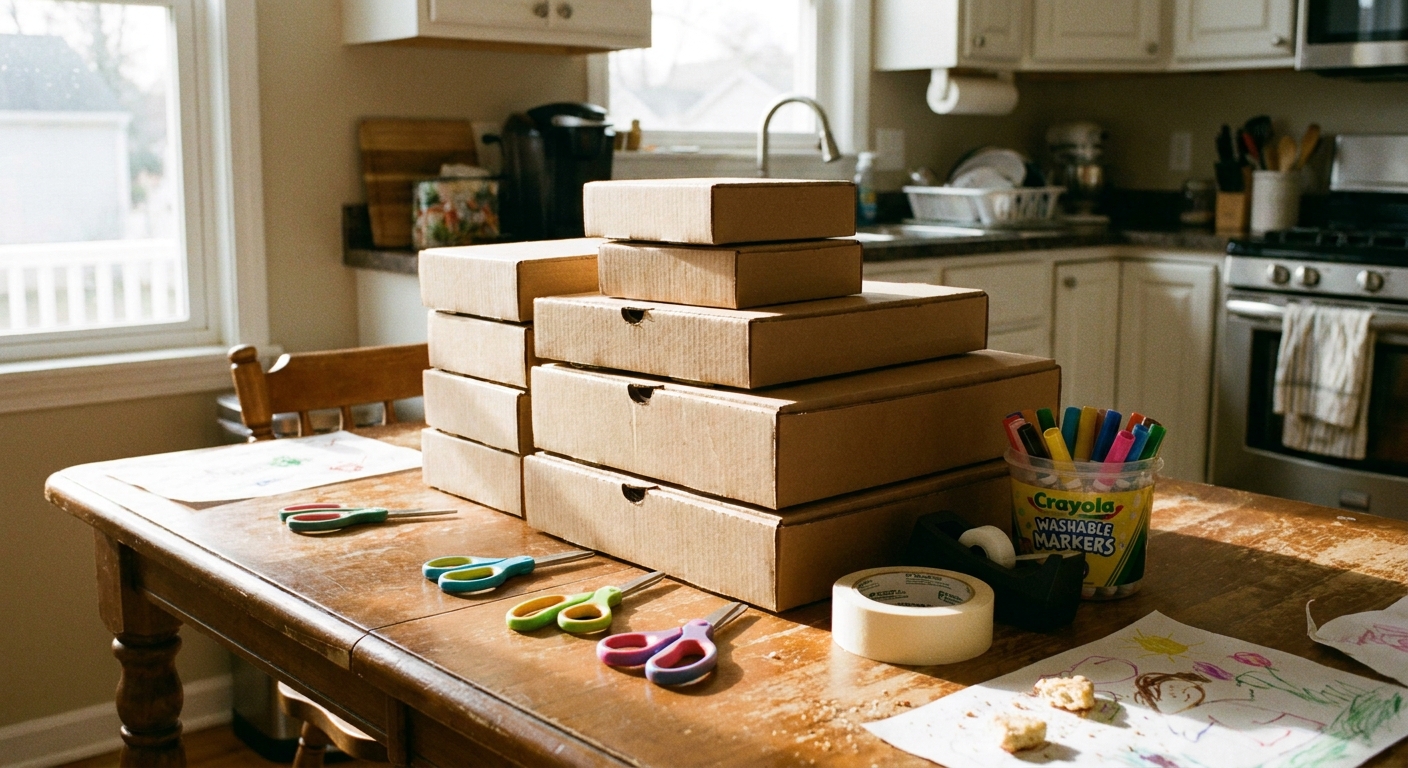
My basic supply bin
- Toilet paper rolls (paper towel rolls cut in half work too, and fit bigger wrists and legs better)
- Washable paint or markers
- Glue stick and white school glue
- Tape (masking, painter’s, or clear)
- Safety scissors
- Construction paper or scrap wrapping paper
- String or yarn
- Googly eyes (optional, but kids love them)
Two sanity savers
- Put down one “yes surface”: a baking sheet, a cheap plastic tablecloth, or a flattened cardboard box.
- Drying zone: a windowsill or counter corner with a paper bag labeled “DRYING.” (No one touches it. In theory.)
Three prep moves that help
- Flatten a few rolls: if you press a couple rolls flat ahead of time, you can quickly cut ears, wings, fins, and tails from the flattened cardboard.
- Pre-cut for little kids: if you are crafting with under-5s, you cut the tricky parts first (rings for the dragon, the spiral for the snake, window holes for the lantern). They can do the decorating and gluing.
- Dress for mess: washable paint, an old T-shirt “apron,” and a pack of wet wipes nearby buys you a calmer cleanup.
Quick safety note: If you have kids under 5, plan on close scissor help. And if you have kids under 3, skip small add-ons like googly eyes and tiny beads (they are too easy to pop off and too easy to mouth).
If you want more low-mess ideas like this, our Kids Crafts guide is where I park all the projects that do not require a trip to the craft store.
15 crafts we actually make
1) Cardboard tube binoculars
You need: 2 rolls, tape, hole punch (optional), string, markers or paint.
- Tape two rolls side by side.
- Decorate.
- Punch one hole on each outer side and tie on a string strap, or just tape the string on for younger kids.
2) Animal buddies (cat, fox, bear, or bunny)
You need: 1 roll, colored paper, glue, marker.
- Wrap the roll in colored paper (or paint it).
- Cut simple ears, a tail, and a belly patch.
- Draw the face. Add whiskers with thin paper strips if you feel fancy.
3) Owl with pocket wings
You need: 1 roll, paper, glue, scissors.
- Flatten the top of the roll slightly and round it like an owl head.
- Glue on two half-oval wings, but only glue along the outer edge so the center makes a little pocket.
- Slide tiny paper “letters” or “feathers” into the pockets.
4) Dinosaur stompers
Best for: toddlers and preschoolers
You need: 2 rolls (paper towel roll halves work best), paper, tape, optional elastic.
- Cut each roll lengthwise so it opens into a cuff. Most toilet paper rolls fit wrists better than ankles, so start there. For bigger kids, use paper towel roll halves for lower legs.
- Tape into a loose loop (or attach elastic for a better fit).
- Add paper spikes down the front and let them stomp around the living room.
5) Butterfly or bee windsock
You need: 1 roll, paper strips, tape or glue, string.
- Decorate the tube like a butterfly body or bee stripes.
- Tape paper strips inside one end so they hang down like streamers.
- Add a string hanger to the top and hang it in a doorway for indoor “wind.”
6) Rocket ship
You need: 1 roll, paper, glue, scissors, optional foil.
- Wrap the roll in paper or foil.
- Cut a circle, slice to the center, overlap into a cone, and glue it on top.
- Add paper fins and tissue paper “flames” at the bottom.
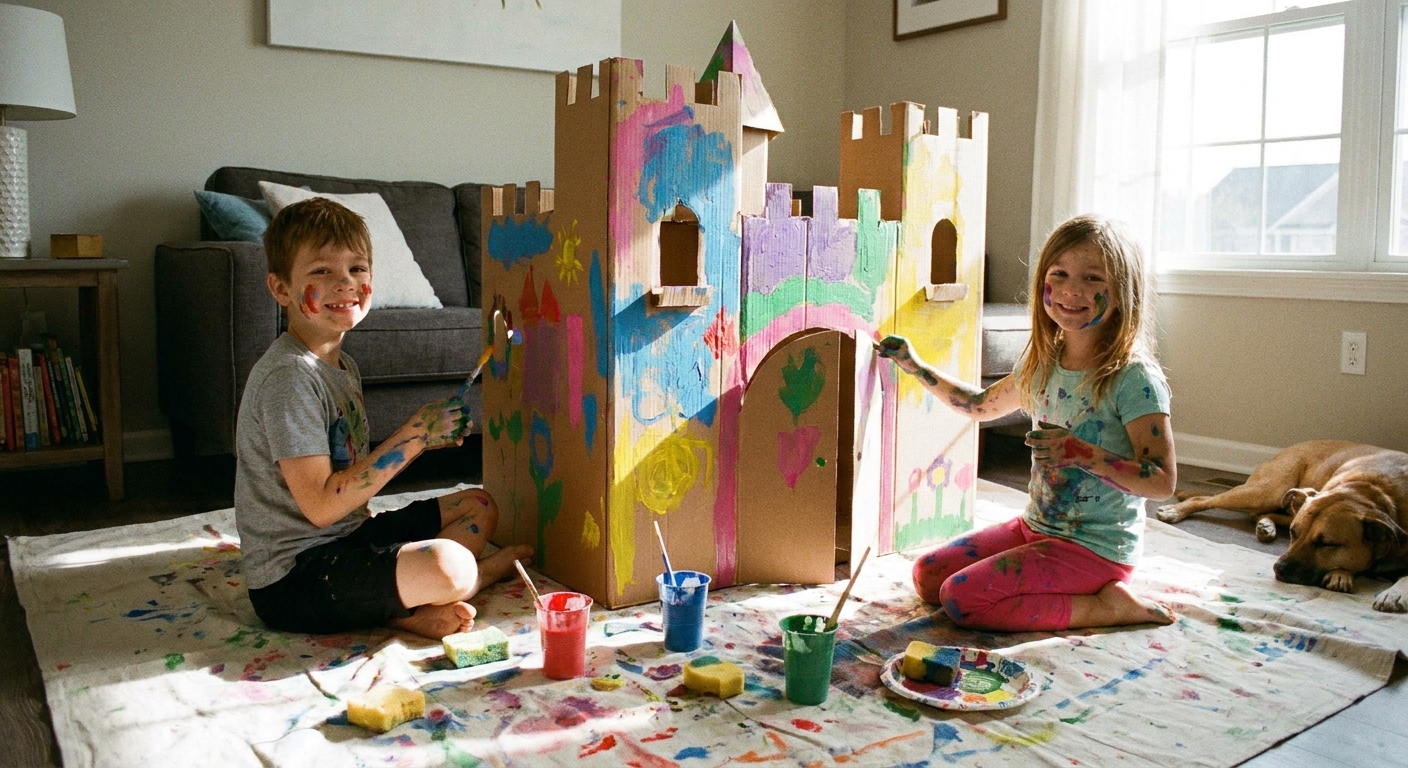
7) Mini castle towers
You need: several rolls, cardboard base (cereal box), glue, scissors.
- Cut “crenellations” along the top edge of each roll (little square notches).
- Glue rolls upright onto a cardboard base as towers.
- Connect towers with paper “walls” and draw on doors and windows.
8) Dragon with accordion body
Best for: ages 6+ (or pre-cut rings for younger kids)
You need: 1 roll, paper strips, tape, markers.
- Cut the roll into rings (about 1 inch thick).
- Link rings with paper tabs to make a bendy, accordion-like body.
- Add a paper head and tail, then decorate scales with markers.
9) Tube car launcher (gentle indoor version)
You need: 1 roll, tape, a small lightweight toy car.
- Angle the tube on a stack of books to make a ramp.
- Release the car from the top and see how far it rolls.
- Add painter’s tape “parking lines” on the floor for extra play.
Parent note: Keep it to light cars and a clear runway to avoid baseboard heartbreak.
10) Marble run starter
Best for: ages 5+ (because marbles)
You need: 1 or more rolls, tape, scissors.
- Cut a roll in half lengthwise to make two channels.
- Tape channels to a wall or the side of a bookcase at a slight downward angle. Painter’s tape is your friend here, especially on painted walls or wood finishes.
- Drop a marble or small ball and adjust angles until it runs smoothly.
Safety: Marbles are a choking hazard for toddlers. Use a larger ball if you have little ones under 3.
11) Paint stamp flowers
You need: 1 roll, paint, paper.
- Pinch one end of the tube into a heart shape and hold it there with tape.
- Dip the shaped end in paint and stamp “petals” around a center point.
- Use a finger or cotton swab for the flower center.
12) Toilet paper roll snakes
Best for: ages 6+ (or an adult does the spiral cut)
You need: 1 roll, markers or paint, scissors, paper tongue.
- Decorate the roll, then cut it into a continuous spiral to create a springy snake.
- Add eyes and a little forked tongue.
- Hang it from a doorway for maximum drama when it bounces.
13) “I can do it” pencil holder
You need: 1 roll, paper, glue, optional stickers.
- Wrap and decorate the roll.
- Glue it onto a small cardboard square so it stands up.
- Let kids choose what it holds: markers, LEGO people, small action figures.
14) Fairy house lantern (no flame)
Best for: ages 5+ (window cutting is fiddly)
You need: 1 roll, tissue paper, glue, scissors, battery tea light.
- Cut small window shapes in the roll.
- Glue tissue paper on the inside to “fill” the windows.
- Set a battery tea light behind or underneath for a cozy glow.
15) Storytelling puppets on fingers
You need: 1 roll, scissors, markers, paper scraps.
- Cut the roll into rings about 1 to 1.5 inches tall.
- Decorate each ring as a character face or animal.
- Slip onto fingers and tell a quick story.
If your kids get into the storytelling part, you can keep the momentum going with household objects as story characters or our favorite dinner-time game, The Add-a-Sentence Dinner Table Story.
Troubleshooting
“It will not stand up!”
Glue the roll to a cardboard base. Even a 3 inch square from a cereal box makes a huge difference.
“Everything is soggy from glue.”
Use a glue stick for large paper areas and save white glue for small pieces like ears and fins.
“My kid is over it after 5 minutes.”
Switch the goal from “craft” to “play.” The binoculars do not need perfect decoration. The rocket just needs a countdown and a mission.
Store the masterpieces
- One box per kid: a shoebox or small lidded bin for a week, then they choose what to keep.
- Castle rule: castles and towers stay on a tray or cardboard base so they can be moved in one trip.
- Puppet ring bag: finger puppets go in a small zip bag so they do not disappear into couch land.
When you are ready for your next rainy-day plan, our Family Activities guide has low-prep options that work in real houses with real mess limits.