
If you have kids, you have paper. The kind that shows up in backpacks, on the kitchen counter, and under the car seat. Worksheets, coloring pages, “I finished early” printouts, half-cut paper crafts, and the occasional masterpiece that absolutely cannot be thrown away (according to a very passionate six-year-old).
I used to treat the paper like a personal failure. If I was more organized, the piles would not happen, right? Wrong. Paper is the natural byproduct of school and childhood. The goal is not “no paper.” The goal is a system that makes decisions faster than the paper can multiply.
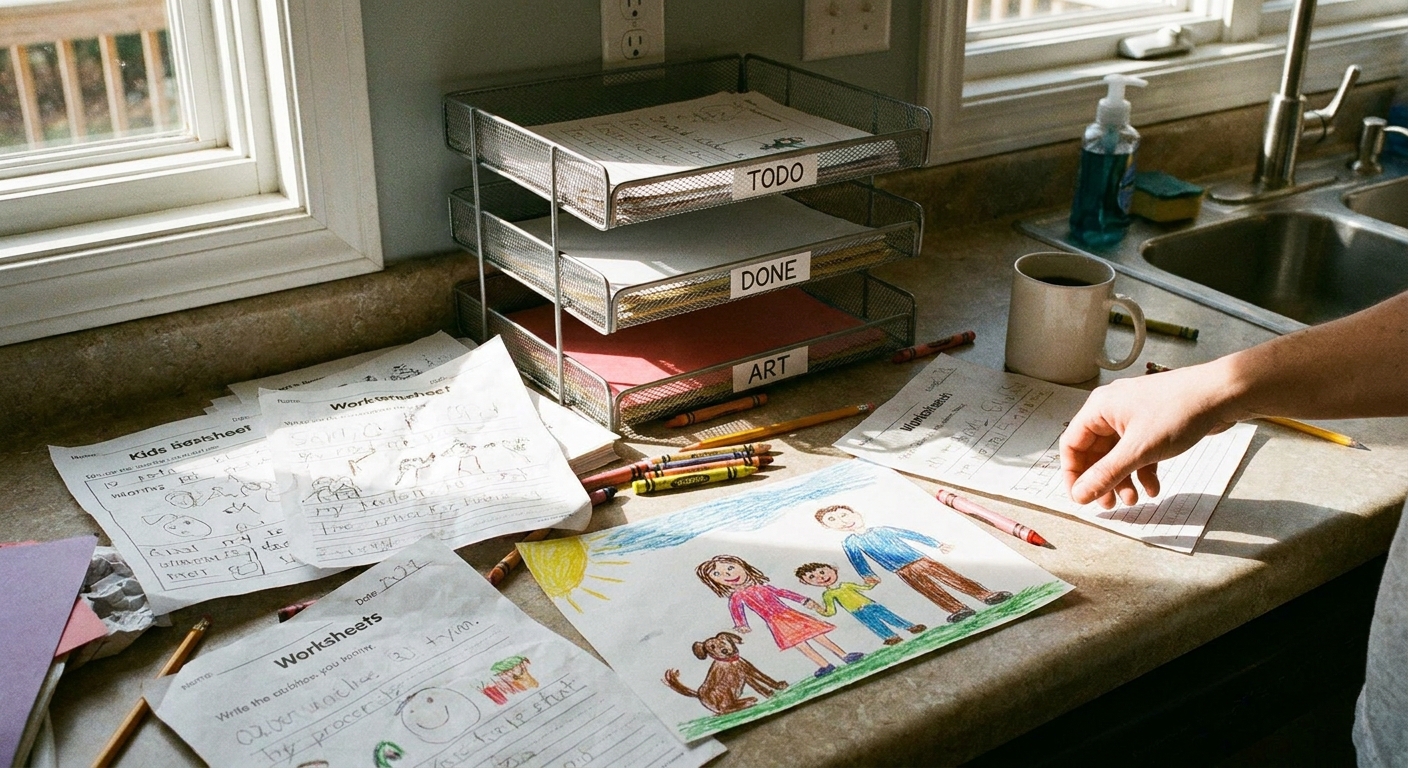
Below is the exact approach that keeps our house functional: a fast daily landing zone, a once-a-week sort, and a simple way to save the best stuff without storing every single sheet.
Start with a paper landing zone
If papers land everywhere, you will always feel behind. Pick one spot where all incoming paper goes, every single day.
My favorite landing zone setups
- A 2-tray stack on a counter or shelf: “To Look At” and “To File.”
- A wall pocket file near the door: one pocket per kid, plus one for “School Info.”
- A shallow basket that lives where backpacks get dropped.
Keep it boring and easy. This is not a scrapbook station. This is triage.
No counter space? Go vertical
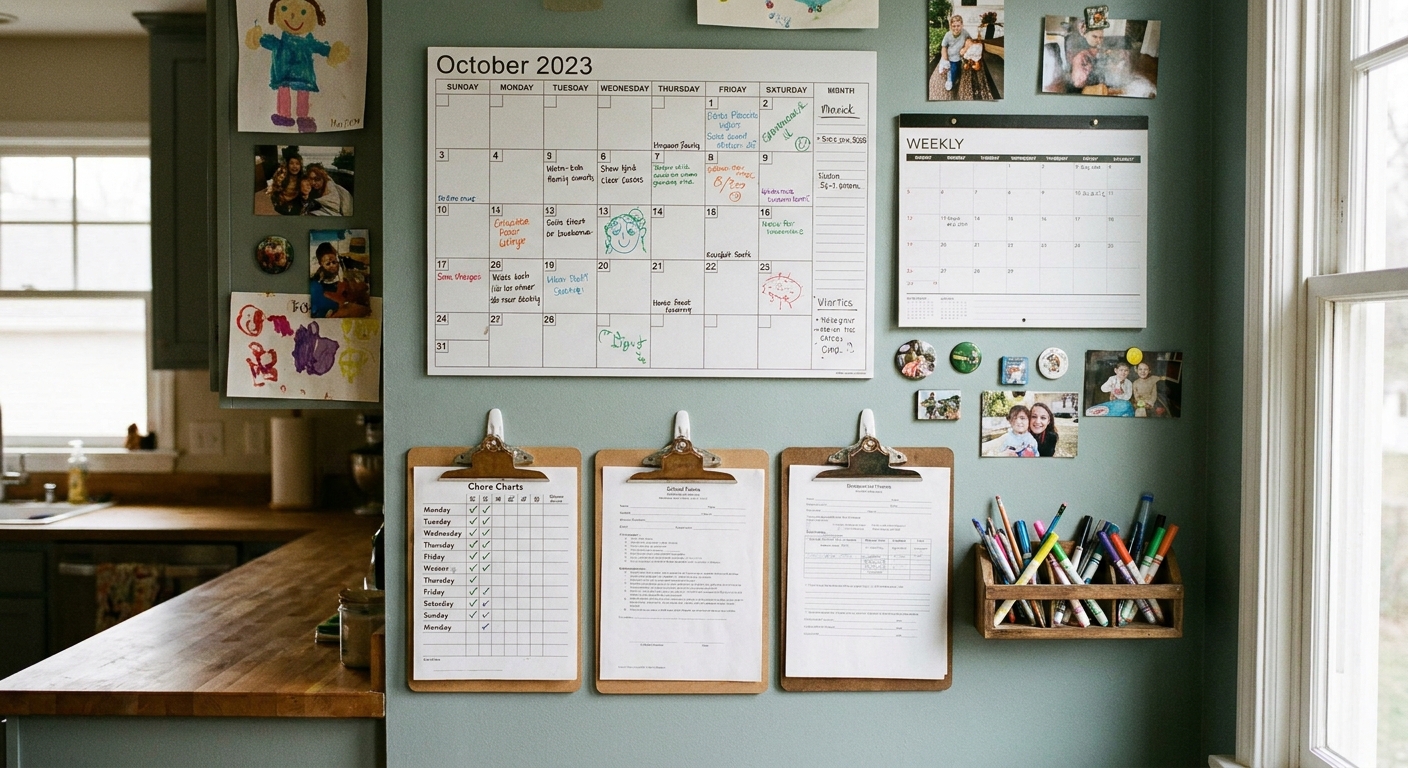
If your kitchen counters are already spoken for, hang the system instead of setting it down. A slim wall file by the backpack hooks, a pocket organizer inside a closet door, or even a clipboard hook for each kid can do the job. The best landing zone is the one you will actually use on a Tuesday night.
Make it work in real life
- Place it where the papers already land. If the natural dump spot is the kitchen island, work with that.
- Keep a pen and a small stapler right there. You will use them constantly.
- Limit the space. When the tray is full, it forces a quick decision instead of a slow pile.
The 5-minute daily reset
This is the habit that changed everything for me. It is short enough to do even on chaotic weeknights.
Do this once a day (after homework or after dinner)
- Empty backpacks into the landing zone. No sorting yet.
- Trash immediately: blank duplicates, printer glitch pages, old flyers, and random backpack debris you do not need.
- Pull out anything time-sensitive. Permission slips, checks, RSVP forms, and “due tomorrow” notes go straight into a bright “Sign & Return” folder that lives in the landing zone.
- Group multi-page items. Staple them or paperclip them.
- Move “keep for now” papers into “To File.”
That is it. If you only do one thing from this article, do this. It keeps paper from becoming an emotional event.
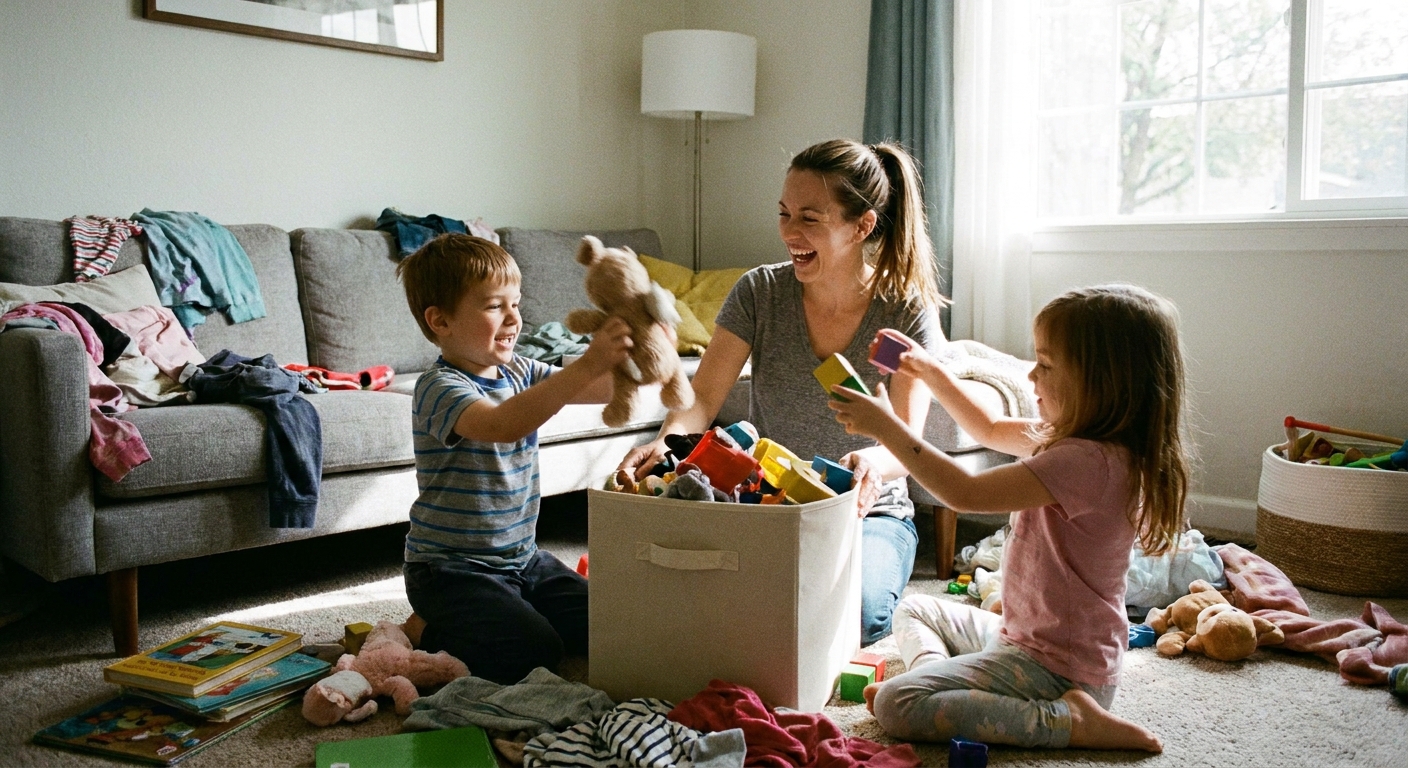
If you need a fun way to get kids involved, my family likes turning quick resets into a game. You can borrow the same energy from the 10-minute family tidy-up game and use it for “paper patrol.”
Use categories you will actually use
The biggest snag I see (in my own house too) is organizing like we are running a classroom. At home, we usually look for papers by purpose, not by subject.
Categories that cover most families
- School Info: calendars, field trip forms, policy notes, teacher updates.
- To Do: homework, projects, reading logs, anything with a due date.
- To Keep (Short Term): current-unit work you might need for review, spelling lists for the week, ongoing packets.
- Art Worth Saving: pieces you genuinely want to keep.
- Portfolio (End of Year): a small, curated collection.
If you already use printables at home, it helps to keep your home activity printouts in their own container so they do not mix with school papers. Our Printables guide is a good hub for that side of family life.
A quick note on going digital
I still keep a paper system, but I also take quick phone photos of dates, supply lists, and anything I might need on the go. Think of it as a backup: the paper lives in your “School Info” spot, and the photo means you can find the details even if the paper is under a science project.
Set up fast, kid-proof storage
You do not need fancy filing furniture. You need containers that are easy to use when you are tired.
Option A: One binder per kid
Supplies: 1 sturdy binder, 5 to 8 tab dividers, sheet protectors (optional).
- Label tabs with the categories above.
- Use sheet protectors for items you reference repeatedly (like a sight-word list).
- At the end of a grading period, purge the binder down to only what still matters.
In my experience, this works especially well for elementary-aged kids because it keeps everything contained and portable.
Option B: A hanging file crate
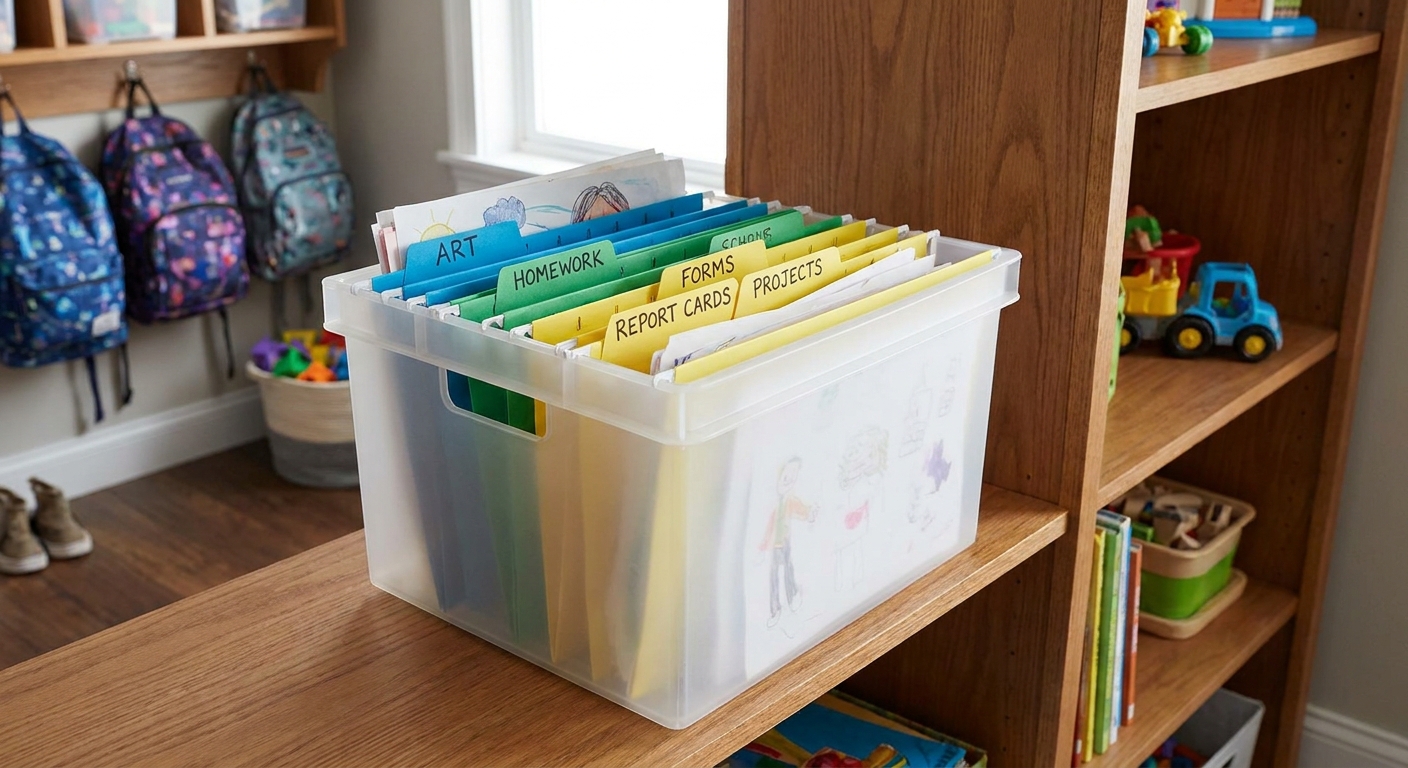
Supplies: 1 plastic crate, hanging files, file folders.
- Create one section per kid.
- Add a front folder for “To Do This Week.”
- Keep the crate somewhere you can reach with one hand.
Option C: Magazine file boxes
Supplies: 3 to 5 magazine file holders.
- One per kid for “Current School Papers.”
- One shared holder for “School Info.”
- One for “Home Printables” so you can grab them when needed.
What to keep and what to toss
If you try to decide based on guilt, everything stays. Use rules instead.
Keep it if
- It shows a new skill or clear progress (first time writing a full paragraph, improved handwriting).
- It has a teacher note you want to remember.
- It is tied to an event or milestone (first-day writing sample, class performance program).
- Your child is truly proud of it and can tell you why.
Toss or recycle it if
- It is repetitive practice you have seen a lot already.
- It is incomplete and your child does not care.
- It is a duplicate printout.
- It is only being kept because you feel bad.
The question that makes it easy
I ask myself: “If I found this in a drawer a year from now, would I be glad I kept it?” If the answer is no, it goes.
Store artwork without the guilt
Artwork is harder than worksheets because it is emotional. The trick is separating display, short-term keep, and long-term save.
Step 1: Make a rotating display spot
- Use a clothesline with clips, a corkboard, or a few frames you can open easily.
- Limit it to a fixed number of pieces (like 10 total).
- When something new goes up, something old comes down.
Step 2: Use an “Art Inbox” and sort weekly
Designate one shallow bin or tray for art that is not ready to toss. Once a week, sort it:
- Keep (goes into the memory box or portfolio)
- Photograph (then recycle)
- Recycle
Step 3: Put 3D projects on a timer
Paper mache, clay, STEM builds. They are wonderful and also everywhere.
- Keep one lidded bin labeled “3D Projects.”
- When it is full, your child chooses what stays.
- If they cannot decide, set a date: “We will pick 3 favorites on Sunday.”
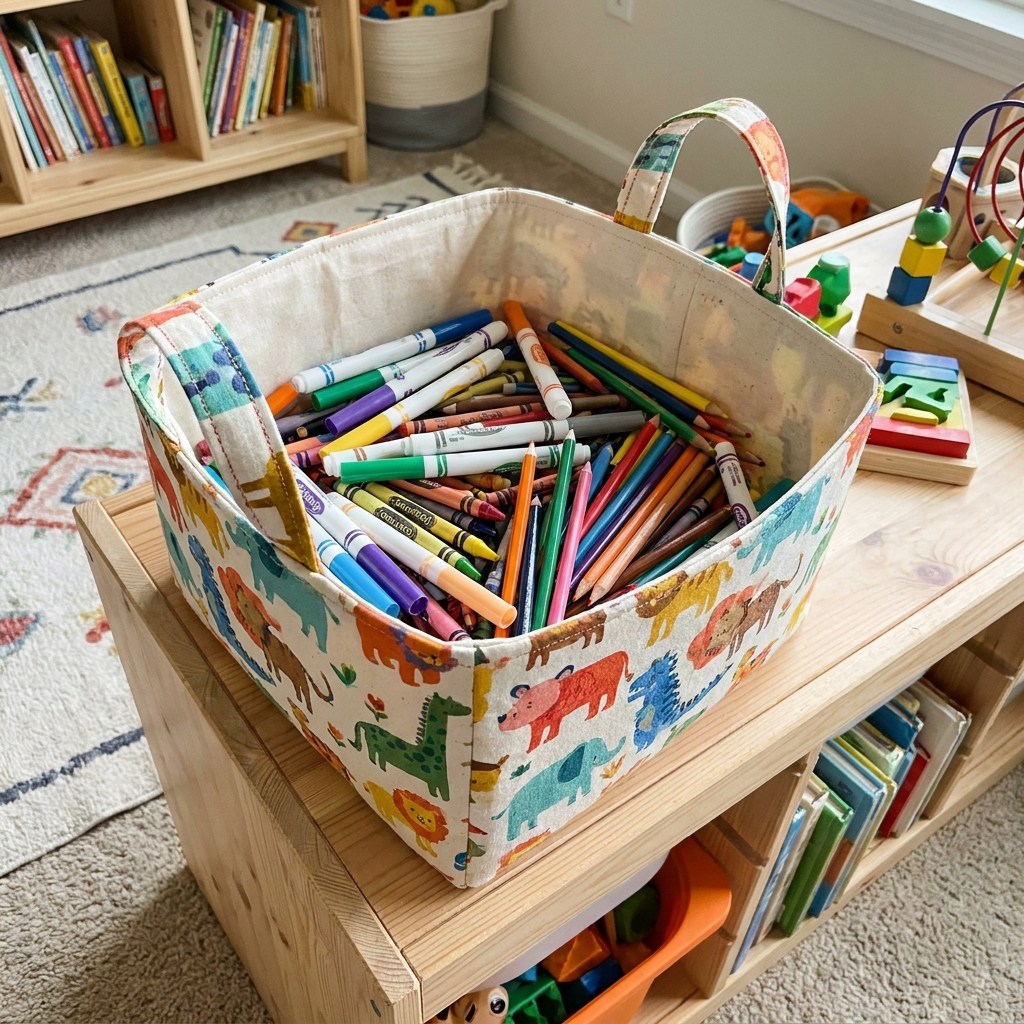
If your kids are in a crafty season, it helps to corral supplies too. I keep our glue sticks, tape, and scissors in one container similar to the approach in how to make a fabric storage basket for kids' craft supplies.
Memory keeping that stays small
You can preserve the sweet stuff without storing every sheet.
Option 1: One memory box per kid
- Use a lidded bin that fits on one shelf.
- Add only your favorites: a few art pieces, a couple writing samples, special certificates.
- Once it is full, you curate, not expand.
Option 2: A yearly portfolio folder
This is my low-effort favorite for school years.
- One large folder or envelope per school year per kid.
- Limit yourself to 10 to 20 pages total.
- Add pieces that show growth: beginning-of-year writing, mid-year math, end-of-year reflection.
Option 3: Photograph the bulky stuff
If you take a photo, you can let go of the physical pile more easily.
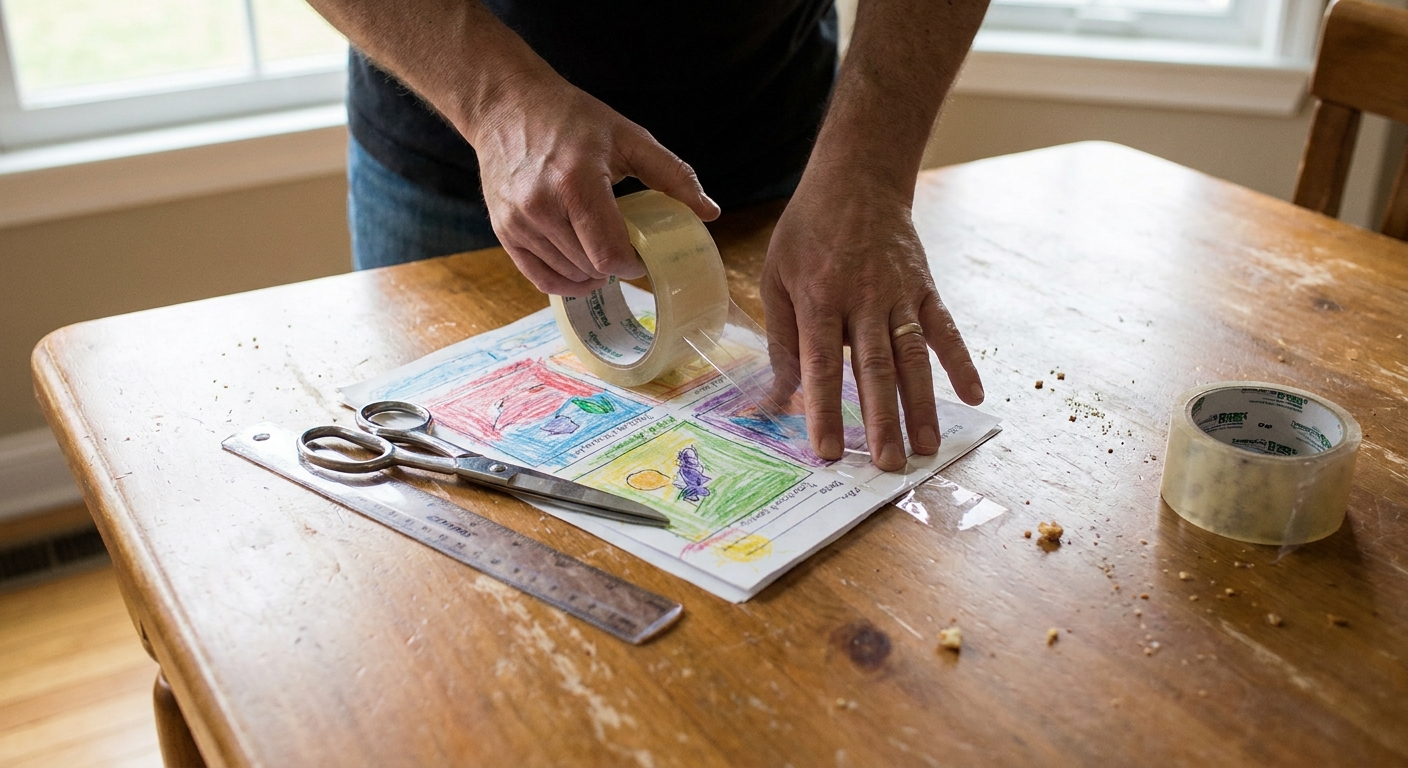
- Photograph 3D projects, large posters, and multi-page crafts.
- Snap one picture of your child holding the piece too, if they are willing. It captures the pride.
- Keep photos in an album on your phone labeled by kid and year.
A weekly 15-minute reset
Pick one day. I like Friday afternoon or Sunday evening. Set a timer for 15 minutes. (I call it our “Friday folder” reset, even when it happens on Sunday. It is just a weekly routine we control, not something the school has to provide.)
- Empty the landing zone.
- Handle “School Info” first. Add dates to your calendar, sign what needs signing, and put return items into the “Sign & Return” folder so they go back to school.
- File what matters. Binder, crate, or magazine box.
- Choose 1 to 3 keepsakes. Memory box or portfolio.
- Recycle the rest.
Done. Your future self will feel personally loved by your present self.
Common pain points
“My kid wants to keep everything.”
Give them a limit they control: a folder, a box, or 10 slots on a display line. Kids handle boundaries better when they are physical and consistent.
“Papers pile up faster than I can sort.”
Make the landing zone smaller and increase the frequency. Two minutes daily beats one hour monthly.
“I cannot find the important stuff.”
Put anything time-sensitive into a single “To Do” or “Sign & Return” folder and keep it in the front. Important paper should not be filed away where it can hide.
“I feel guilty throwing away art.”
Save a photo and one favorite piece from the week. Your kid will remember that you noticed, not that you stored 47 worksheets.
Quick setup checklist
- Choose a landing zone location (horizontal or vertical).
- Add a 2-tray sorter, wall pockets, or a basket.
- Add a bright “Sign & Return” folder for urgent items.
- Create 4 to 6 categories that match how you search for papers.
- Pick one storage method: binder, hanging file crate, or magazine holders.
- Start the 5-minute daily reset.
- Choose a weekly 15-minute sorting time.
If you want to pair this with more low-prep routines for busy days, you might also like this five-minute mess-free craft station, especially if your paper piles are partly coming from at-home crafts.