
Every once in a while, a craft comes along that feels like a magic trick. You clean out the recycling, hand your kids some tape, and suddenly your living room has a drawbridge problem.
A cardboard box castle is one of my favorite weekend projects for elementary-age kids because it hits the sweet spot: big, imaginative play payoff without requiring fancy supplies or perfect crafting skills. If you have a couple of boxes, some tape, glue, and washable paint, you can build a play structure that lasts for days (sometimes weeks, if you can live with it).
What you need (keep it simple)
You can absolutely make this work with what you already have. Here is what I pull together before we start.
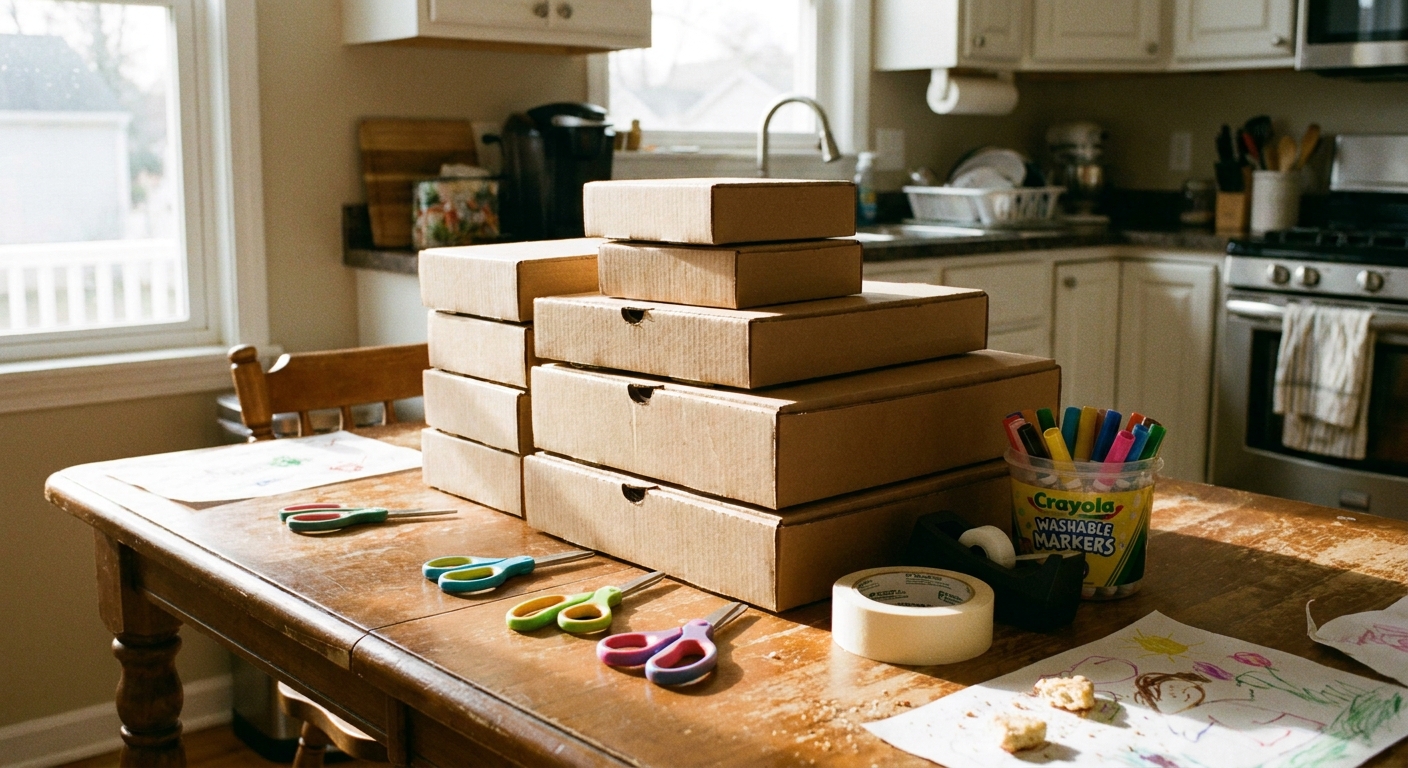
- Cardboard boxes: 1 large box for the main tower, plus 1 to 3 medium boxes for extra towers or walls (sturdy corrugated boxes help a lot, and double-wall is a bonus if you have it)
- Packing tape: wide tape is your structural hero
- Glue: school glue or tacky glue for decorative pieces (not structure)
- Washable paint: tempera is usually the easiest to clean, plus brushes or sponge brushes
- Kid-safe scissors and a grown-up-only box cutter
- Marker or pencil for sketching doors and windows
- Optional: paper towel tubes (turrets), toilet paper rolls (chimneys), foil for “metal” details, yarn for a flag line
Quick safety and sanity check: Before the kids touch anything, I do a fast sweep for staples, plastic straps, and stubborn labels. I also keep the packing tape roll and box cutter up high when we are not actively using them.
If you need a quick refresher on kid-friendly supplies that actually wash out of clothes and tables, I keep my go-tos here: best washable kids markers and paints.
Before you build: a 5-minute setup that saves your floors
I say this as someone who has scrubbed paint out of grout while muttering to myself: take five minutes now and you will thank yourself later.
- Put down a flattened box, an old shower curtain liner, or a trash bag slit open as a drop cloth.
- Set up a paint station: one cup of water, one rag, paint on a tray or paper plate.
- Make a quick “drying zone” with another flattened box or a piece of cardboard.
If you want an even faster setup, my favorite no-drama approach is the same one I use for any messy craft: a five-minute mess-free craft station. It scales up nicely for big box projects.
One more real-life note: Crack a window if you are using a strong-smelling tape or paint, and toss an old shirt on your kid before you begin. It is not fancy, it just works.
Step-by-step: build a cardboard box castle that can handle real play
1) Choose your castle shape
For elementary kids, I recommend one of these two builds:
- Single-tower castle: one big box turned upright, with a door and windows. Fast, sturdy, great for younger elementary kids.
- Two towers + connecting wall: two boxes side-by-side with a “wall” panel between them. Bigger wow-factor, still manageable.
My rule: if your kid wants a mega castle, build it in sections you can tape together. One giant, floppy structure is hard to move and easy to crush.
2) Orient the boxes for strength
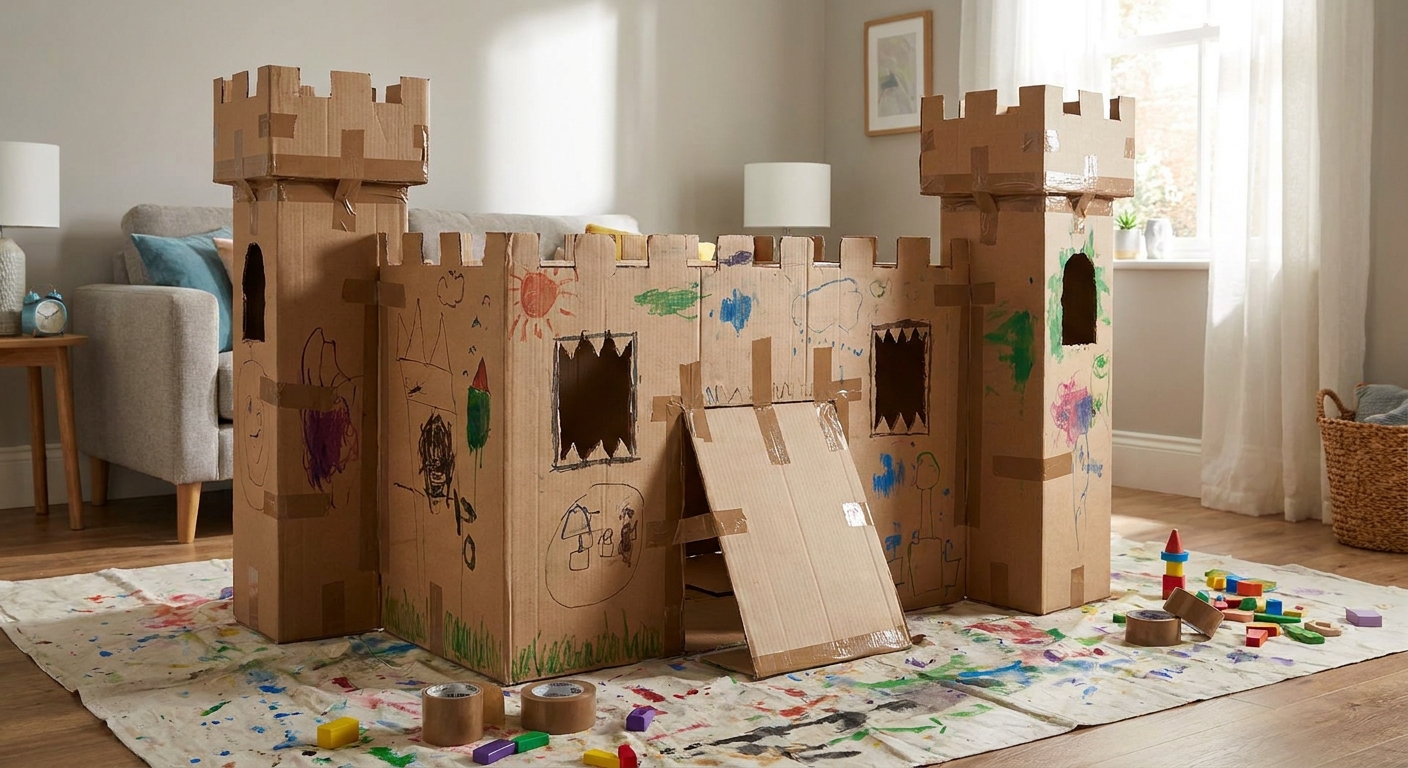
Stand the main box upright with the factory seams vertical if possible. Tape the bottom flaps shut from the outside, and from the inside if you can reach comfortably. If you cannot, an easy workaround is to tape a flat piece of cardboard inside the bottom like a simple “floor” panel.
Quick tape tip: Packing tape can peel on dusty or highly printed box surfaces. Press it down firmly with your hand, and if a seam looks suspicious, add a second strip that overlaps it by an inch or two.
3) Cut the door (grown-up step)
First, pick the cleanest, flattest panel for the front of your castle (avoid the side with a big bottom seam if you can). Sketch a door that fits your box and your kid. For many elementary kids, something like 18 to 22 inches tall works well, but adjust based on who is using it and how tall your box is. For a classic “castle door,” round the top corners.
- Cut three sides of the door and leave the bottom uncut to make a flap.
- Reinforce the fold line with tape so it does not tear after 40 openings.
Safety tip: do all box-cutter work yourself, then hand the project back to the kids for painting and decorating.
4) Add windows and crenellations
Now the fun “it looks like a castle!” details:
- Windows: draw simple rectangles or arches. Cut them out or just paint them on.
- Crenellations (the notches on top): draw a row of squares along the top edge and cut out every other square.
Not cutting? Totally fine. Painting the notches gives you the same vibe with less fuss.
5) Make it stand up to real kid energy
This is where most box castles fail: the decorations hold, but the structure wobbles. Two quick reinforcements help a lot:
- Corner braces: tape a folded strip of cardboard inside each corner like an L-shape support.
- Wide “belt” tape: run a band of packing tape around the outside midsection of the tower.
6) Add towers (optional, but kids love them)
If you have extra boxes, add a second tower or a turret:
- Second tower: tape a medium box next to the main box. Connect with a cardboard “wall” panel.
- Turret: tape a paper towel tube to a corner, then add a cone roof made from cardstock or a cereal box panel.
Use tape for anything that needs to hold up to play. Use glue for flat decorative pieces.
Painting and decorating (the part that makes it theirs)
Best order of operations
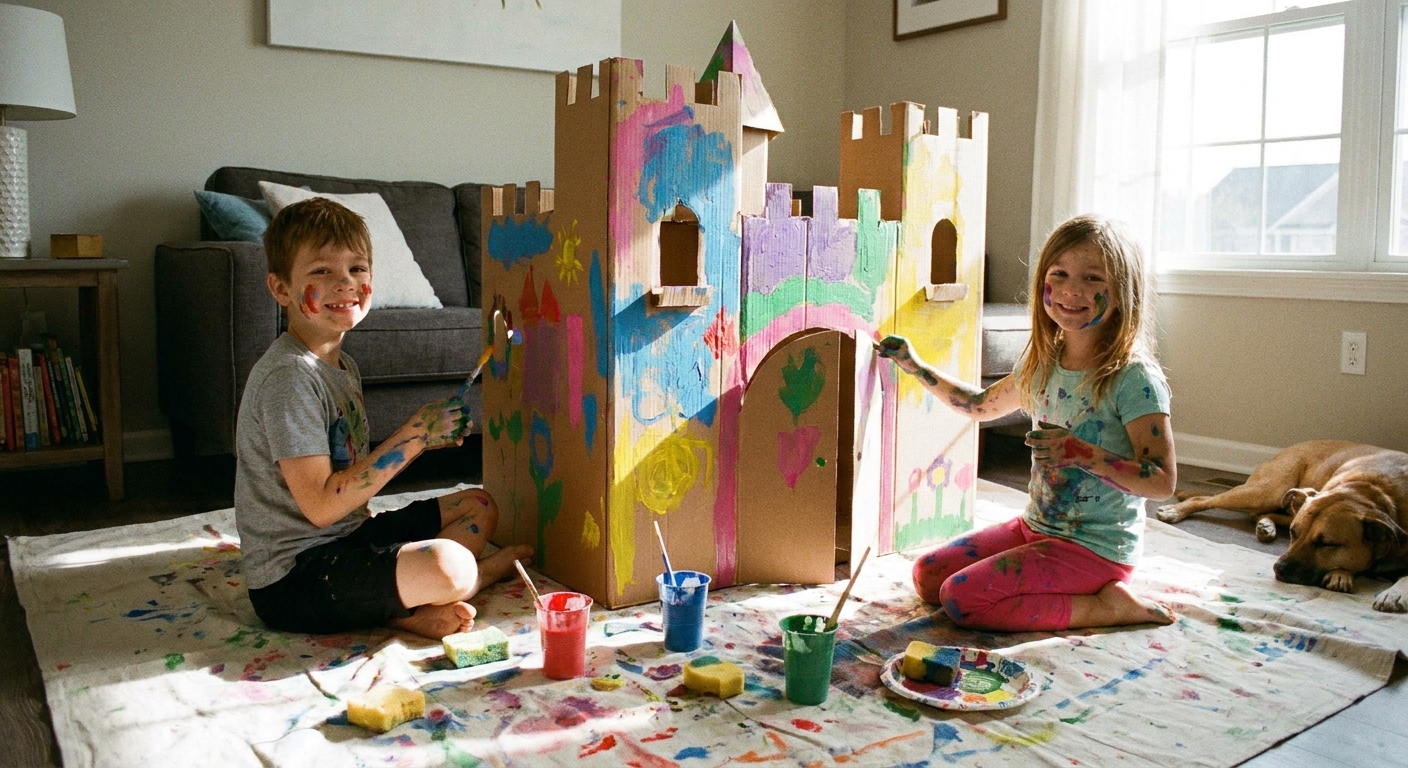
- Base coat: paint the whole castle one main color (gray, tan, or even purple if that is the royal decree).
- Details: add bricks, stones, or wood grain with a second color.
- Final touches: flags, vines, shield shapes, “torch” cutouts, or a family crest.
Easy brick technique that looks impressive
Lightly draw horizontal lines across the box, then add short vertical lines that alternate like real bricks. Kids can paint over the lines, or you can keep it simple and just outline with marker after the paint dries.
Make a drawbridge (without complicated engineering)
Use the door flap as the drawbridge:
- Paint it like wood planks.
- Before you punch holes, put a small square of tape on the cardboard where each hole will go. This helps keep the holes from tearing out.
- Punch two small holes near the top corners of the door opening (grown-up step).
- Thread yarn through the holes and tape the ends inside the box.
Now they can “raise” it a little by pulling the yarn, and it still works as a door.
If you have younger siblings underfoot: skip beads and tiny “gems,” or keep them for a separate, supervised activity. Little props have a way of traveling.
How to keep the castle from collapsing by Sunday afternoon
Cardboard can be surprisingly tough, but kids are tougher. Here are my most practical keep-it-standing tips:
- Skip heavy paint layers. A thick, wet coat can warp panels. Two thinner coats are better.
- Let it dry in stages. Paint one side, let it dry, then rotate.
- Do not rely on glue for structure. Tape is the builder. Glue is the decorator.
- Reinforce seams early. The first tear usually starts at a corner or cut edge. Tape those edges right away.
- Keep it dry. Cardboard castles are indoor heroes. Dew, rain, and spilled water turn them into instant tragedy.
If you end up with a castle that is more “cozy cottage,” you are in good company. In my house, the goal is always sturdy enough for play, not museum-quality.
Make it a full weekend activity (without more prep)
If your kids are anything like mine, building the castle is just the beginning. Here are a few low-effort add-ons that stretch the play for days:
- Royal scavenger hunt: hide “jewels” (pom-poms, LEGO gems, beads in a bag) around the castle area
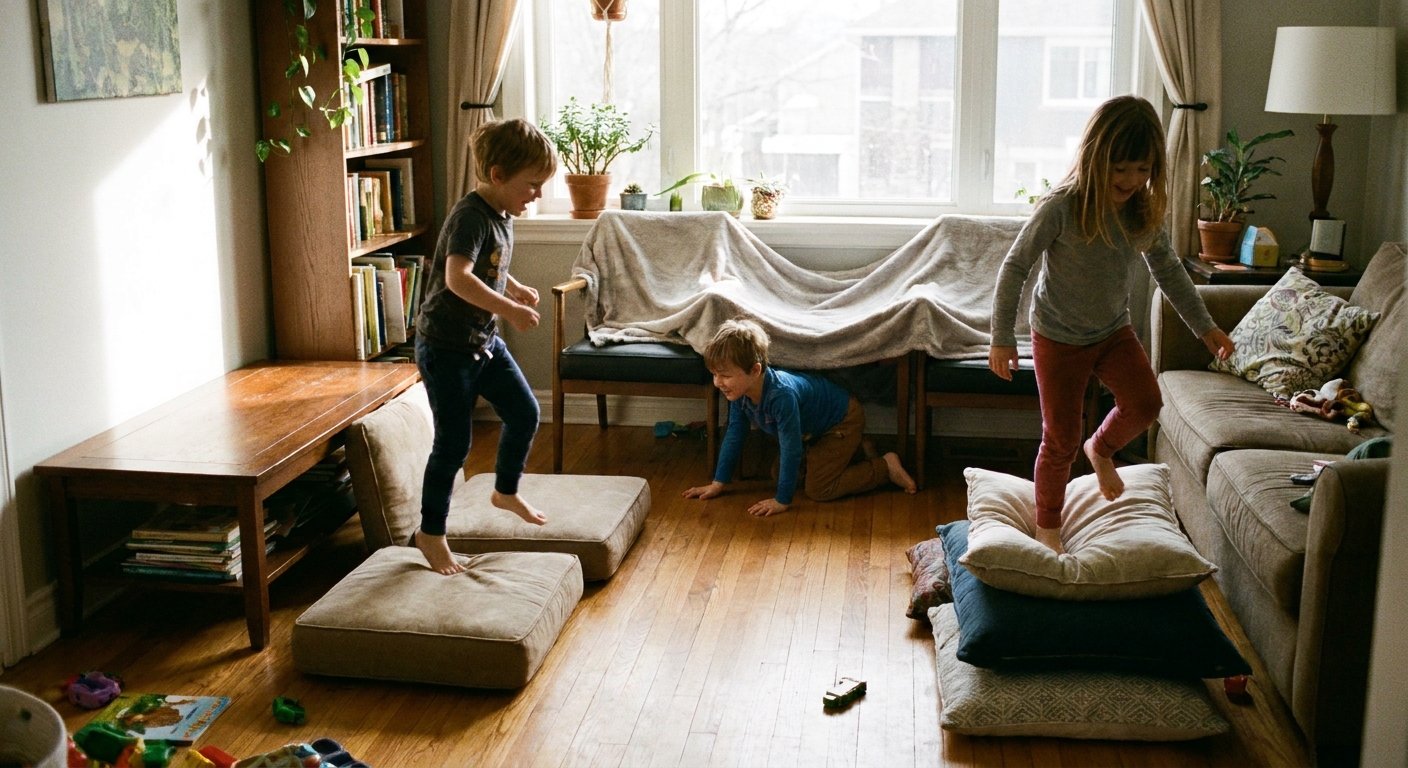
- Castle obstacle course: connect the castle to a simple living-room course for knights-in-training
- Story time inside the castle: bring in pillows and do a 5-minute story round
For extra movement, these are easy to adapt into “castle training”: 10 fast indoor obstacle course ideas using living room furniture.
Cleanup and storage (so it does not take over your house)
Quick cleanup routine
- Put brushes straight into a cup of water.
- Wipe hands and table while paint is still wet.
- Let the castle dry, then peel up the drop cloth and shake it outside.
Storage options that actually work
- Leave it assembled: best if it will be used all week and you have a corner to park it.
- Fold-flat castle: if you built on one main box, you can cut one back corner seam and fold the whole thing flat like a screen.
- Modular sections: if it is a multi-box castle, separate the towers and stack them inside each other if sizes allow.
Troubleshooting (real-life cardboard problems)
“The paint is beading up.”
That is common on shiny boxes. Quick fix: wipe the surface with a barely damp cloth, let it dry, then try again. Or use a base coat of white paint first.
“The flap door ripped off.”
Tape it back on like a hinge. Run a strip of tape on the inside and outside along the fold line.
“My kid wants a moat.”
Yes. Always. Use a blue sheet, blue painter’s tape on the floor, or a long strip of blue paper. Keep it dry and simple.
“We only have one box.”
One box is enough. Make it a single-tower castle and go bigger on the details: painted stones, tall windows, and a bold flag.
More boxy crafts if your recycling bin is overflowing
If this project lights a fire in your kids’ imagination, you can keep the momentum going with other low-prep box ideas. I rounded up a bunch here: 10 brilliant box crafts for an easy afternoon.
And if you want to build the habit of easy weekend activities without overthinking it, you can browse our full craft collection here: Kids Crafts guide.