
When my kids ask for a “room makeover,” what they usually mean is: can my room feel different by bedtime? I love a big project as much as the next organizing-enthusiast mom, but real life (and my very energetic rescue dog) calls for quick wins.
Enter: the 18-inch envelope pillow cover. It is fast, forgiving, and the best part is you can swap covers seasonally or whenever your child’s favorite color changes again. This version is kid-friendly because there is no zipper and no buttons. Just overlap fabric in the back like an envelope.
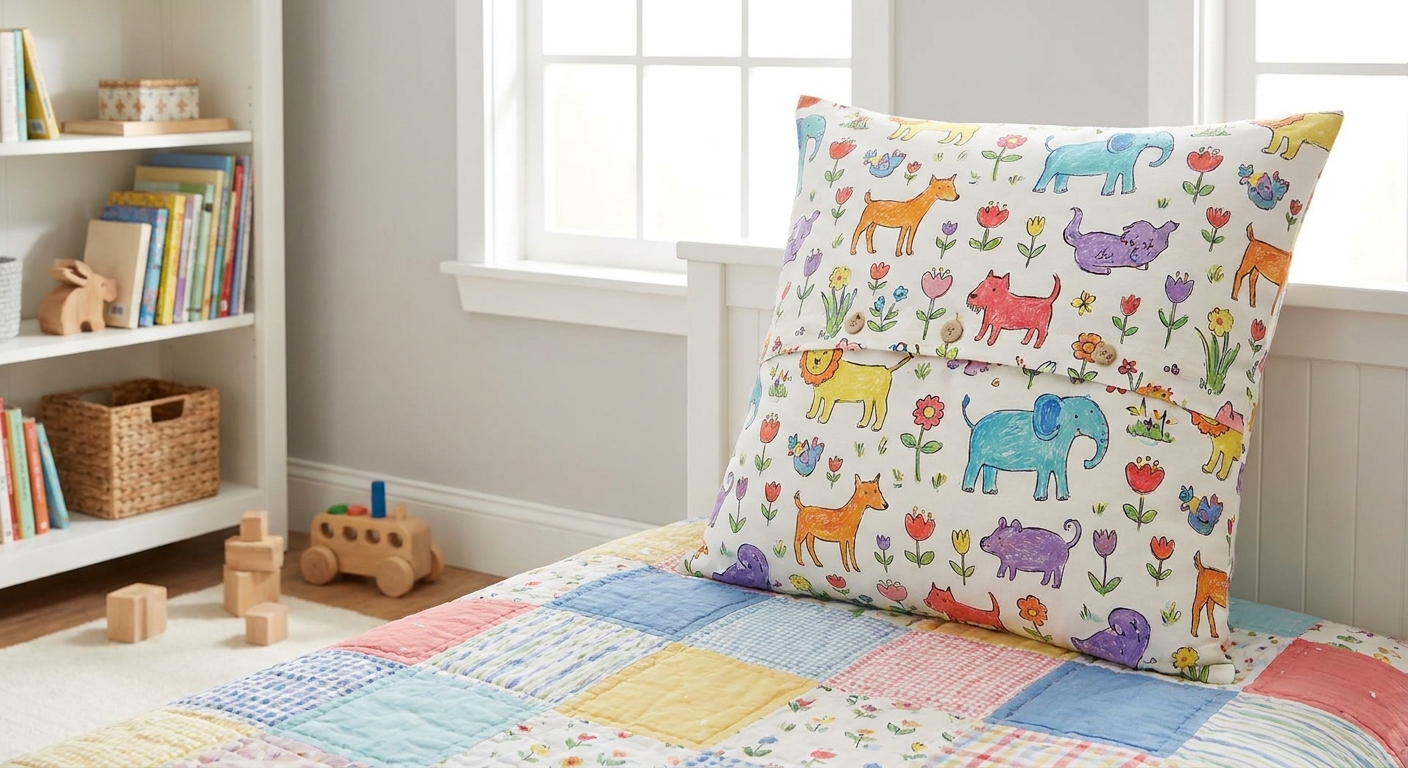
Why envelope covers are easy
- No hardware: No zippers, snaps, or buttonholes to fuss with.
- Washable: Toss the cover in the laundry and keep the pillow insert clean longer.
- Beginner-friendly sewing: Mostly straight lines, and the “messy” part hides on the inside.
- Kid-approved decorating: You can add trims, fabric paint, iron-on patches, or simple shapes.
If your child’s bed has one sad, flat pillow, one new cover can make the whole room look more finished. It is like putting a frame around a photo.
Supplies
Fabric and notions
- Woven cotton fabric (quilting cotton, cotton duck, flannel, or an old flat sheet)
- Matching thread
- Optional: iron-on patches, ribbon trim, pom-pom trim, fabric paint, or fabric markers
Tools
- Sewing machine (or you can hand-sew with a sturdy backstitch)
- Fabric scissors or a rotary cutter and mat
- Tape measure or ruler
- Iron and ironing board
- Pins or fabric clips
- Safety pin (helpful for turning corners neatly)
Kid helper note: Little kids can measure, choose fabric placement, pin or clip, and help press seams (with close supervision). Older kids can sew straight lines with you sitting right next to them.
Cut sizes (18-inch form)
For a standard 18-inch pillow insert, you will make one front piece and two back pieces that overlap.
- Front: cut 1 piece at 19 in x 19 in
- Back: cut 2 pieces at 19 in x 13 in each
This build assumes a 1/2-inch seam allowance and creates a nicely snug cover. If your pillow insert is very puffy (or very tight already), you can go up to 19 1/2 in x 19 1/2 in for the front and keep the backs the same width.
Quick fabric math: 1 yard of 44 to 45-inch-wide fabric is usually enough for two covers, depending on pattern direction and how carefully you cut.
Steps (about 15 minutes)
If you already have your iron hot and your machine threaded, this really can be a quick craft.
1) Hem the back pieces
On each back piece, choose one 19-inch edge to be the “inside” edge (the one that will overlap in the back).
- Fold that edge over 1/2 inch and press.
- Fold over 1/2 inch again to hide the raw edge. Press.
- Sew a straight line close to the folded edge to hem it.
Now you have two neat back flaps.
2) Layer the pieces
- Place the front fabric right side up.
- Place one back piece right side down on top, aligning outer edges. The hemmed edge should face toward the center.
- Place the second back piece right side down, aligning outer edges, with its hemmed edge overlapping the first piece in the middle.
- Pin or clip all the way around.
3) Sew around the edges
Sew around all four sides using a 1/2-inch seam allowance. Backstitch at the beginning and end.
Extra-durable tip: If this pillow will be heavily loved (or used in pillow forts), sew a second line of stitching about 1/8 inch inside the first line.
4) Trim corners and turn
- Trim the seam allowance at the corners (do not cut your stitches).
- Turn the cover right side out through the envelope opening.
- Push corners out gently with a capped pen, chopstick, or the blunt end of a paintbrush.
- Press the edges flat.
5) Insert the pillow
Stuff the 18-inch pillow insert in, then smooth everything out. You are done.
Kid-friendly decorating
I love crafts that do not create a “forever mess,” so these are my favorite add-ons because they are quick and they hold up.
Easy options
- Iron-on patches: Let your child arrange them, then you do the ironing. Put patches on the front piece before assembling.
- Fabric paint handprints: Do one bold print in a corner instead of a full pattern. Less stress, more impact.
- Ribbon trim: Sew ribbon across the front like a stripe before you assemble the cover.
- Stencil shapes: A simple star, heart, or lightning bolt looks intentional even if your kid does the painting.
My rule for sanity
If it cannot survive a gentle wash, it goes on a wall art project instead of a pillow. Bedrooms should be cozy, not delicate.
Shortcuts I use
- Use a flat sheet: Thrifted sheets are perfect for practice and usually already soft.
- Batch-cut: Cut pieces for two covers at once, then sew assembly-line style.
- Press as you go: Skipping ironing is how “15 minutes” becomes “why is this crooked?”
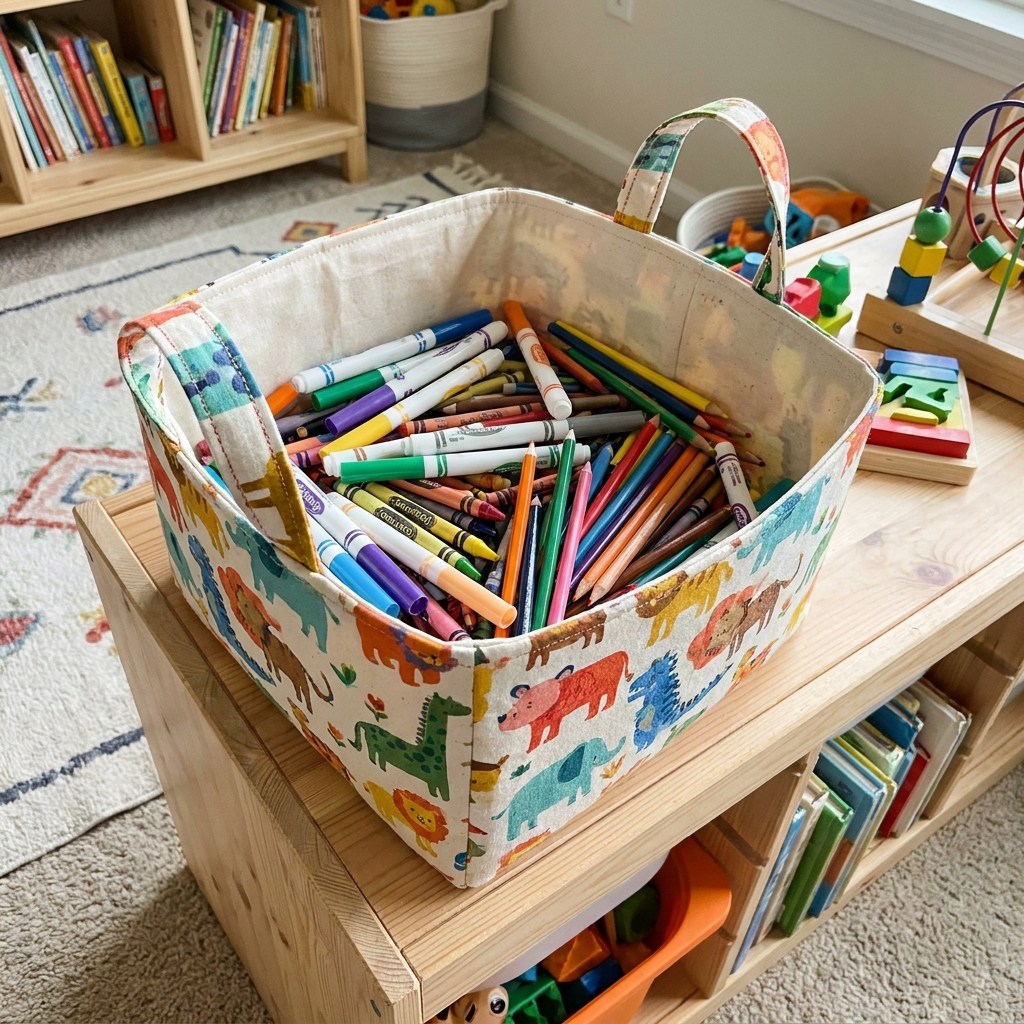
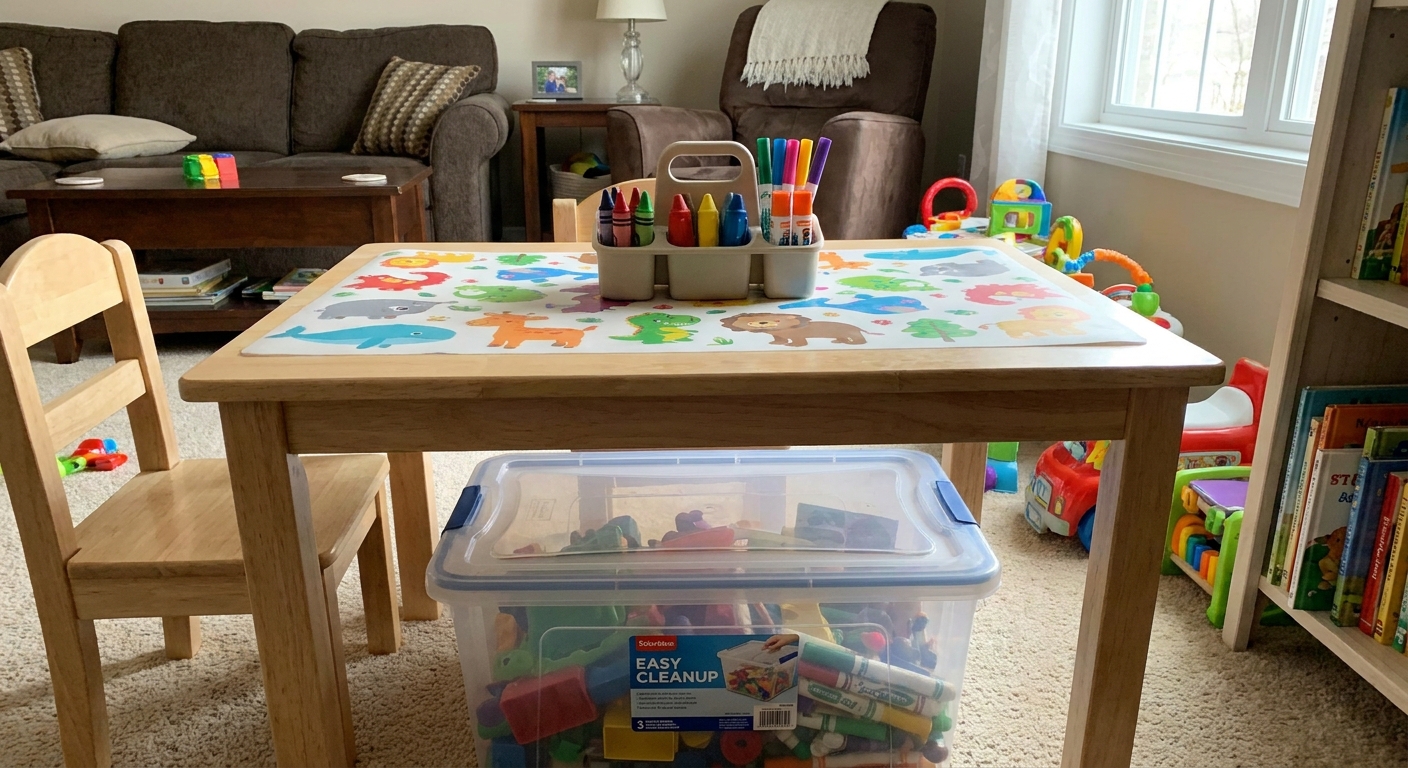
- Keep a small craft bin: If you like quick sewing projects, I recommend setting up a simple, contained craft spot. I shared my approach in Five-Minute Mess-Free Craft Station for Toddlers. It works for big kids too.
Troubleshooting
Too tight
- Check your seam allowance. If you sewed closer to 5/8 inch, it will shrink the cover.
- Try pressing the seams open inside and reinsert the pillow.
- Next time, cut the front at 19 1/2 in square for a little breathing room.
Opening gapes
- Make sure your back pieces overlap by a few inches in the middle.
- If your overlap is small, increase the back pieces to 19 in x 14 in (you will overlap more).
Floppy corners
- Trim corners before turning.
- Press sharply after turning. A good press fixes more than you would think.
Safety notes
- Iron: Adults handle the iron, or older kids only with close supervision.
- Rotary cutter: Adult-only tool in my house.
- Sewing machine: Kids can sew straight seams with hands kept well away from the needle area and an adult controlling speed.
If you want a craft session that feels calmer, set a timer for 15 minutes and stop when it goes off. You can always decorate tomorrow.
More quick crafts
If your house is anything like mine, you are always one rainy afternoon away from “we need a project right now.” These are good next stops:
- Kids Crafts Guide
- Pantry Staple Crafts With Pasta, Rice, and Beans
- Morning Story Basket for Independent Play (not sewing, but a big win for calmer mornings)