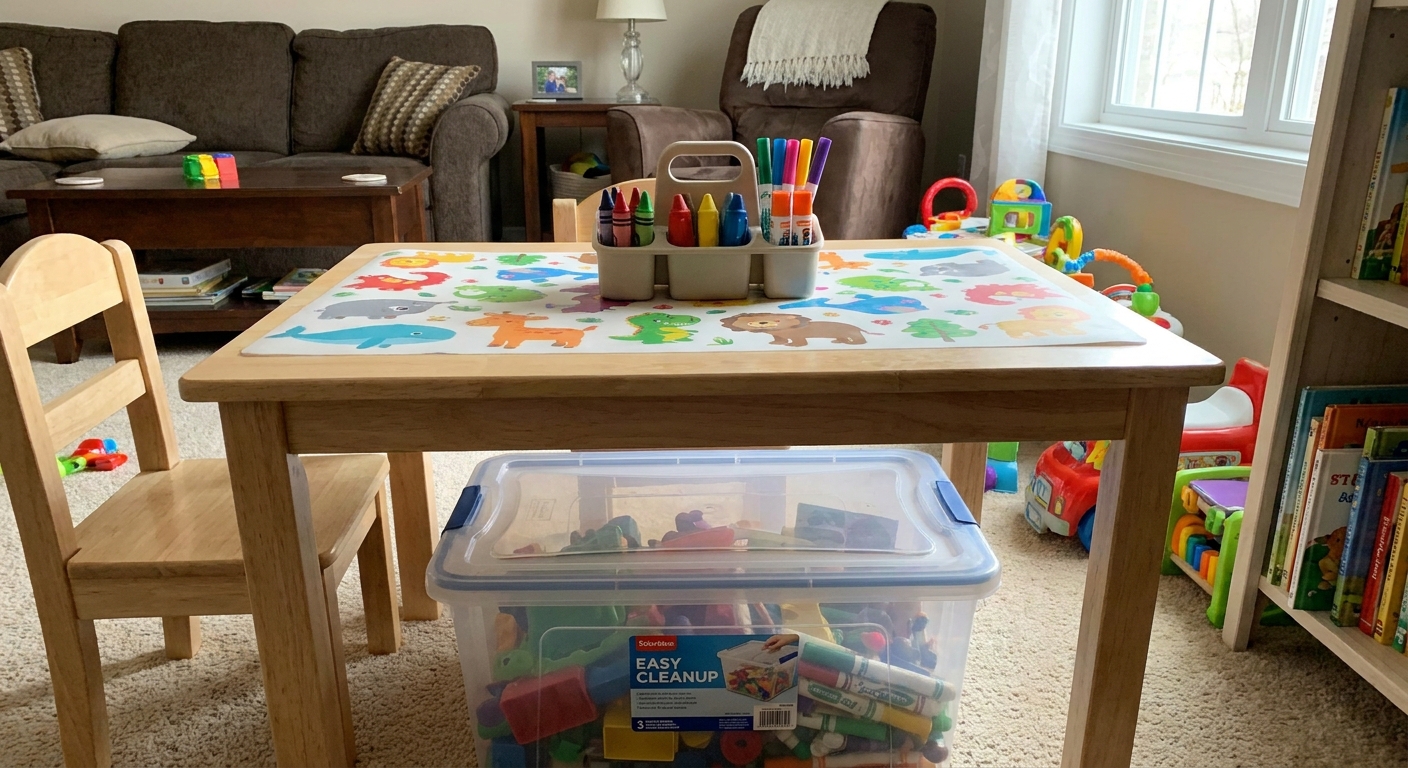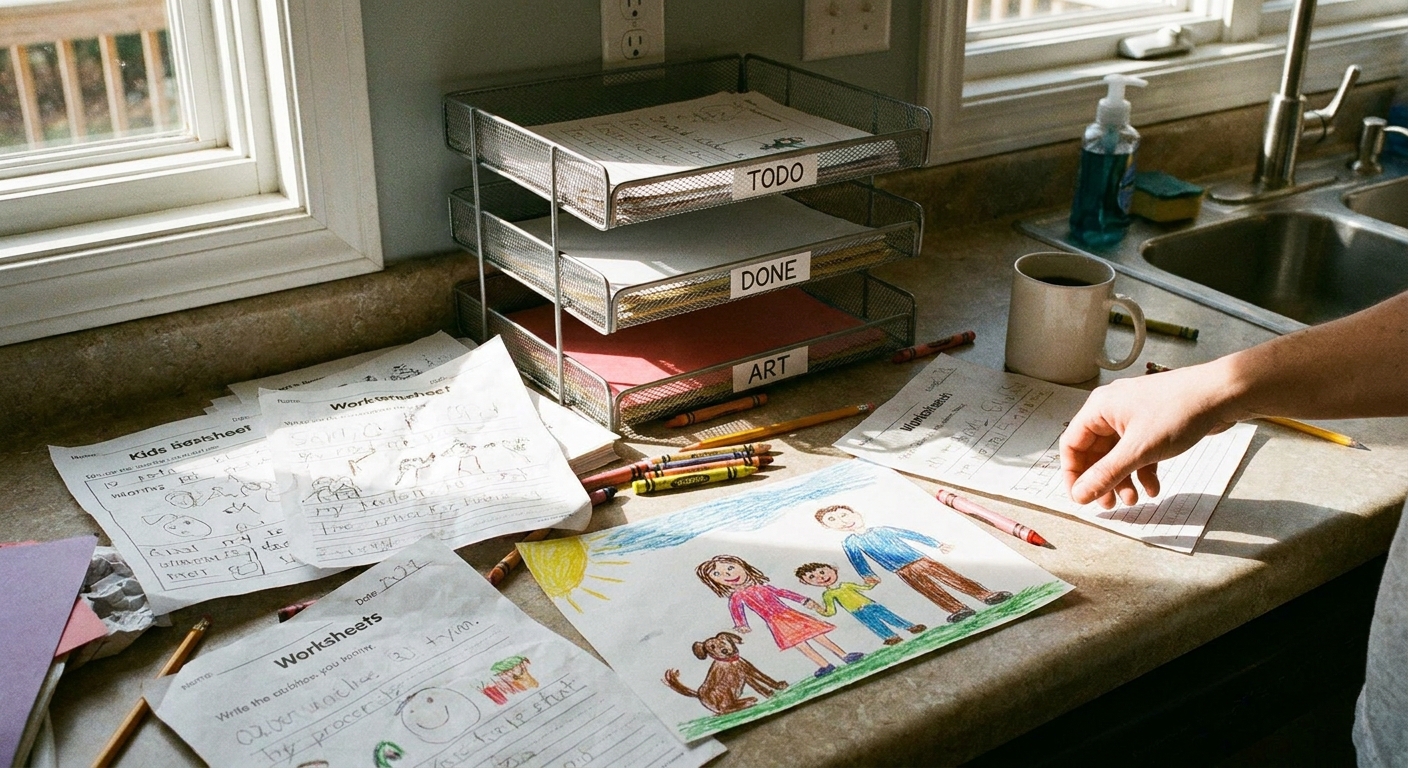

In my house, craft supplies multiply like rabbits. One day it is a small box of crayons, and the next day you are stepping on a rogue marker cap while the dog runs off with a glue stick. After a few too many “Why is the paper everywhere?” moments, I started making simple fabric storage baskets that live where the mess happens: on the craft shelf, in the playroom, and next to the kitchen table.
The best part is that these bins are beginner-friendly. If you can sew a straight line and press a seam, you can make a sturdy little basket that keeps crayons, markers, scissors, and scrap paper contained.
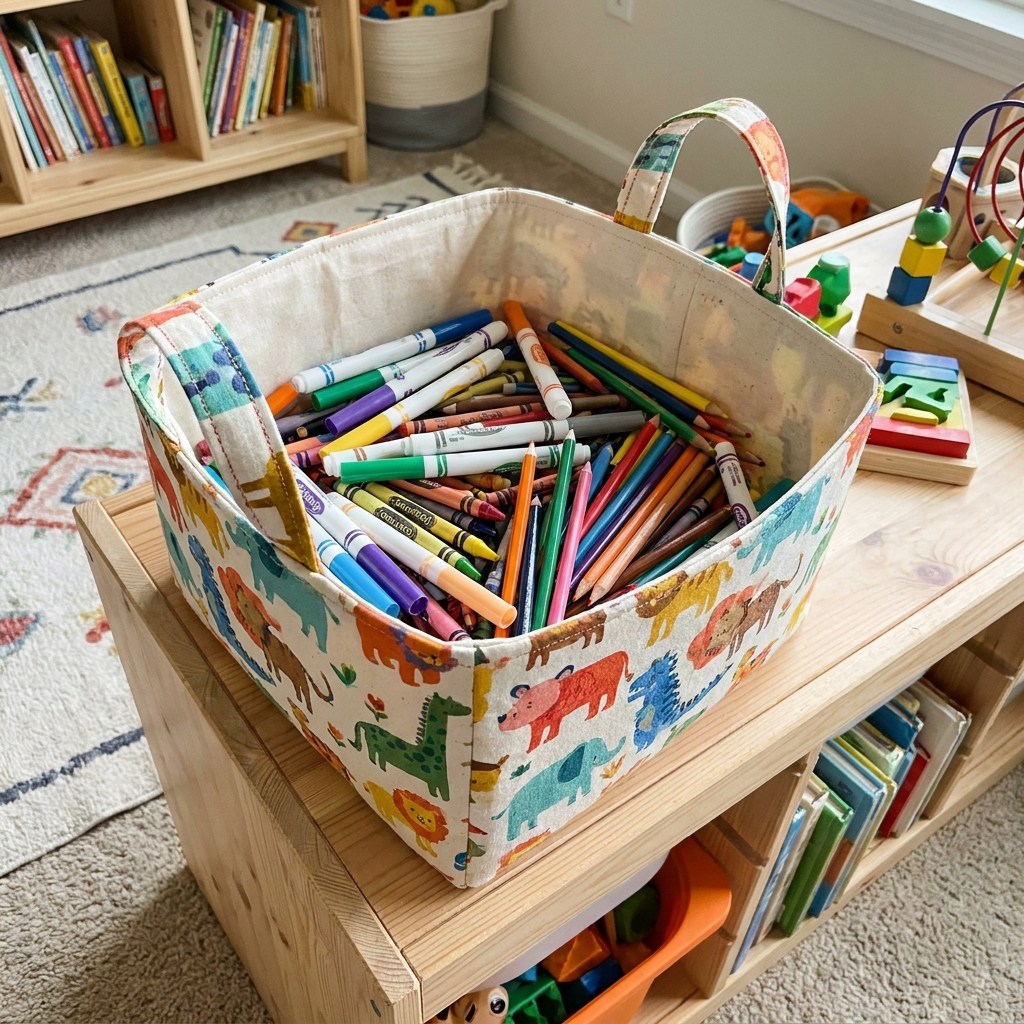
Why this basket works
- Stands up on its own (so kids can actually put things back in).
- Soft sides (no sharp corners for little hands).
- Washable (because glitter glue happens).
- Easy to size up or down for a shelf, cubby, or rolling cart.
If you are building a whole craft corner, you might also like my quick setup for keeping the mess contained: Five-Minute Mess-Free Craft Station for Toddlers.
Supplies
- Exterior fabric: quilting cotton, canvas, or home decor weight
- Lining fabric: quilting cotton works great
- Interfacing or stabilizer: fusible fleece, cotton batting, or medium-weight fusible interfacing
- Matching thread
- Sewing machine (hand sewing works, but machine seams hold up better for kid use)
- Fabric scissors or rotary cutter + mat
- Ruler or measuring tape
- Iron and ironing board
- Pins or clips
- Optional: twill tape or ribbon for handles, a simple fabric label tag
Practical note from my laundry room: If you want the basket to handle heavy items like full marker sets, go with canvas for the outside plus fusible fleece inside. If it is mostly paper scraps and crayons, quilting cotton plus medium interfacing is usually enough.
Pick a size
This style is a classic “boxed corner” basket. You sew a simple tube, sew the bottom shut, then box the corners to create a flat base.
My go-to craft basket size
- Finished size: about 8 in wide × 6 in tall × 4 in deep
- Corner size: 2 in boxed corners (this yields a 4 in depth)
You can make this two ways. I recommend the two-piece method because the cutting is simple and the seams behave nicely.
Option A: Two-piece method (recommended)
- Cut 2 exterior pieces: 13 in × 9 in
- Cut 2 lining pieces: 13 in × 9 in
- Cut stabilizer: 2 pieces at 13 in × 9 in (or one piece if your stabilizer is meant to cover only the outer panels)
Option B: One long piece method (works too)
- Cut 1 exterior piece: 25 in × 9 in
- Cut 1 lining piece: 25 in × 9 in
- Cut stabilizer: 25 in × 9 in
If that sounds like too much decision-making for a Tuesday night, do Option A. It is the one I reach for when I am tired and just want a basket that works.
Simple sizing rule
For boxed corners, the corner size controls the depth, and it also “uses up” some height when you fold that corner into a flat base.
- Finished depth = 2 × corner size
- Finished height ≈ cut height − top and bottom seam allowances − corner size
Here is what that looks like with the go-to size above: a 9 in cut height minus 1 in total seam allowance (1/2 in at the top, 1/2 in at the bottom) gives 8 in. Then boxing a 2 in corner reduces the side height by about 2 in, landing you at roughly 6 in tall.
I keep it practical: I make one basket, see what actually fits on the shelf, then adjust the next one by an inch or two.
Steps
1) Cut fabric and stabilizer
Choose Option A or Option B from the sizing section.
For either option:
- Cut your exterior, lining, and stabilizer pieces.
- If you are using fusible stabilizer, fuse it to the wrong side of the exterior fabric following the product instructions. Press and lift the iron, do not slide.
2) Sew the exterior
If you used Option A (two pieces):
- Place the two exterior pieces right sides together.
- Sew the two side seams and the bottom seam with a 1/2 inch seam allowance. Leave the top open.
- Press seams open if you can, or press to one side if the fabric is bulky.
If you used Option B (one long piece):
- Fold the long exterior piece right sides together so the short ends meet.
- Sew the side seam with a 1/2 inch seam allowance.
- Now sew the bottom seam shut with a 1/2 inch seam allowance. The other side is a fold, not a seam. Press seams open if possible.
3) Sew the lining (leave a turning gap)
Sew the lining the same way you sewed the exterior, but leave a 3 to 4 inch turning gap in the bottom seam. Backstitch at the start and end of the gap so it does not rip wider while you turn.
4) Box the corners (sew and trim method)
This tutorial uses the fold, stitch, then trim method. No corner cutouts, no weird jagged holes, and it works the same for both Option A and Option B.
With the exterior still wrong side out, flatten one bottom corner so the side seam lines up with the bottom seam. For Option B, you will box one corner at the side seam, and the other at the side fold.
- Pinch the corner into a triangle and smooth it flat.
- Measure 2 inches down from the point (tip) of the triangle and draw a line straight across the triangle. The line should be perpendicular to the seam or fold you lined up.
- Sew across that line. Backstitch at both ends.
- Trim the triangle point off, leaving about 1/2 inch seam allowance past your stitched line.
Repeat for the other bottom corner.
Do the same boxing steps for the lining.
5) Nest lining and exterior
Turn the exterior right side out. Keep the lining wrong side out.
Put the lining inside the exterior so right sides are together. Match side seams. Align the top raw edges and clip all the way around.
6) Sew the top edge
Sew around the top with a 1/2 inch seam allowance. Go slow over bulky seam intersections.
7) Turn and topstitch
Pull the basket right side out through the turning gap in the lining. Push the lining down inside the basket and shape the corners with your fingers.
Press the top edge so it is crisp, then topstitch around the top about 1/4 inch from the edge. Stitch the lining turning gap closed with a neat seam (machine stitching close to the edge is fine since it is hidden inside).
Optional upgrades
Add handles
For a kid-friendly handle, cut two pieces of sturdy ribbon or twill tape, about 6 inches each. Tuck the raw ends under and sew them to opposite sides of the exterior.
The easiest time to add handles is before you sew the lining to the exterior. Baste them in place on the exterior first, then they get caught in the top seam. Stitch a box with an X through it for strength.
Make it stiffer
- Use canvas or denim for the exterior.
- Use fusible fleece, or layer fusible fleece with medium interfacing.
- Keep the basket a little shorter. Tall, skinny baskets flop more.
Make it washable
Prewash fabric if you can. If you skip it, wash the finished basket on gentle and reshape it while damp. Line-dry if your stabilizer recommends it.
How I use these at home
The basket helps most when kids do not have to think. I keep our bins category-simple and kid-visible. A few setups that work in real life:
- One basket per type: markers, crayons, glue and tape, scissors, paper.
- One basket per kid: each child gets a personal “create kit” they can carry to the table.
- One basket per project: perfect for school assignments that stretch over a few days.
On weekends when we are doing quick crafts, I’ll pair these baskets with low-prep activities from our Kids Crafts guide. Everything stays contained, and cleanup is basically “dump it back in the bin.”
Troubleshooting
It will not stand up
- Use a stiffer stabilizer. Fusible fleece helps a lot.
- Try canvas or denim for the exterior.
- Reduce the height by 1 to 2 inches.
The lining peeks over the top
- Press the top edge again, then topstitch all the way around.
- Make sure your lining pieces match your exterior pieces exactly.
The corners are bulky
- Trim the boxed-corner seam allowance slightly after sewing.
- Press seams open before assembling lining and exterior.
- Use clips instead of pins if your layers are thick.
Kid help and safety
- Kids can help choose fabric, hold a ruler, and clip threads.
- Keep rotary cutters and fabric scissors out of reach when you step away, even for a second.
- If your child is sensitive to noise, earmuffs can make sewing-machine time much more pleasant.
Once you make one basket, you will start seeing basket opportunities everywhere. I have one by the front door for sidewalk chalk, one in the car for activity supplies, and one in the pantry for kids’ snack bags. Same pattern, different chaos.