
Some days the kids want to make something right now, and the last thing I want is a surprise craft-store run. That is exactly why I love pantry-staple crafts. Pasta, rice, and beans are cheap, easy to find, and they create amazing texture with almost zero setup.
Below are my favorite projects that work for a wide age range, plus the little tricks that keep cleanup reasonable in a real-life kitchen.
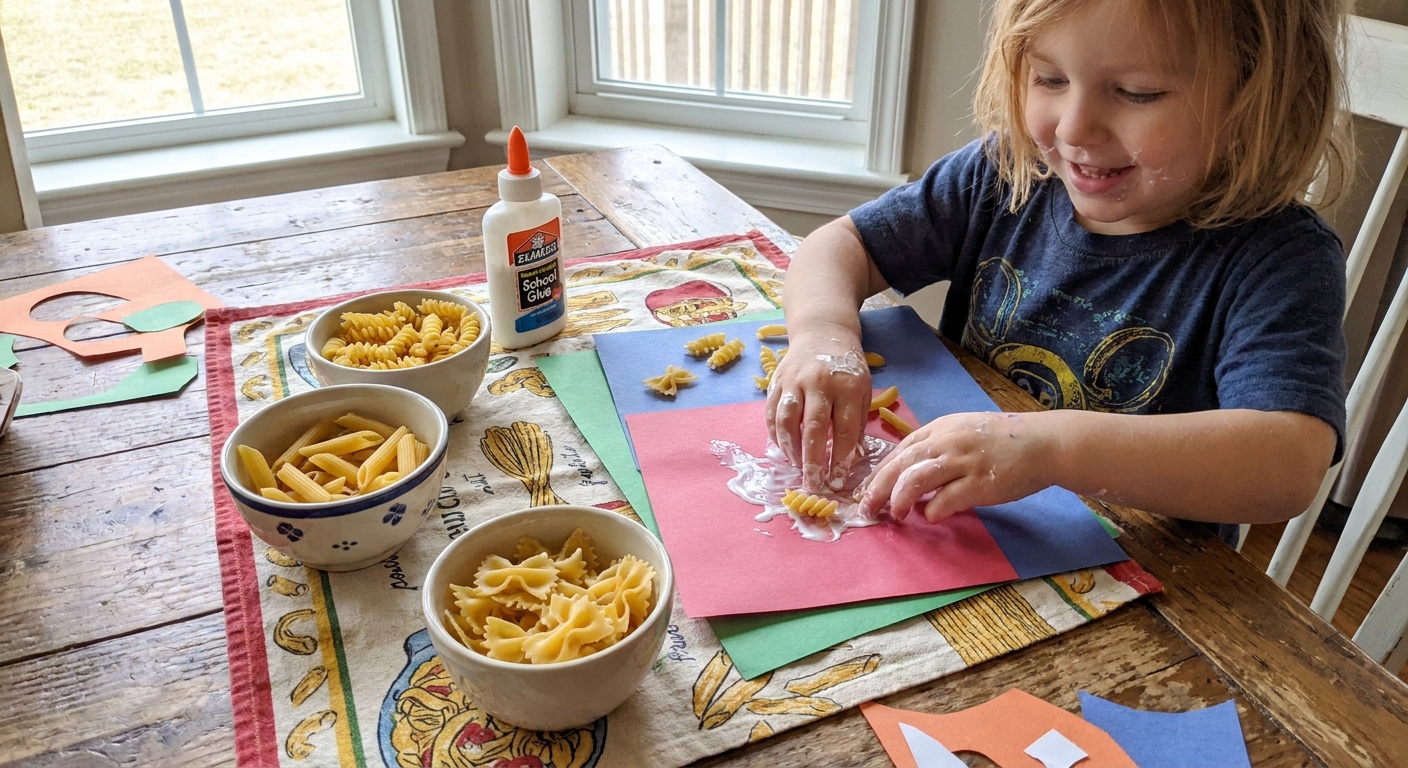
Quick setup: what to pull from the pantry
You do not need a full craft closet to make these work. Here is what I set out when I want a smooth start.
Pantry materials that work best
- Pasta: penne, rotini, shells, elbow macaroni, bowties, lasagna sheets (great for building)
- Rice: white rice gives bright color; brown rice gives a speckled, earthy look
- Beans and lentils: black beans, pinto, white beans, split peas, lentils, chickpeas
- Bonus texture: oats, popcorn kernels, dry cereal (plain shapes), coffee beans
Basic supplies
- Paper plates or muffin tin for sorting
- Cardstock or cardboard (cereal boxes work)
- White school glue, plus a small paintbrush or cotton swab for spreading
- Washable paint or markers (optional)
- String or yarn (for garlands and jewelry)
- Kid scissors (optional)
- Placemat, tray, or old baking sheet to contain the mess
My no-stress rule: only put out 2 to 4 pantry items at once. Too many choices turns crafting into ingredient confetti.
Safety notes (especially for toddlers)
Pantry crafts look harmless because they are food, but they still have real risks.
- Choking hazard: dry beans, chickpeas, and many pasta shapes are choking hazards for toddlers. For little ones, use larger pieces (big shells, lasagna sheets) and supervise closely.
- Allergies: if your child has food allergies, treat these materials like food. Skip any ingredient that is not safe in your home.
- Not for eating after crafting: once glue and paint are involved, everything is “craft supplies,” not snacks.
- Hands first: a quick hand wash after crafting saves you from mystery glue on couches later.
Textured pantry art (my top 5 projects)
These are the projects I come back to because they use simple shapes and still look impressive on the fridge.
1) Pasta collage pictures
This is the best entry-level project because kids can work at their own pace and it scales from preschool to big kids.
- Best pantry picks: rotini (spirals), shells (scales), penne (buildings), elbow macaroni (rainbows), lentils (details)
- Base: cardstock, cardboard, or a paper bag cut flat
How to do it:
- Draw a simple outline: rainbow, fish, flower, robot, or initials.
- Brush glue on one section at a time.
- Press pasta or beans into the glue. Encourage “close together like tiles.”
- Let dry flat for at least an hour, then overnight if you can.
Real-life tip: If your kid uses too much glue (mine do), it will still dry. Just plan for overnight and do not move it too soon.
2) Rice “sand art” name cards
Rice is perfect when your child wants to sprinkle and cover like they are making a tiny beach.
How to do it:
- Write a name or word in thick glue lines on cardstock.
- Place the paper on a tray.
- Sprinkle rice over the glue, press gently, then tip off the excess back into a bowl.
- Let dry, then outline with marker if desired.
Optional color: See the coloring section below if you want rainbow rice.
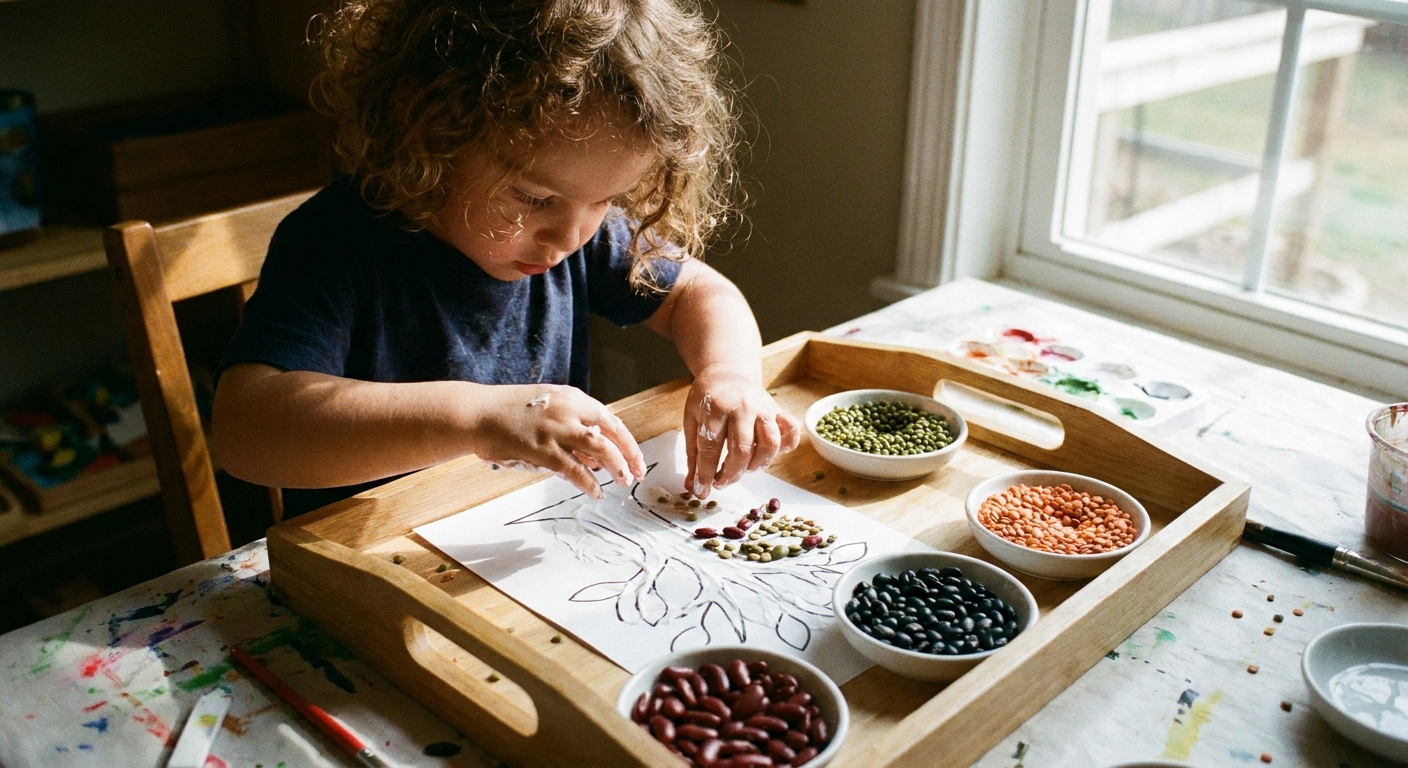
3) Bean and lentil mosaics
Older kids love this one because it feels like placing tiles. It is also great for calming, focused crafting.
- Best shapes: lentils for filling areas, beans for borders, split peas for neat lines
How to do it:
- Draw a simple shape: heart, sun, turtle shell, leaf, mandala.
- Work from the outside border inward.
- Use a cotton swab to place glue dots for tiny pieces.
4) Window sun catchers
This uses pantry items to create a light-catching look, especially if you hang it in a sunny window.
You will need: clear contact paper (or clear packing tape layered), tissue paper scraps (optional), rice or lentils
How to do it:
- Cut a simple shape out of cardstock (like a frame) and set it on the sticky side of contact paper.
- Fill the open space with rice, lentils, or tissue squares.
- Seal with another layer of contact paper.
- Trim and hang in a window.
5) Pasta builds
When kids want to build instead of glue-flat art, this is the pantry version of blocks.
Best pantry picks: penne (pillars), rotini (connectors), rigatoni (tubes), spaghetti (bridges)
How to do it:
- Use cardboard as a base.
- Build upward with glue, letting each layer sit a few minutes.
- Keep designs simple: tower, bridge, “pasta city.”
Shortcut: For older kids, a low-temp glue gun makes sturdier builds, but only with close adult supervision.
Pantry jewelry and wearables
If your kids love gifting you “treasures,” these are guaranteed winners. They are also easy to do while you are cooking because the steps are repetitive.
Pasta necklaces and bracelets
- Best pasta: penne, rigatoni, ziti, big macaroni
- String: yarn, twine, or shoelaces for younger kids (easier to grip)
How to do it:
- Cut string longer than you think you need.
- Tape one end to the table so it does not slide away.
- Thread pasta pieces in patterns.
- Tie securely and trim.
Little-kid hack: Wrap tape around the string tip like a shoelace aglet. Threading gets 10 times easier.
Dried bean “beads” (older kids)
Quick reality check from someone who has learned this the hard way: dried beans are too hard to pierce with a needle. If you want bean jewelry, you need a hole that is made with a tool, not brute force.
You will need: large dried beans (pinto, white beans, chickpeas), an adult-only push pin or small hand drill, a scrap piece of cardboard, and sturdy string or embroidery floss
How to do it:
- Adult step: Place a bean on cardboard and make a small hole with a push pin or a small hand drill. Go slowly and keep fingers clear. Discard cracked beans.
- Let kids thread the beans like beads. (If the holes are snug, use a taped yarn tip or a plastic lacing needle.)
- Finish with a double knot and trim.
My honest take: If drilling sounds like more than you want to do today, do not force it. Pasta jewelry is the zero-stress win.
Pantry instruments
This is a craft plus a toy. If your household is noise-sensitive, consider yourself warned.
Rice shaker instruments
You will need: empty clean plastic bottle, dry rice or lentils, tape, and paper for decorating
How to do it:
- Add a small amount of rice to the bottle.
- Seal the lid tightly, then tape around the lid seam.
- Wrap with paper and decorate.
How to dye pasta, rice, and beans (without fancy supplies)
If you want color, you have a few options. My goal is always: bright enough for kids, easy enough for me.
Option 1: Food coloring (best for rice)
- Put 1 cup of dry rice in a zip-top bag or container with a lid.
- Add a few drops of food coloring plus 1 teaspoon of vinegar or lemon juice.
- Shake until coated.
- Spread on a baking sheet to dry completely.
Option 2: Washable paint (best for pasta)
- Put dry pasta in a bowl.
- Add a small squirt of washable paint.
- Stir until coated.
- Spread to dry on wax paper or a silicone mat.
Note: Paint adds a slightly tacky finish until fully dry, so give it time before threading for jewelry.
Option 3: Natural colors
Black beans, red lentils, split peas, and white rice already give you a beautiful range. Sometimes the earthy look is the whole charm, and it is the easiest option by far.
Cleanup that does not ruin your evening
I love crafts, but I love bedtime even more. Here is what keeps pantry crafts from sticking around for days.
- Contain first: tray, rimmed baking sheet, or a plastic tablecloth. Even a large towel works.
- Use the “two-bowl method”: one bowl for clean ingredients, one for swept-up floor ingredients. The second bowl goes straight to the trash.
- Dry sweep before wiping: rice plus wet paper towel equals paste.
- Vacuum trick: if rice is everywhere, let it sit a few minutes so glue drips set, then vacuum the dry bits.
Pantry craft ideas by age
Toddlers (with close supervision)
- Large pasta stamping in paint
- Glue-and-stick with big shells on thick paper
- Sensory scooping with rice in a bin (no glue)
Preschool and kindergarten
- Pasta collage pictures
- Rice name cards
- Pasta necklaces with yarn
Big kids
- Bean mosaics with patterns
- Pasta builds
- Rice shaker instruments with decorated wraps
If you want more low-prep ideas that use what you already have at home, the Smart Central Kids Crafts guide is where I keep our easiest wins in one place.
FAQ
Will pantry crafts attract bugs?
Not if you treat finished projects like crafts, not food. Let glue dry fully, shake off loose grains, and store finished art in a drawer or display it out of reach of little hands. Avoid using honey, syrup, or anything sticky as an adhesive.
What glue works best for beans and pasta?
Regular white school glue works for most flat art. For heavier beans or 3D builds, tacky glue holds better. If you only have school glue, use more drying time and work in smaller sections.
How do you keep pasta from breaking while threading?
Use larger tube shapes (penne, rigatoni) and softer string like yarn. Also, do not yank the string through. Slow and steady wins here.
Can I use cooked pasta, rice, or beans?
I would not. Cooked ingredients get moldy quickly and they do not hold shape as well. Stick with dry pantry staples.
One last mom tip
If your kids are anything like mine, they will ask to do this again tomorrow. When you are already pulling pasta from the pantry, take 30 seconds to portion a little into jars or snack cups and stash them on a high shelf. Future you will feel very organized and very smug in the best way.
And if your crew is in a storytelling mood while they craft, you can pair these projects with our ideas on turning ordinary items into characters over at Household Objects as Story Characters.