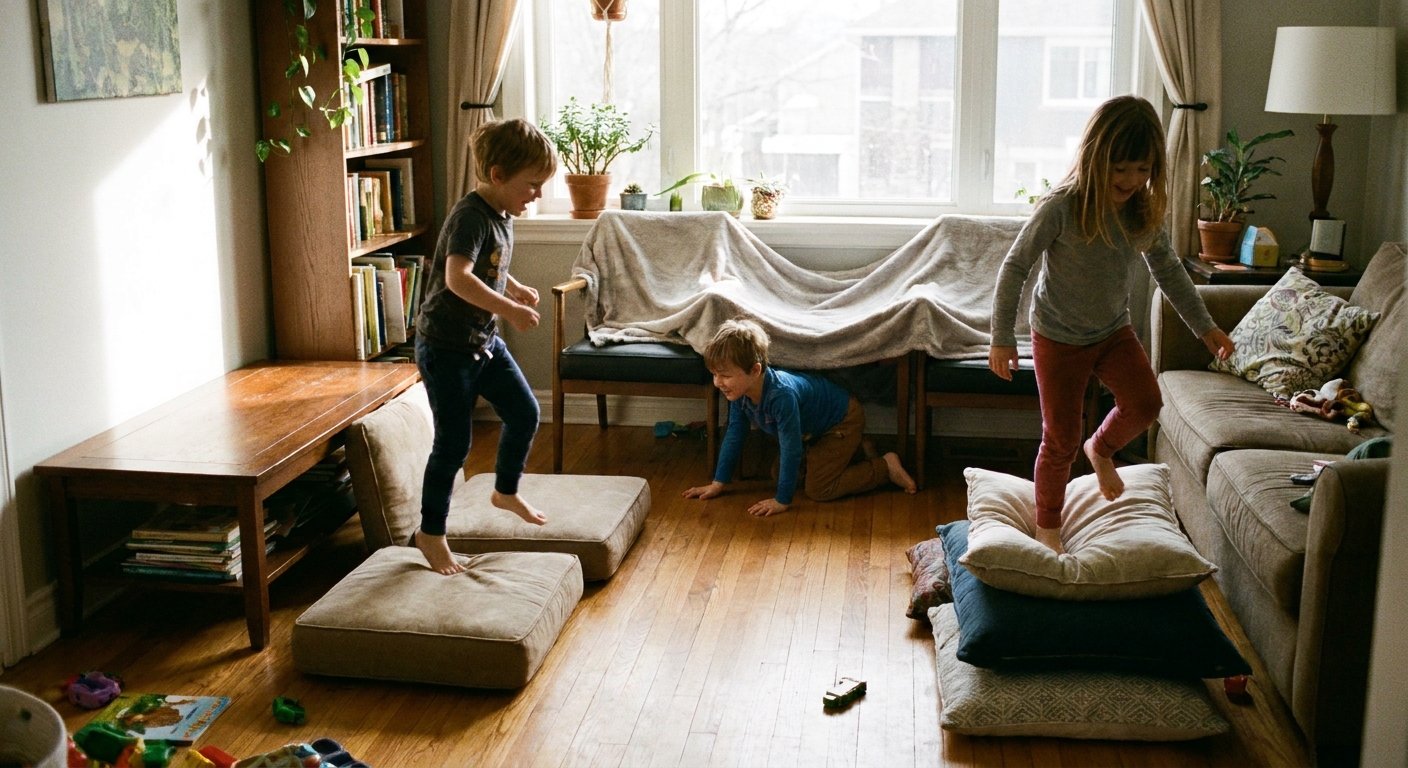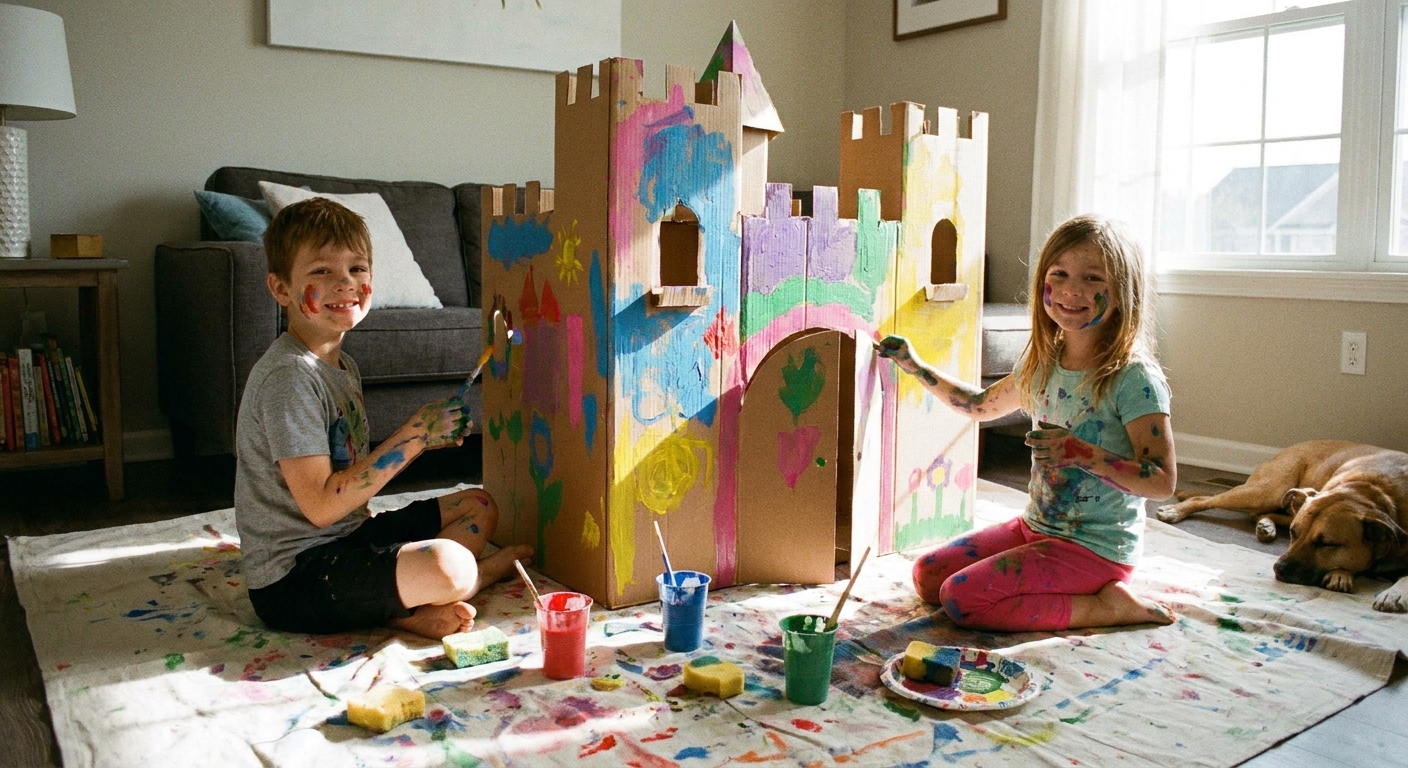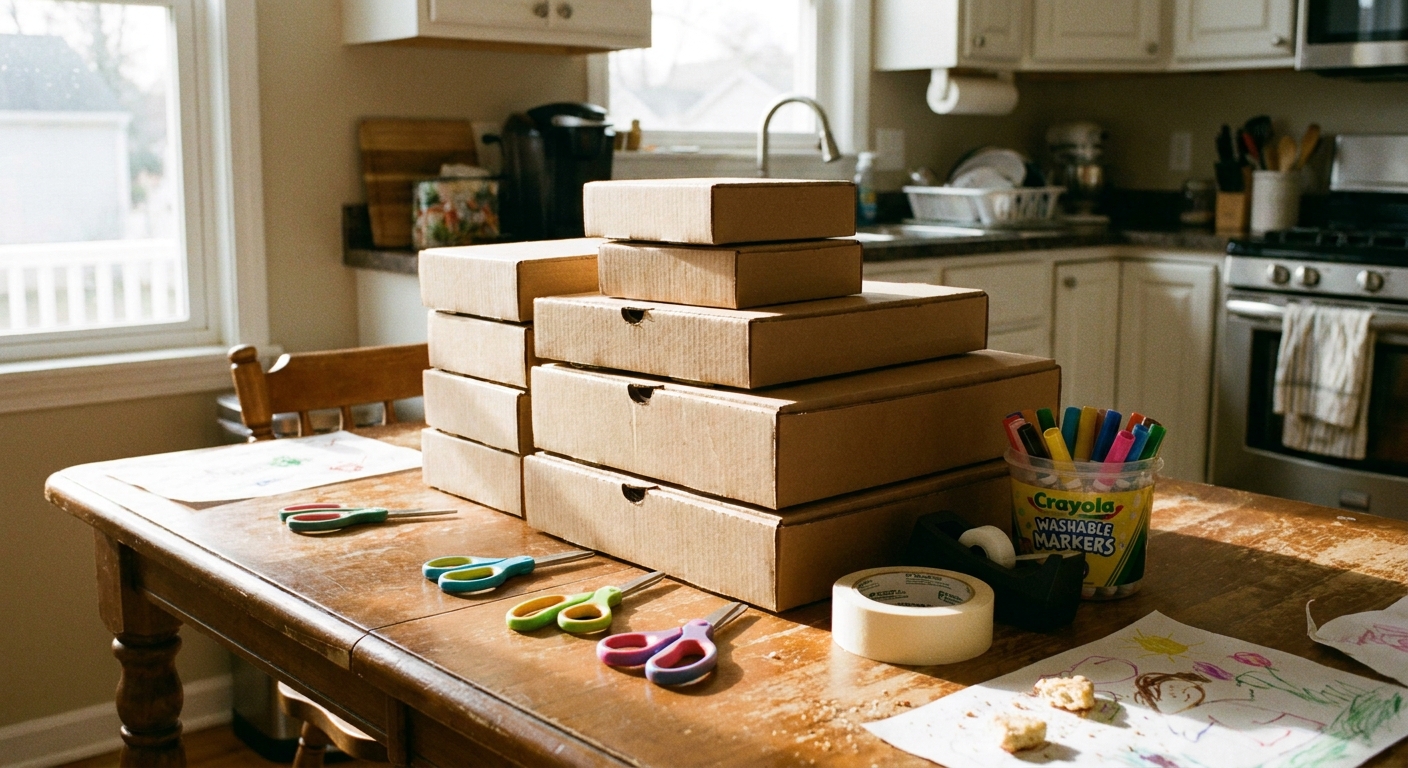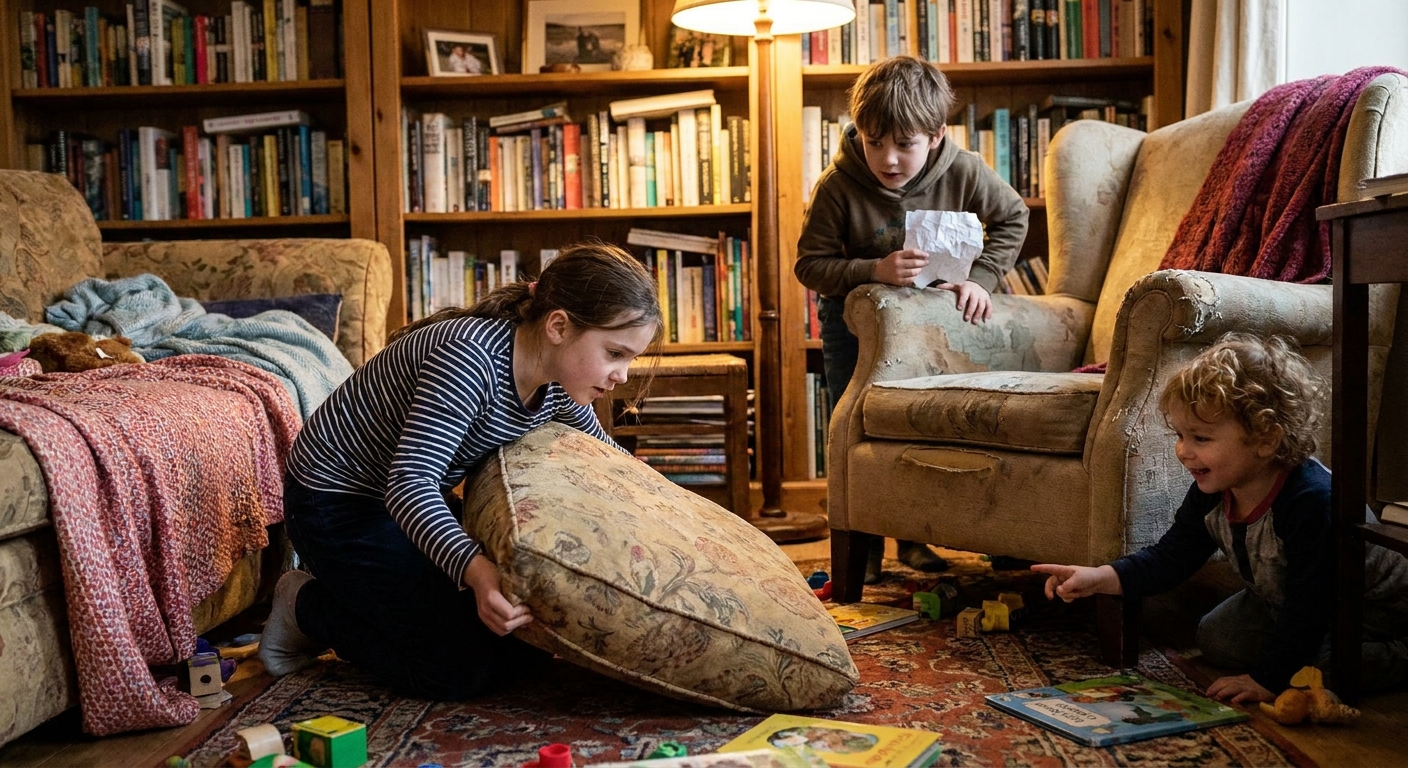

My kids can turn “We’re bored” into “We need a blanket fort RIGHT NOW” in about twelve seconds. I used to throw a sheet over a chair and hope for the best, but that usually ended with slipping blankets, toppled cushions, and someone wedging a clothespin into the coffee table like it was a structural beam.
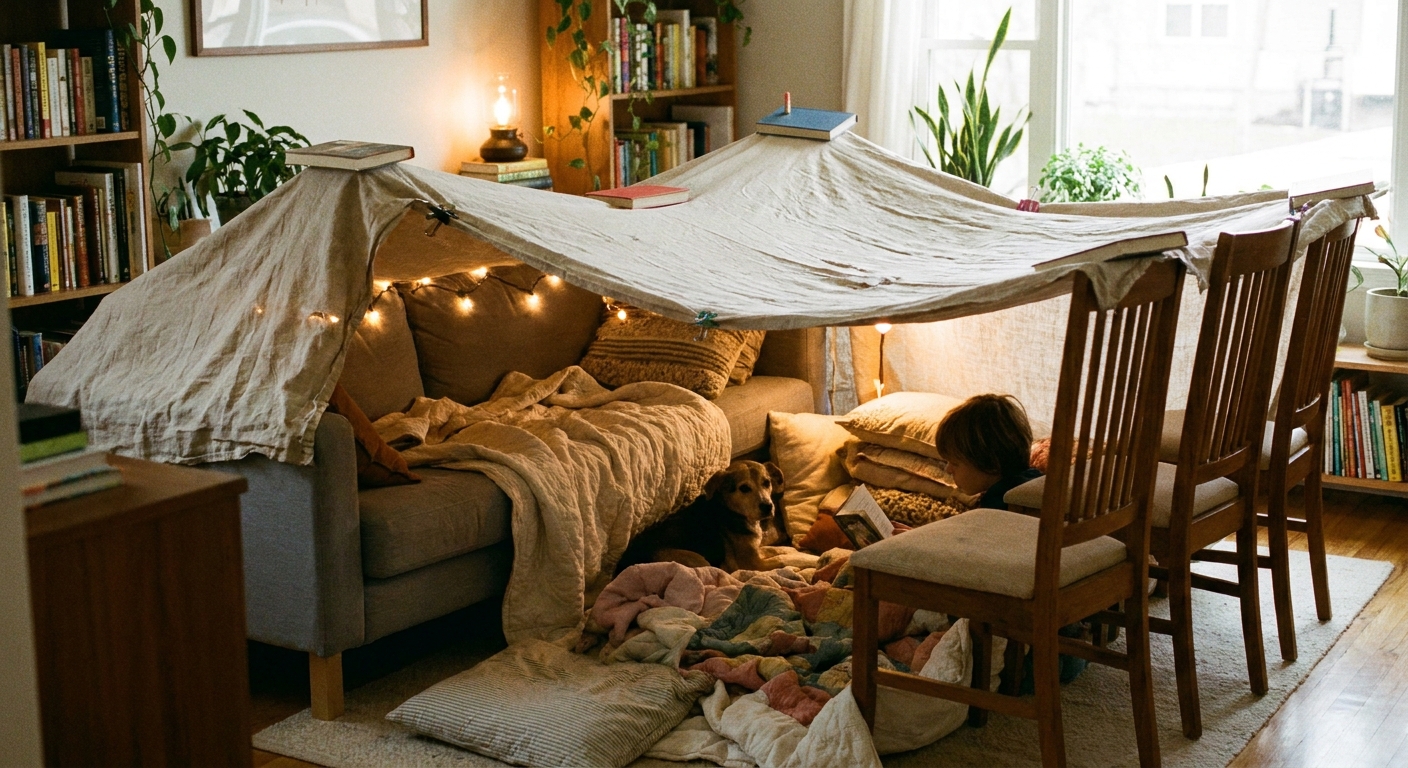
Here’s the method that finally stuck in our house: a sturdy blanket fort you can build in under 10 minutes, using what you already have, and without taping anything to wood, yanking on drawers, or leaving clamp marks on furniture.
The 2-minute setup: pick the right spot
If you want a fort that stays up, start with a location that does half the work for you.
- Best option: Between a sofa and a wall, or a sofa and two dining chairs. The sofa gives weight and height, the wall helps prevent sliding.
- Good option: Over a sturdy table (coffee table or dining table) with a blanket draped to the floor.
- Avoid: Light folding chairs, wheeled office chairs, and anything your child can drag mid-build.
Quick floor tip: Chairs scoot more on hardwood and tile. If you are on a slippery floor, put a rug, yoga mat, or even a folded blanket under the chair legs (and have kids build without socks if that helps).
My rule: Choose a footprint where at least one side is “heavy” (sofa or table). Two light chairs and a sheet is not engineering, it is wishful thinking.
Your no-damage supply stash
You do not need special fort kits. These are the MVPs that won’t scratch furniture or leave sticky residue.
- Blankets: one heavier blanket (quilt or fleece) plus one sheet (for extra coverage)
- Clips: clothespins, binder clips, or chip clips (use the strongest clips for the roof points)
- Soft buffer: a couple of dish towels, washcloths, or pillowcases
- Weight: books, unopened pantry items, or filled water bottles (for anchoring edges)
- Pillows/cushions: for braces and interior comfort
- Optional: a laundry basket for an instant “tunnel” section
Quick safety note: Keep weights out of the crawling path so nobody bonks a knee or toes. Skip anything in glass (no jars) and choose larger, heavier items if toddlers are around (small objects can be tempting).
Surface protection note: Skip anything that clamps hard metal directly on finished wood. If you use binder clips, add a towel layer first and test a small spot if you have delicate finishes.
The 10-minute sturdy fort method
Minute 0 to 2: Build the frame
- Park the sofa as your anchor. This is your “foundation wall.”
- Set two chairs 3 to 4 feet from the sofa with their backs facing the sofa (chair backs make better posts).
- Brace the chair legs. Slide a couch cushion or a heavy pillow against the outside of each chair leg. This stops the classic chair scoot.
Minute 2 to 5: Drape the roof
- Use the heavy blanket as the roof. Center it so equal weight hangs on both sides.
- Make a “ridge line” with the chair backs. Pull the blanket taut across the chair backs before you clip anything.
- Lock the ridge. Clip the blanket to each chair back with a clothespin or strong chip clip. If the chair back is wide, use two clips per chair.
Why this works: You are creating tension across a high point first. Loose drapes sag, sagging drapes slide.
Minute 5 to 8: Anchor the edges
- Anchor the sofa side with the sofa-cushion tuck. Tuck the blanket edge under the bottom sofa cushions (lift, tuck 6 to 10 inches, drop). In our experience, it usually leaves no marks and holds like a champ, but test gently if your sofa has delicate trim or easily-shifted cushions.
- Anchor the floor edges with weights. Roll the hanging edge of the blanket around a book or water bottle like a burrito, then push it slightly under the fort edge. Kids can still crawl in, but the blanket will not creep.
- Close gaps with a sheet. Drape a sheet over any open side and clip sheet-to-blanket (not sheet-to-furniture). Binder clips work great here with a towel layer if needed.
Minute 8 to 10: Add one “beam”
This is my favorite hack: put a firm pillow horizontally between the two chair seats (or between chair seat and the sofa edge). Push it toward the front edges of the seats so it cannot slide down. It acts like a brace, keeping posts from leaning inward when kids climb in.
Then toss in pillows, a folded blanket, and you have a cozy, stable hideaway.
Clipping hacks that hold
Clip blanket-to-blanket first
Instead of clipping onto furniture, overlap two blankets by 6 inches and clip along the overlap every 8 to 12 inches. This makes a surprisingly strong seam.
Use a soft sandwich
If you need to clip at a chair back or table edge, protect surfaces like this:
- Place a washcloth over the contact point.
- Clip through washcloth plus blanket.
- Keep the clip pressure on fabric, not on wood.
Binder clip upgrade: double-clip
For slippery sheets, clip once, then add a second clip right next to it to spread the load. Slippery fabric fails at one stressed point. Two clips reduce that.
3 fast fort designs
1) The Sofa Cave
Tuck a blanket under sofa cushions, drape to the floor, and weight the edge with books. Add a sheet “door” clipped to the blanket edge. This is perfect when you have 3 minutes and someone is already crawling under the coffee table.
2) The Table Tent
Drape a large blanket over the dining table so it reaches the floor on all sides. Use chip clips to pinch corners together where needed. Put a pillow at each opening as a “door jamb” to keep the blanket from blowing open.
3) The Chair Bridge
Line up 3 to 4 chairs in a row, backs facing the same direction. Drape a blanket across all chair backs like a long roof, then add a sheet on one side clipped to the roof blanket.
If your kids love movement, pair this with an indoor activity like an obstacle course and let the fort be the “finish line.” Our family’s go-to is this one: 10 fast indoor obstacle course ideas using living room furniture.
Make it cozy and safe
- Ventilation: Leave a small gap near the floor on one side, or make a loose “door flap” instead of sealing every edge.
- Lighting: Use a battery-powered LED tea light or flashlight. Skip candles, space heaters, and anything with heat. Also skip plugged-in lamps or string lights inside the fort where fabric can press against a bulb or cord.
- Floor comfort: A folded blanket or yoga mat under the fort keeps knees happy and helps stop blanket drift.
- Supervision: If your build uses chairs or a table, keep an adult in the loop, especially with toddlers. We do not leave forts up unsupervised with little kids who might try to climb.
- Rules that help: No jumping on chairs, no pulling on the roof, and feet-first crawling if you have toddlers.
Common problems
The blanket keeps sliding off
- Switch the roof to a heavier blanket.
- Create tension first: pull taut across chair backs before clipping.
- Anchor at the source: tuck under sofa cushions or put a weight on the top edge (a book wrapped inside a towel works).
Clips pop off
- Clip closer to a seam or thicker fold of fabric.
- Use two clips instead of one at stress points.
- Overlap blankets more before clipping (aim for 6 inches).
- Upgrade your roof clips: if chip clips are weak, switch the roof points to binder clips with a fabric buffer.
Chairs scoot inward
- Brace chair legs with couch cushions on the outside.
- Add the beam pillow between chair seats.
- Reduce the span: move chairs 6 inches closer to the sofa.
The fort collapses when kids enter
- Increase the doorway size so kids do not drag the roof while crawling in.
- Make one side a flap instead of a tight tunnel.
- Use a table as the main support if you have very active climbers.
Turn it into a calm activity
Once the fort is up, I like to shift the energy from “build and destroy” to “settle and play.” A few easy options:
- Story time: Pick one short story and keep a flashlight nearby. If you need quick ideas, 5-minute bedtime stories that help kids sleep is a great starting point.
- Quiet game: Tell an add-a-sentence story where everyone contributes one line. We do it at dinner too: The add-a-sentence dinner table story.
- Reset ritual: When you are done, make it a game to pack the fort away fast. If your kids respond to races, you might like The 10-minute family tidy-up game.
My sturdy fort checklist
- One heavy anchor (sofa or table)
- Posts braced (cushions outside chair legs)
- Tension across the top before clipping
- Clip blanket-to-blanket first
- Sofa-cushion tuck instead of tape
- Weights on floor edges, placed out of the crawling path
- Breathable opening, not sealed tight
- Safe lighting (LED or flashlight only)
If you build it this way, it stops being a flimsy sheet situation and starts feeling like an actual little room your kids can enjoy without constant repairs. Which, in my book, is the whole point.