

On the days when my calendar is loud, the dog is louder, and someone is asking for a craft right now, I reach for one thing: aluminum foil. It is already in the drawer, it needs no drying time, and it is shockingly satisfying for kids to shape. If you have ever wished for a craft that feels like art class but runs like a snack break, foil sculptures are it.
Why foil sculptures work on hectic days
- No glue, no paint, no waiting. Kids can build, squish, and redo instantly.
- Minimal setup. Foil and a clear table space are enough.
- Easy to scale by age. Toddlers crumple and press, big kids can add joints and details.
- Low mess. Cleanup is usually smoothing the table and gathering scraps. If your local recycling accepts clean foil, you can recycle it. If not, toss it.
If you like crafts that start fast and stay contained, you might also enjoy my approach to keeping supplies under control in Five-Minute Mess-Free Craft Station for Toddlers.
What you need (and what you do not)
Supplies
- Aluminum foil (any standard kitchen roll)
- Optional: a second sheet for an “outer wrap” (a smooth finishing layer that also helps cover sharp edges)
- Optional: a tray or placemat to define the workspace (bonus: it dampens the crinkle sound)
Nice extras (still no glue)
- Safety scissors (for older kids, with supervision) to cut fringe or simple shapes
- Permanent marker (for older kids) to add tiny eyes or symbols. Let the ink dry fully, and keep marked pieces away from kids who still mouth toys.
- String or yarn (to turn pieces into jewelry, wrapped and twisted closed)
Skip: tape, glue, paint, and tiny add-ons that need adhesive. The whole point is a craft you can start with what you already have.
Safety and sanity notes
- Watch sharp edges. Foil can create pointy corners. Teach kids to fold edges inward and press them flat.
- Age guide: Kids under 3 should do big, simple shapes with close supervision, and no small detachable pieces.
- Foil is not a toy for mouths. Keep it out of reach for babies who are still in the “taste everything” phase.
- Noise and sensory note: Foil can be loud. If your child is sound-sensitive, work on a placemat or towel and use bigger sheets (less frantic crinkling).
- Trash plan: Designate one bowl for scraps so they do not travel through the house.
The basic method: crumple, shape, wrap
This is the method I use to help kids make sturdier sculptures that hold their shape, instead of turning into foil pancakes five minutes later.
Step 1: Make a firm core
Tear off a sheet and crumple it into a tight ball, log, or egg shape. The tighter the crumple, the stronger the sculpture.
Easy sizing: For toddlers, start with a half-sheet so it stays manageable. For older kids, a full sheet gives them more to work with.
Step 2: Pinch out parts
Pinch and pull small sections to create ears, legs, arms, or a tail. Tell kids: pinch to make, press to strengthen.
Step 3: Reinforce weak spots
If a neck, ankle, or wrist looks floppy, wrap a thin strip of foil around that “joint” like a brace and squeeze snug.
Step 4: Smooth with an outer wrap
For a nicer finish, lay the sculpture on a new sheet of foil and wrap it like a burrito. Twist excess foil underneath, then gently smooth with your fingers.
My mom trick: When kids get frustrated, I remind them foil is built for do-overs. Unwrap, fix the core, and rewrap.
And yes: the shiny side versus dull side does not matter for crafting. Kids always ask.
Project 1: Foil animals
Animals are the best place to start because “close enough” still looks adorable.
Foil snake (toddler-friendly)
- Crumple a long strip into a rope.
- Fold one end slightly wider for the head.
- Press a flat belly so it sits still.
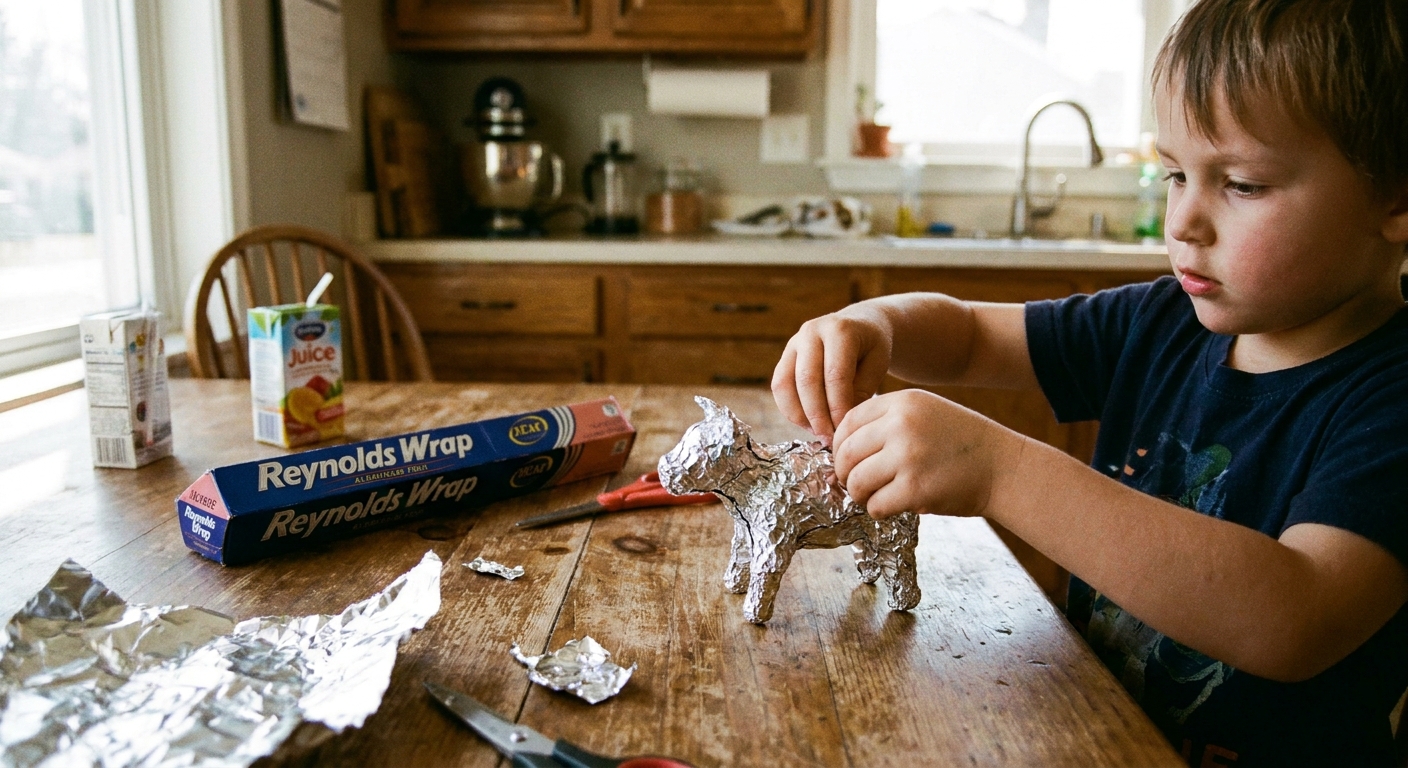
Foil cat or dog
- Crumple an egg shape for the body.
- Pinch four little legs by pulling down corners.
- Add a tail by twisting a small strip and pressing it into the back.
- Make ears by pinching two points at the head end.
Detail level options: Older kids can add a collar by wrapping a thin strip around the neck. No tape needed, just twist and press.
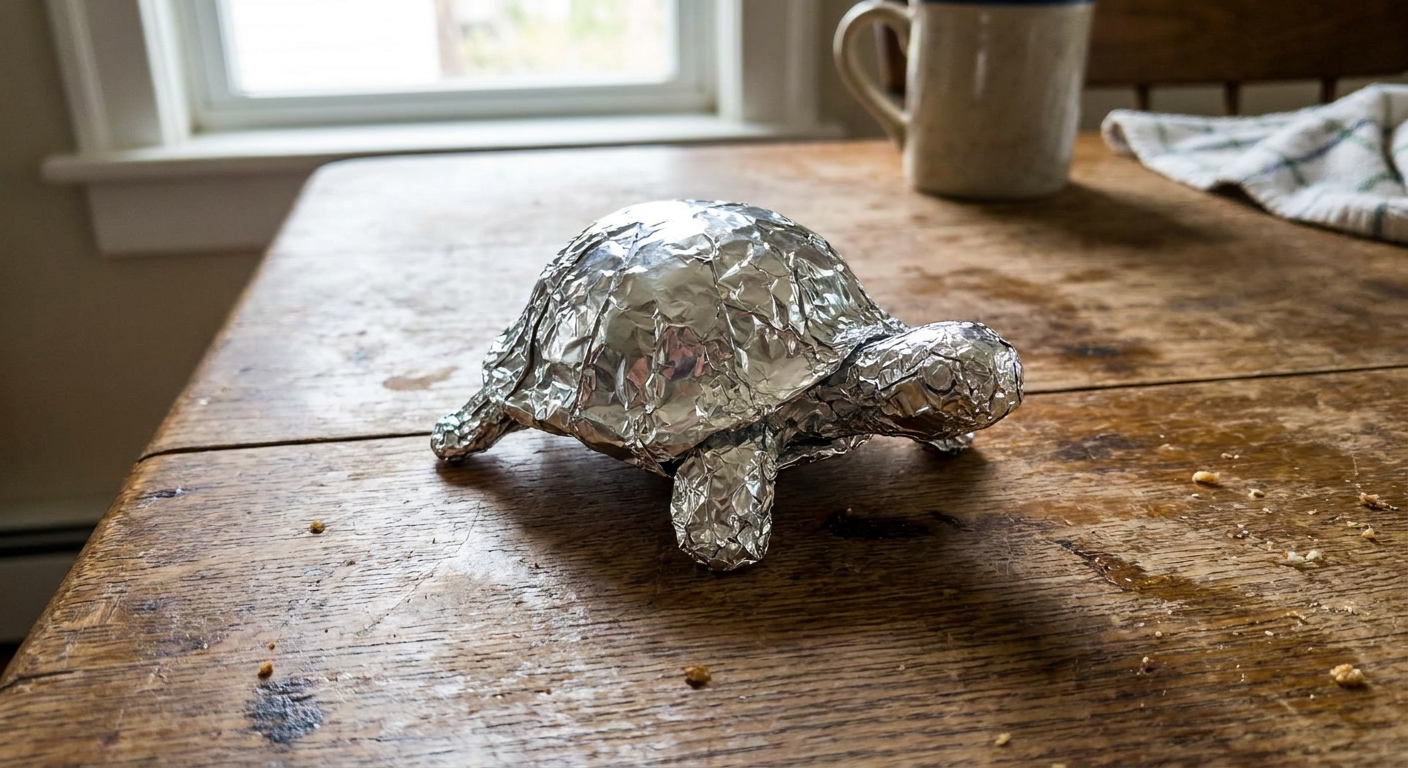
Foil turtle
- Crumple a ball for the shell and press it into a dome.
- Flatten a smaller piece into an oval for the belly plate.
- Pinch out four short legs and a tiny head.
- Wrap the dome with a smooth sheet to lock everything together.
Project 2: Foil figures and creatures
This is where foil turns into a true quiet-time win, because kids can build a whole cast without needing a single extra supply.
Make a simple armature
- Roll one sheet into a long, tight “spine.”
- Roll a second sheet into a thinner “arms bar.”
- Wrap the arms bar around the spine about one-third down from the top and twist to secure.
- Split the bottom of the spine into two legs by tearing or pinching and separating.
Bulk it up
Wrap additional foil around the torso, thighs, and shoulders. Press firmly so it stays.
Add personality without extra materials
- Helmet or crown: wrap a band around the head and fold edges inward.
- Shield: flatten a circle and fold the edge over once to thicken it.
- Wings: flatten two triangles, then crinkle lightly for texture.
- Tail: twist a strip and brace it with an extra wrap at the base.
If your kids love building characters, pair this with a story prompt game. We use quick prompts from 50 Quick Story Starters for Parents Who Have Run Out of Ideas and let the foil figure star in the story.
Project 3: Foil jewelry
Foil jewelry is perfect when kids want something they can wear and show off immediately. The key is comfort: smooth edges and a slightly thicker band.
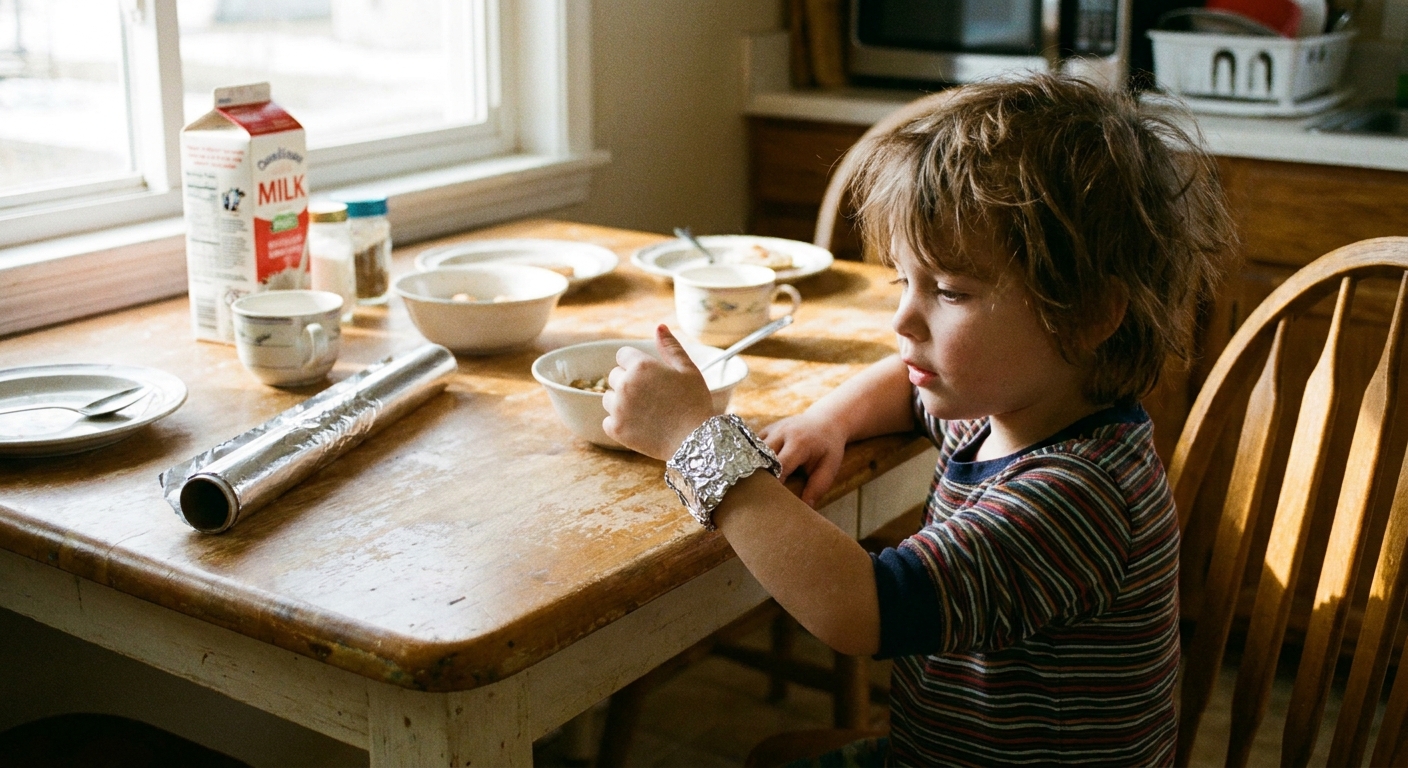
Simple bracelet
- Tear a long sheet and fold it lengthwise several times into a thick strip.
- Wrap it around the wrist loosely.
- Overlap the ends and twist gently, then tuck the twist flat so it does not scratch.
Ring
- Roll a small strip into a cord.
- Wrap around a finger, overlap, and pinch closed.
- Add a “gem” by crumpling a tiny ball and pressing it on top with an extra wrap.
Pendant on yarn
- Crumple a heart, star, or coin shape.
- Pinch a small loop at the top by folding a little tab back onto itself.
- Thread yarn through the loop and tie.
Make it a 20-minute Foil Studio
When I need this activity to actually buy me time, I give it a simple structure that feels fun, not bossy.
- 2 minutes: Choose a theme (zoo, superheroes, ocean, jewelry store).
- 10 minutes: Build quietly. Everyone makes two creations.
- 5 minutes: “Gallery walk” where each kid names their piece.
- 3 minutes: Cleanup challenge: all scraps into the bowl, sculptures on a tray.
For other quick, low-prep craft ideas that use what you already have, Pantry Staple Crafts With Pasta, Rice, and Beans is another favorite in our house.
Troubleshooting
“It keeps collapsing.”
The core is too loose. Have your child crumple tighter, then add an outer wrap to lock it in.
“The legs keep tearing off.”
Instead of making skinny legs, pinch thicker legs and brace the “hip” with an extra strip wrapped around the body.
“It is too poky.”
Fold edges inward, then press flat with your thumb. A final wrap fixes most sharp spots.
“My kid is mad it does not look real.”
Shift the goal. Pick one thing to focus on (big ears, long tail, cool armor). Foil is amazing for bold shapes, not tiny precision.
Storing foil creations
Foil sculptures are lightweight, which is great until they migrate to every surface you own. Here is what works for us:
- One tray rule: each child gets one tray or shoebox lid for the week’s creations.
- Photo and clear out: snap a quick picture, then recycle or toss older pieces to make room for new ones.
- Parts bin for ongoing builds: a small container for wings, tails, helmets, and accessories kids want to reuse.
Quick variations
- Foil + story time: Build a character, then play one round of The Add-a-Sentence Dinner Table Story.
- Foil challenge cards (no printing): Write three prompts on scrap paper: “make something that flies,” “make something with four legs,” “make something you can wear.”
- Texture play: Let kids crinkle for scales, smooth for robots, and twist for rope details.
FAQ
Is aluminum foil safe for kids to craft with?
Generally yes with supervision. The main issues are sharp edges and small pieces. Teach kids to fold edges inward and keep tiny bits away from very young children.
Does it matter what kind of foil I use?
Not really. Standard kitchen foil works great. Heavy-duty foil holds shape a little longer, but the basic crumple and wrap method matters more than the type.
Can we save sculptures for later?
Yes. Store them on a tray or in a shallow box where they will not get crushed. If something bends, you can usually reshape it in seconds.