

I love a good printable. Chore charts, memory games, morning routine checklists, you name it. What I do not love is reprinting the same page every three days because someone spilled water, erased through the paper, or fed the corner to the dog.
The good news is you can get that wipe-clean, sturdy “laminated” feel without owning a laminating machine. Below are the methods I have used in real life, with three kids, a busy schedule, and exactly zero patience for fussy steps.
Before you start: paper and ink
- Use heavier paper when you can. Regular copy paper works, but 28 to 32 lb paper or light cardstock often holds up better under tape and adhesive sheets.
- Let ink fully dry. If you are using an inkjet printer, give the page a few minutes, or wait until it is dry to the touch, before covering it so it does not smear.
- Trim first, then “laminate.” Cut your printable to final size before you cover it. It is faster and you get cleaner edges.
- Decide how you will use it. If it will live in a binder, a page protector is easiest. If it will be handled daily, adhesive sheets or tape last longer.
If you print a lot, my sanity saver has been choosing a printer setup that does not make me dread refills. This guide can help you think it through: Best printers for heavy volume family printables: EcoTank vs. laser.
Method 1: Clear packing tape
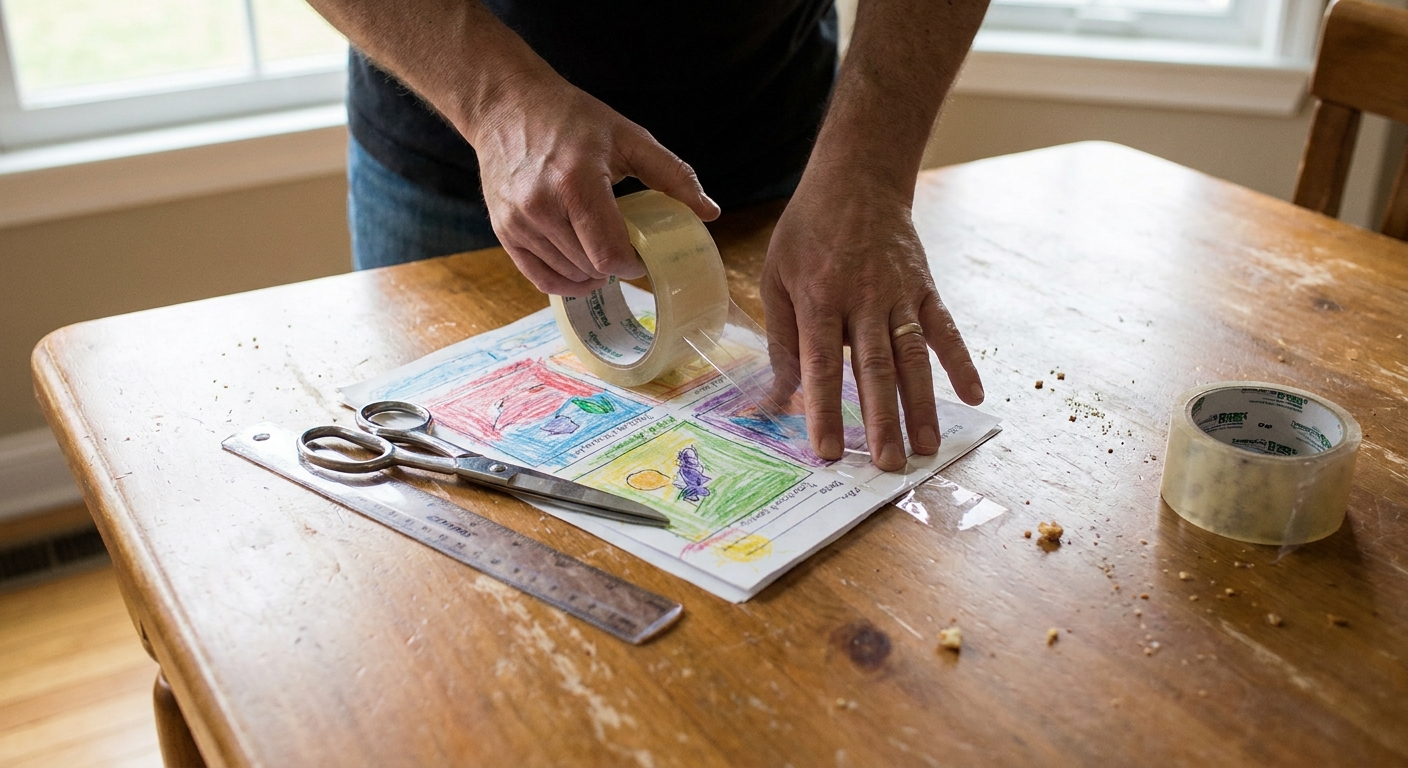
This is my quickest method for small cards, labels, and “I need this to survive today” printables.
What you need
- Clear packing tape (wide tape is easier)
- Scissors or craft knife
- Ruler or old gift card for smoothing
Steps
- Start on a clean, dry surface. Crumbs are bubble factories.
- Lay the printable face-up. Tape one edge down with a small piece of tape so it does not shift.
- Apply tape strips across the page with slight overlap. I overlap by about 1/8 inch so there are no gaps. On full pages, seams are basically unavoidable unless you have extra-wide tape.
- Work from one side and smooth as you go. I start at the left edge and move right so I do not slowly drift crooked. Use a ruler or gift card and press outward from the center to the edges.
- Flip and repeat on the back. If the back does not matter, you can skip this, but double-sided lasts longer and wipes cleaner.
- Trim, leaving a tiny tape border. Leave about 1/16 to 1/8 inch of tape around the paper so the tape seals to tape, not paper to air.
- Round the corners. Especially if little kids will handle it. Sharp taped corners can poke.
Where it shines
- Flashcards and matching games
- Name tags for bins
- Quick routine checklists
Watch-outs
- Tape can yellow over time (depends on brand and sun exposure).
- On larger pages, seams can catch on markers or cloths when wiping.
- Do not leave taped pages in a hot car. Heat can soften adhesive and cause bubbling or peeling.
Method 2: Self-adhesive laminating sheets
These are sometimes called “cold laminating sheets.” There are two common types: pouch-style sheets that seal plastic to plastic around your page, and single-sided adhesive films that stick directly to the paper. Both work, they just feel a little different.
What you need
- Self-adhesive laminating sheets (letter size is most common)
- Scissors or paper trimmer
- Ruler or smoothing card
Steps
- Peel back just a couple inches of the backing. Do not fully peel or you will fight static and wrinkles.
- Anchor the top edge of the printable. Align carefully before anything sticks.
- Slowly pull the backing away while smoothing downward. Work from the center outward.
- Seal the back if needed. Pouch-style products cover front and back in one go. If you are using single-sided film, you can leave the back bare, or add a second sheet for more durability.
- Trim leaving a sealed border. Just like tape, leaving a small border keeps edges from peeling.
- Round the corners. It takes five seconds and saves a lot of little scratches.
Where it shines
- Reusable worksheets (trace letters, practice math)
- Chore charts and weekly schedules
- Anything that will be wiped daily
Quick note on erase-ability: Dry erase performance varies by brand and by the type of plastic. If something smudges easily, switch to wet erase for that item.
Method 3: Page protectors in a binder
If you want “laminated” functionality without sticking anything to paper, page protectors are the simplest answer.
What you need
- Sheet protectors
- A binder (optional but helpful)
- Dry erase marker and a soft cloth
How to use it
- Slide the printable into the page protector.
- Write on the outside with a dry erase marker.
- Wipe clean with a soft cloth.
This is especially great for a “reusable binder” setup where you rotate morning routine pages, homework checklists, or weekly chore charts. If you like this kind of system, you may also enjoy: Reusable boredom buster binder for rainy days.
Pro tips from my house
- Use top-loading protectors for kids. Side-loading can rip sooner with little hands, at least in my experience.
- Wipe daily for best results. If marker sits for days, some protectors can get faint “ghosting.”
- Try wet erase markers for fewer smudges. They wipe off with a damp cloth and do not smear as easily as dry erase.
Method 4: Clear contact paper
Contact paper is affordable coverage for large items like a family rules poster, an alphabet chart, or a long checklist you want to hang on the wall.
What you need
- Clear contact paper roll
- Scissors
- Ruler or smoothing tool
Steps
- Cut a piece larger than your printable. Give yourself at least 1 inch extra on all sides.
- Peel a small section of backing. Start at one edge.
- Lay the printable down and smooth slowly. Work in small sections to avoid trapped bubbles.
- Flip and cover the back (optional). For wall items, single-sided is often enough. For reusable charts, cover both sides.
- Trim and seal edges. If edges will be handled, fold the extra contact paper to the back for a cleaner seal.
- Round the corners. Especially for door or fridge charts that kids brush past all day.
Watch-outs
- Contact paper can wrinkle if you rush. Go slow.
- It can be glossy, which sometimes causes glare on the wall.
- Avoid leaving contact-paper charts in hot cars or direct sun for long stretches. Heat can make adhesive bubble.
Method 5: Zipper bag sleeve
For odd-shaped printables or game pieces you want to keep together, a simple clear zipper bag can act like a reusable sleeve.
Great uses
- Travel tic-tac-toe or scavenger hunts
- Reusable “I spy” pages
- Small sets of cards plus a dry erase marker
How to do it
- Slip the page inside.
- If it slides around, tape the top corners of the paper to the bag from the inside.
- Write on the outside with dry erase or wet erase marker.
Markers that wipe clean
If you are doing reusable worksheets, here is what has worked best in our house.
- Dry erase: easiest to wipe, easiest to smudge. Great for quick practice at the table.
- Wet erase: less smudge, wipes with a damp cloth. Best for routine charts hanging on a door or fridge.
- Cloth choice: microfiber removes marker cleanly without scratching up plastic.
And if you are letting younger kids color first and you are trying to avoid stains before you “laminate,” washable supplies matter. I keep a running list here: Best washable kids markers and paints.
Troubleshooting
Bubbles under tape or adhesive sheets
- Prevention: smooth from center outward as you apply, in small sections.
- Fix: prick the bubble with a pin and press the air out toward the hole.
Edges peeling up
- Prevention: always leave a small sealed border so plastic adheres to plastic.
- Fix: reinforce edges with a thin strip of clear tape around the perimeter.
Printable looks cloudy
- Some tapes and contact papers are less clear than others. For anything with small text, self-adhesive laminating sheets tend to look the crispest.
Marker will not erase cleanly
- Try a different marker type. Some permanent markers look similar to dry erase.
- For stubborn residue, try a tiny bit of rubbing alcohol on a cloth, then wipe with water and dry. Spot-test first since alcohol can haze or soften some plastics.
- If marker sits too long, you may see faint ghosting, especially on cheaper page protectors. A quick daily wipe helps.
Which method should you use?
| Method | Best for | Why I use it |
|---|---|---|
| Clear packing tape | Small cards, quick fixes | Cheap, fast, already in most homes |
| Self-adhesive laminating sheets | Daily-use charts, reusable worksheets | Most like real lamination, smooth wipe-clean surface |
| Page protectors | Binders, learning journals, routines | No sticking, easy to swap pages, kid friendly |
| Clear contact paper | Large posters and long-term wall items | Covers big areas quickly, budget-friendly for size |
| Zipper bag sleeve | Odd sizes, travel activities | Instant “reusable,” stores pieces together |
Storage that stays simple
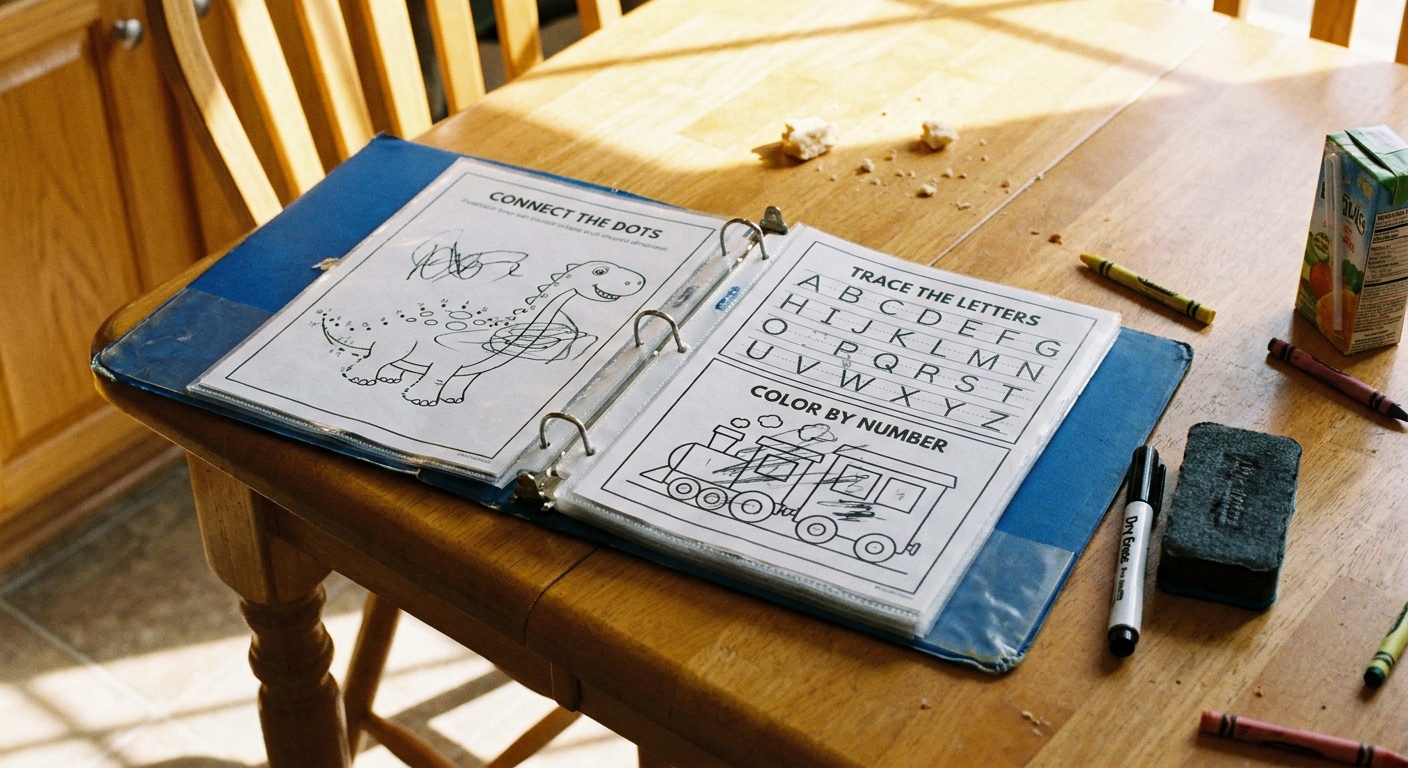
- Keep one binder for reusable pages. Page protectors make it easy to rotate activities without reprinting.
- Store game cards in one small box. If you need ideas for quick storage wins, you might like my approach to keeping kid supplies contained: How to make a fabric storage basket for kids craft supplies.
- Label by purpose, not by perfection. “Car,” “Quiet Time,” “School,” “Chores” beats a complicated system you will not maintain.
FAQ
Can I use an iron to laminate without a machine?
I do not recommend it for most families. Heat can warp plastic, damage surfaces, and it is tricky to keep safe around kids. Cold methods like self-adhesive sheets, tape, and page protectors are safer and simpler.
Is tape lamination waterproof?
It is water-resistant, especially if you seal the edges with a tape border. It is not truly waterproof if water can reach an unsealed edge.
What is the most durable no-machine option?
Self-adhesive laminating pouches tend to hold up best for daily handling, followed by contact paper for larger items. For binders, page protectors last a long time because the plastic takes the wear, not the paper.