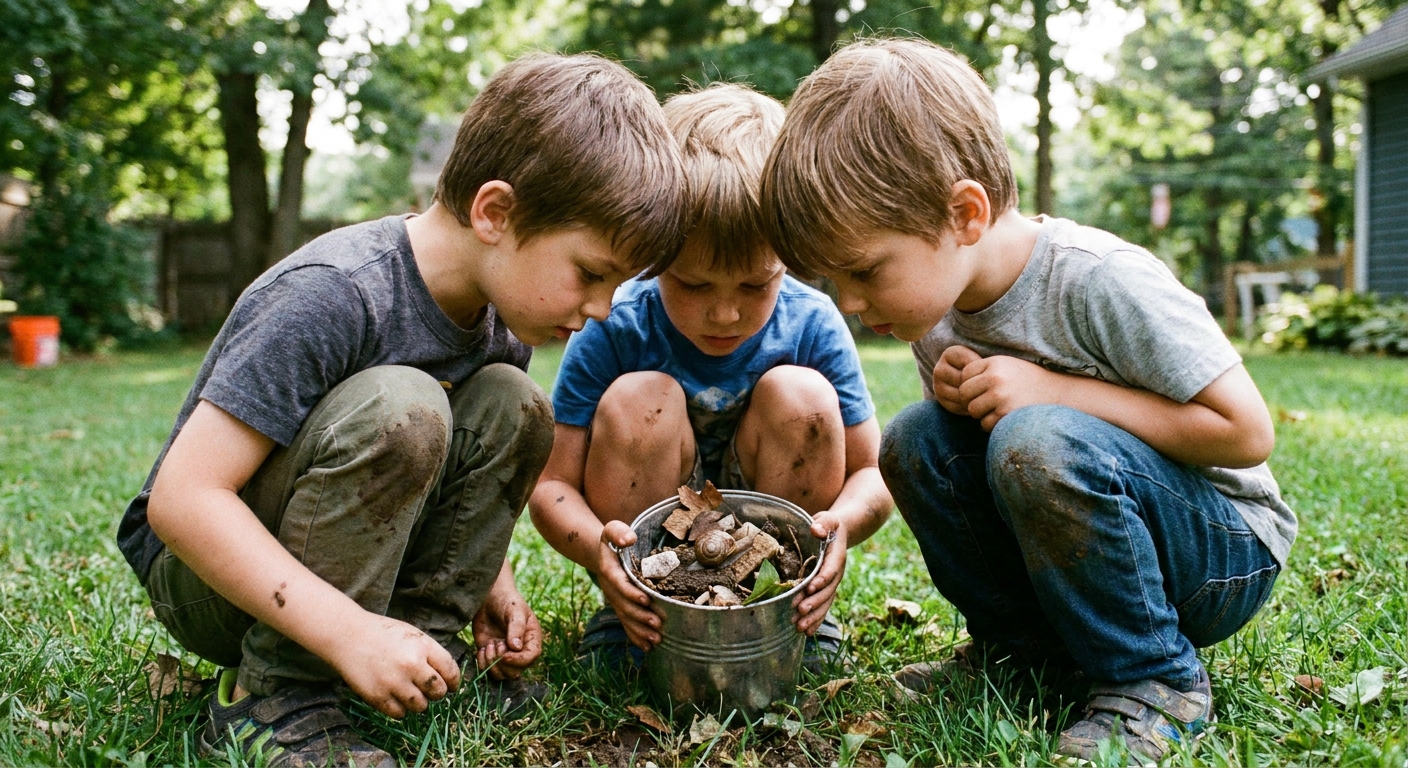

On the days when my kids are bouncing off the walls and I have exactly zero bandwidth for a “project,” I send everyone outside with one instruction: bring me something interesting. Leaves, sticks, rocks, pinecones, seed pods, feathers, acorns, bark. If it is already on the ground, it is fair game.
Nature crafts are my favorite kind of kids crafts because they start with movement, exploration, and fresh air. Then the supplies are mostly “self-contained” in a way that regular crafts are not, and clean-up can be as simple as a quick shake, a rinse, and putting everything back outside.
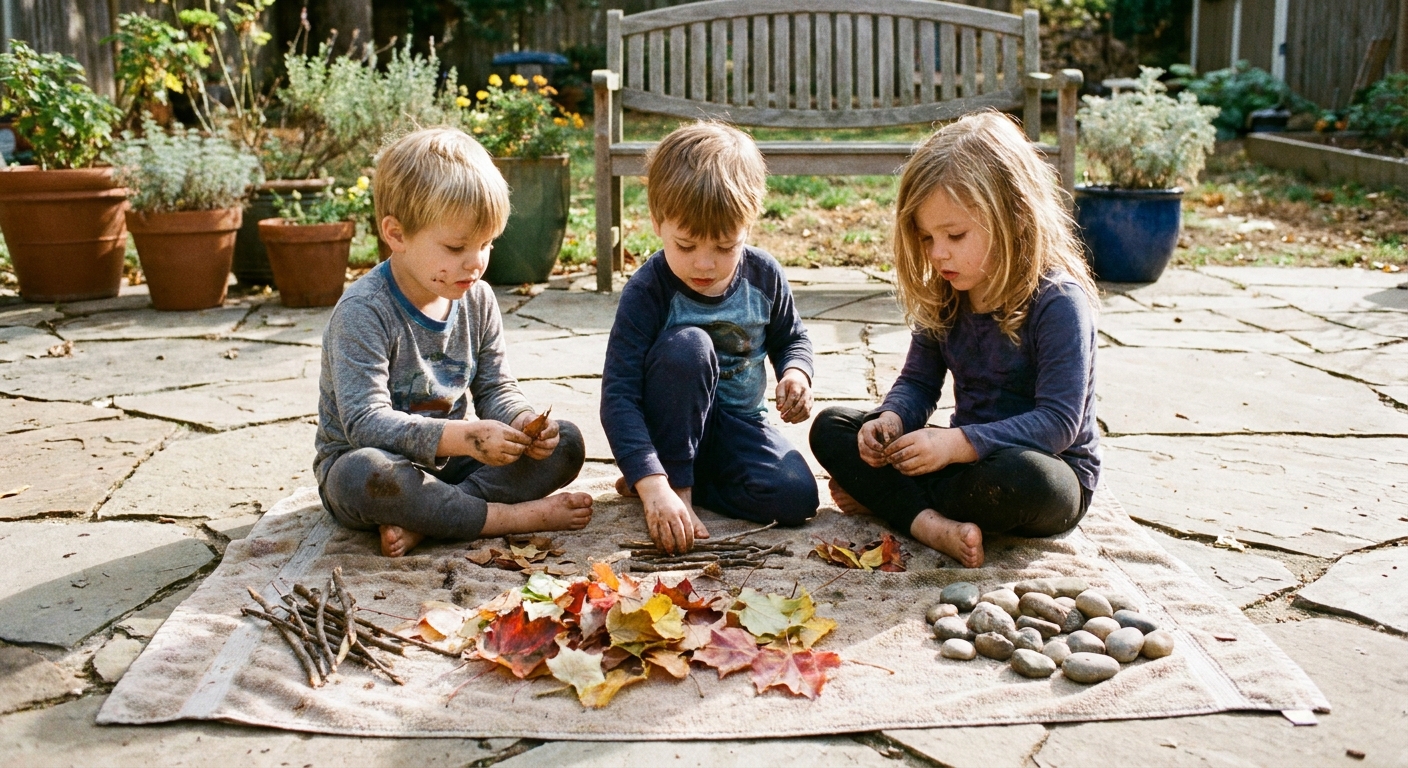
Quick backyard rules
- Collect only what is already on the ground. No pulling leaves off plants or peeling bark off trees.
- Skip anything sharp, moldy, or unknown. If you cannot identify it, do not craft with it.
- Watch out for irritants. Some “found” items can still bother skin, like spiky seed pods, sticky sap/resin, or fuzzy plants.
- Do a 60-second shake and rinse. Shake off dirt and bugs outside. Quick rinse in a colander if needed. Pat dry with an old towel.
- Contain the mess. Work on a tray, a baking sheet, or a towel you can pick up and dump back outside.
- Avoid treated scraps. If you find painted, stained, or pressure-treated wood, skip it. Splinters and chemicals are not a fun craft supply.
- Keep adhesives optional. Many of these can be made with just arranging and stacking. If you use glue, basic school glue or white craft glue is plenty.
If you are collecting somewhere other than your own yard, do a quick check for local rules. Some parks and nature preserves do not allow collecting, even if items are on the ground.
If you want more low-prep ideas like this, our Kids Crafts guide is where I keep all my “I can do this in real life” favorites.
1) Leaf rubbings
This is the fastest win in the world, especially when kids are tired but not ready to come inside yet.
What you need
- Flat leaves with strong veins
- Paper
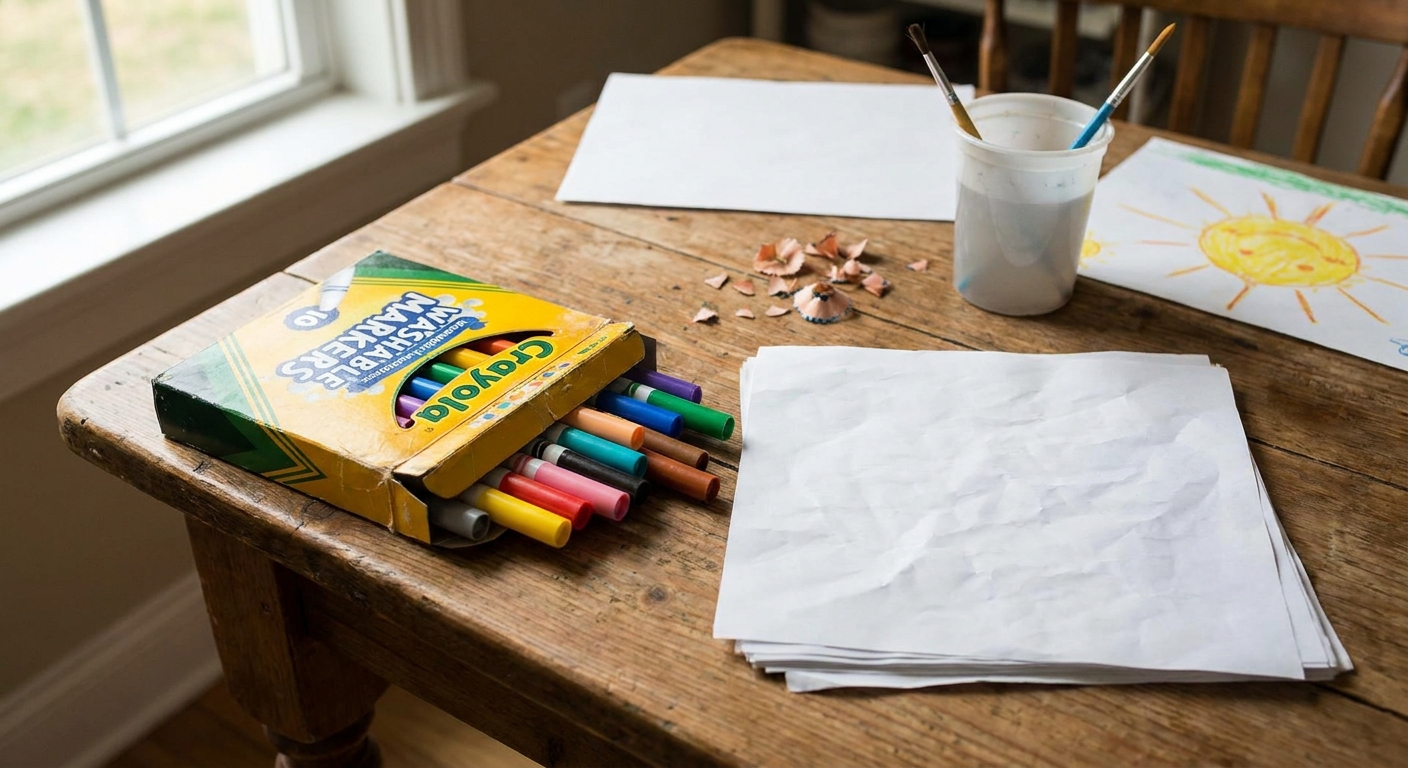
- Crayons with wrappers removed (or colored pencils)
How to do it
- Put a leaf vein-side up on the table.
- Lay paper on top and hold it steady.
- Rub with the side of a crayon until the leaf pattern shows.
- Layer multiple leaf shapes to make a “forest” picture.
Make it easier
- Tape the leaf down with a tiny loop of tape if it slides.
- Use thinner paper for stronger detail.
2) Stick stars
When kids want to build, sticks are basically free craft sticks.
What you need
- 5 to 10 straight-ish sticks
- String, yarn, or a few rubber bands
- Optional: glue
How to do it
- Make a triangle with three sticks.
- Add two more sticks across the triangle so they cross in the middle and create a star or “snowflake” look.
- Tie the intersections with short pieces of string, or wrap rubber bands around the joins.
- Add extra small sticks as “rays” wherever you want more points.
Display idea
Tie a longer string to one point and hang it on a porch hook for a simple nature mobile.
3) Rock animals
Paint is fun, but it is not always the vibe. This version uses what you already have: shape, stacking, and a little imagination.
What you need
- A mix of smooth rocks in different sizes
- Optional: glue, googly eyes, scrap paper, markers
How to do it
- Pick one large rock for the body and a smaller one for the head.
- Stack to make an animal shape (turtle, owl, snail, penguin).
- If you want it permanent, add a small dot of glue between rocks.
- Add paper ears, tails, or beaks if your kids are into details.
My mom tip
Take a quick photo of the animal before it gets bumped. Kids love “saving” their creations even if you do not keep every single rock sculpture.
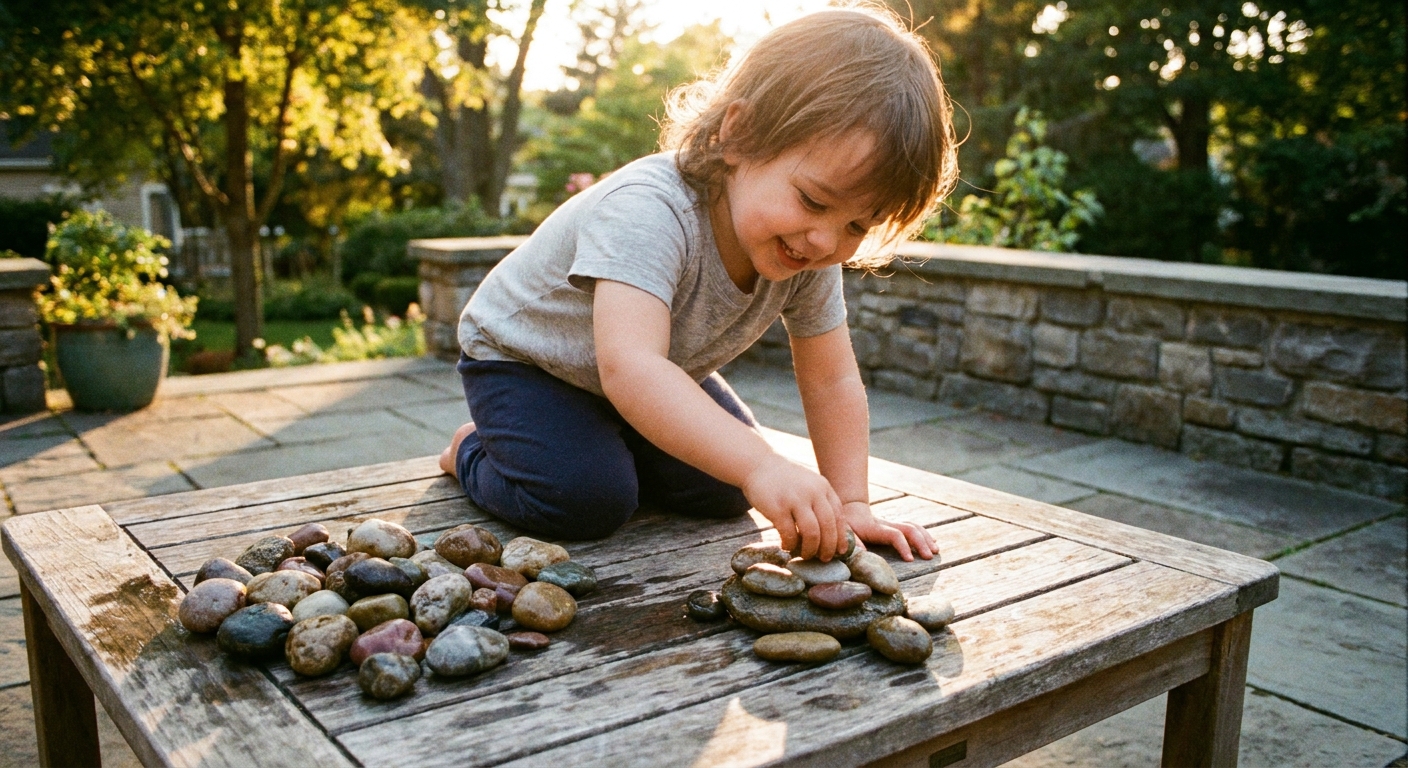
4) Leaf collage creatures
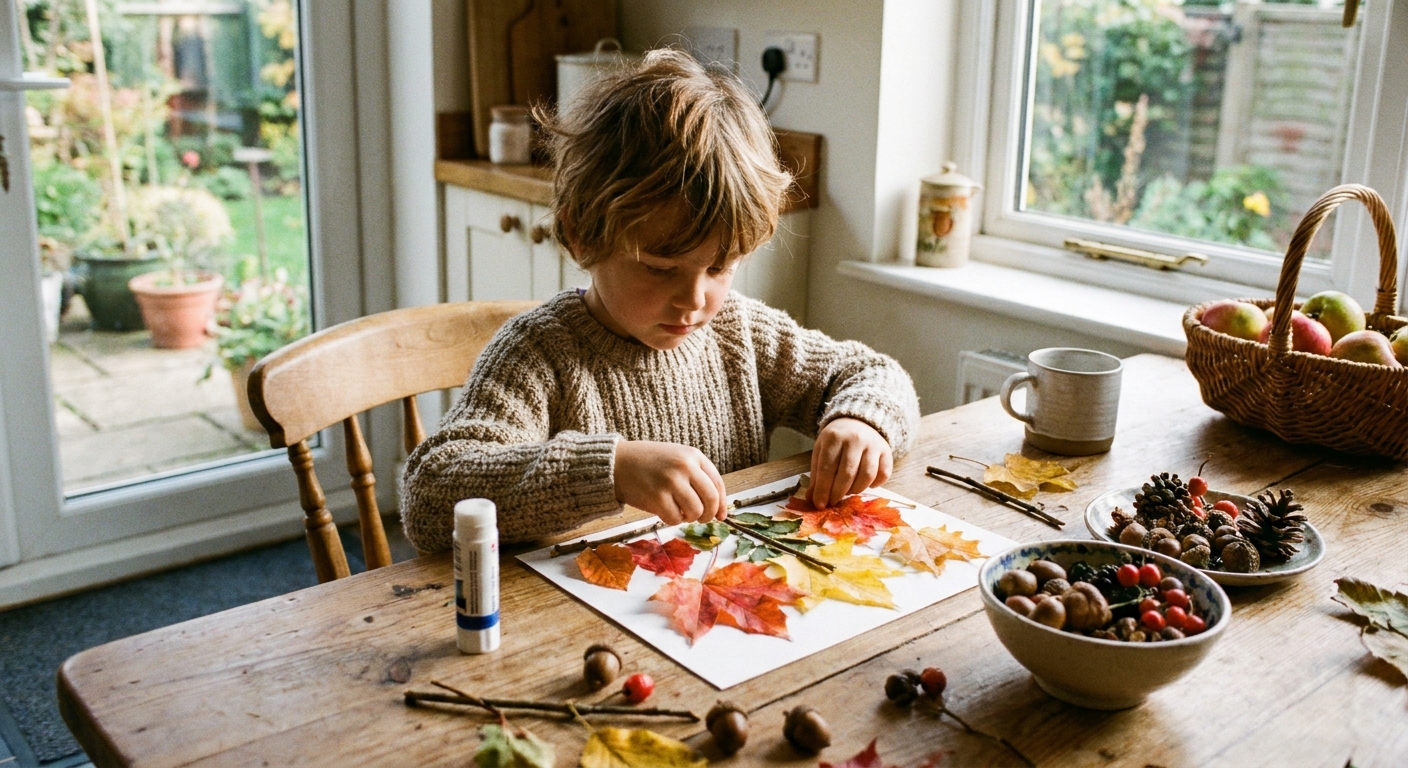
This one is perfect for kids who like to tell stories while they craft. You can end up with a whole cast of characters in 10 minutes.
What you need
- Leaves in different shapes
- Paper or cardboard (a cereal box cut open works)
- Glue
- Optional: markers
How to do it
- Sort leaves by shape: long, round, pointy, tiny.
- Pick a theme: bugs, fish, dinosaurs, “leaf monsters.”
- Glue leaves down as bodies, wings, fins, hair, tails.
- Add eyes and mouths with marker, or cut tiny paper circles.
Keep it zero-prep
If you do not want to bring out glue, do the “collage” on a tray as a temporary arrangement and snap a photo.
5) Nature mandalas
This is my go-to when everyone needs to reset. It is quietly engaging and surprisingly soothing for kids who are a little wound up.
What you need
- Leaves, rocks, petals, pinecones, acorns, seed pods
- A flat spot outside: patio, driveway, a stump, or a patch of bare dirt
How to do it
- Start with one “center” item, like a pinecone or a big leaf.
- Add items in a circle around it, repeating patterns as you go.
- Keep building outward in rings.
- When you are done, take a picture and let nature reclaim the pieces.
Family variation
Give each person one ring to design so everyone gets a turn being in charge.
6) Texture prints with dirt
If your kids love muddy play, this scratches the itch without turning into full body mud baths.
What you need
- Paper
- Tree bark or a textured piece of wood (already loose on the ground, if possible)
- Dry dirt or sand
- Optional: a little water, sponge, or paintbrush
How to do it
- Place bark under the paper.
- Use fine, dry soil for the clearest texture, and rub a small handful across the paper with your fingers or a sponge.
- For a darker print, lightly dampen the dirt first so it smears like natural paint.
- Repeat with different leaves and textures.
Clean-up shortcut
Do this outdoors and shake the paper off before bringing it in to dry.
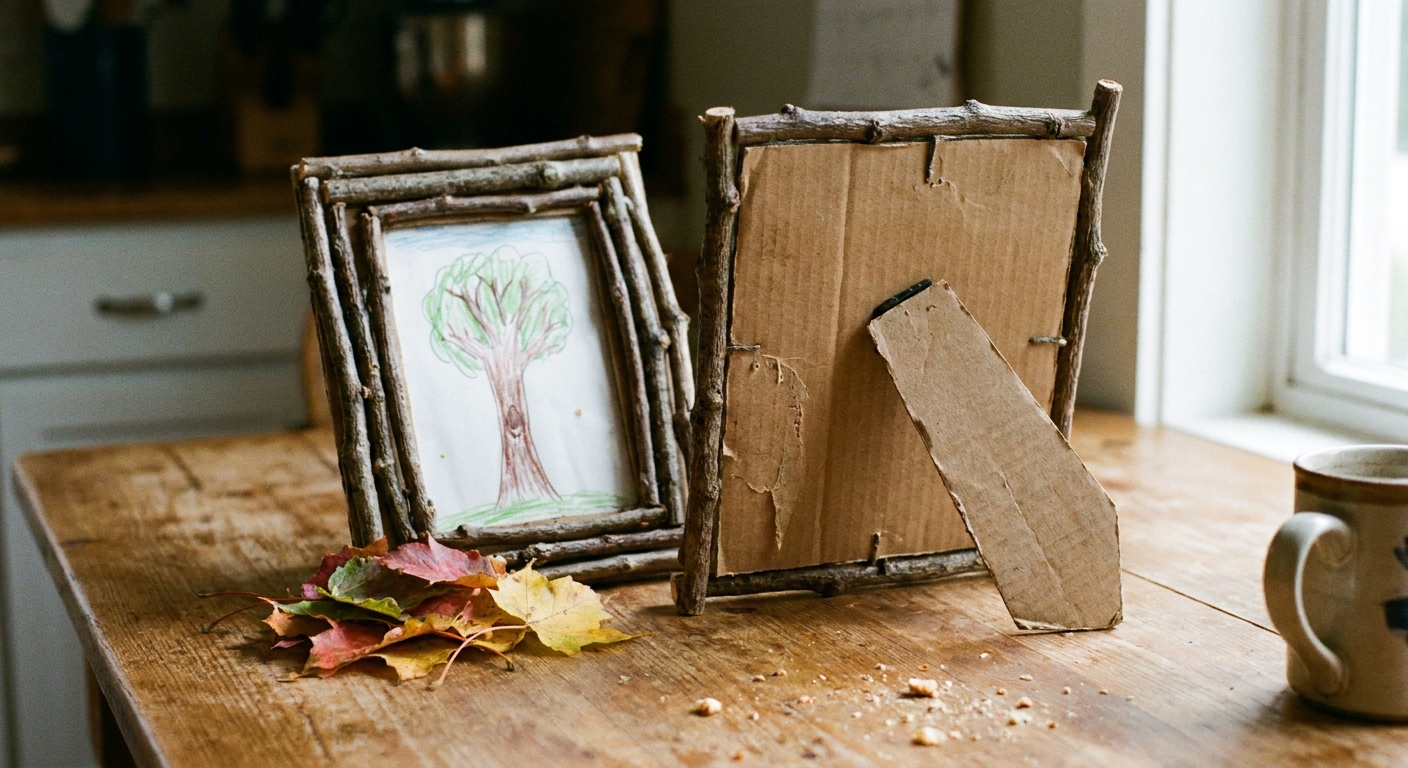
7) Stick picture frames
If your kids love gifting things to grandparents, neighbors, teachers, or basically any adult with two minutes to admire it, this one is sweet and simple.
What you need
- 8 to 12 straight sticks (similar length)
- Cardboard backing (a small rectangle)
- Glue
- Optional: twine, pressed leaves, small pebbles
How to do it
- Cut cardboard to the size you want the frame.
- Glue sticks around the edges like a border.
- Add a loop of twine on the back for hanging.
- Decorate the corners with tiny leaves or pebbles.
Photo option
Slide a drawing or a printed photo behind it once it dries. If you are keeping things simple, use a kid-made picture as the “photo.”
No-tool options
If you are trying to keep this truly low effort, here are the crafts above that work without glue, scissors, or anything fancy:
- Nature mandalas: Arrange and walk away.
- Rock animals: Stack and photograph.
- Leaf rubbings: Paper and crayons only.
- Leaf collage creatures: Do it as a temporary tray design and snap a photo.
- Stick stars: Rubber bands instead of tying knots.
Seasonal swaps
- Spring: Fallen petals, tiny blossoms, and soft green leaves (just skip anything that irritates skin).
- Summer: Smooth rocks, seed pods, grasses, and flower heads that have already dropped.
- Fall: Leaves, acorns, pinecones, and those perfect crunchy bits kids cannot stop collecting.
- Winter: Evergreen needles and cones, plus sticks for building and pattern-making.
Mixed ages
- Toddlers: Sorting and arranging is enough. Give them a muffin tin to sort rocks and leaves by size.
- Preschool and early elementary: Use simple themes (animal, rainbow-by-color, family of leaf people).
- Older kids: Add constraints that make it interesting: only five items, only circles, only one color family.
If your kids love building stories around what they make, pair crafts with a quick storytelling game at the table. My family’s favorite is The Add-a-Sentence Dinner Table Story.
Store and display
I am a sentimental mom, but I am also the person who has to clean the counters. Here is what actually works in our house:
- Photo archive: Take a picture of each finished piece and save it in a “Kids Creations” album.
- One-week gallery: Tape leaf rubbings and collages to a wall for a week, then rotate out.
- Nature shelf: Keep one small basket for “favorite finds” and swap items weekly. If it does not fit, something has to go back outside.
Quick safety reminders
- Wash hands after collecting, especially before snacks.
- Avoid poison ivy, poison oak, and unknown berries or mushrooms.
- Skip very small rocks with kids who still mouth objects.
- If you use glue, supervise younger kids and keep it away from eyes and mouths.
Most of all, keep the goal tiny: 10 minutes outside, a small creation, and a calmer house when everyone comes back in. That counts as a win.