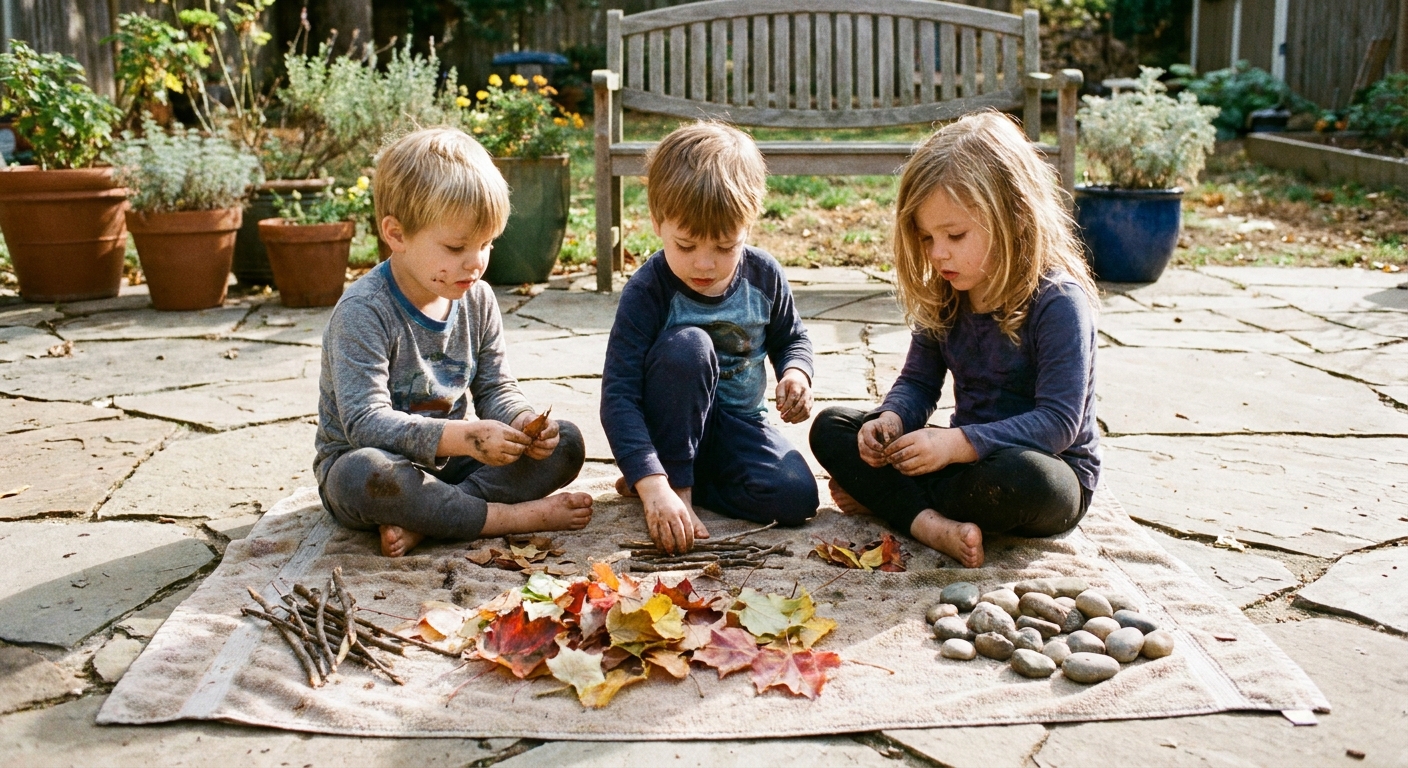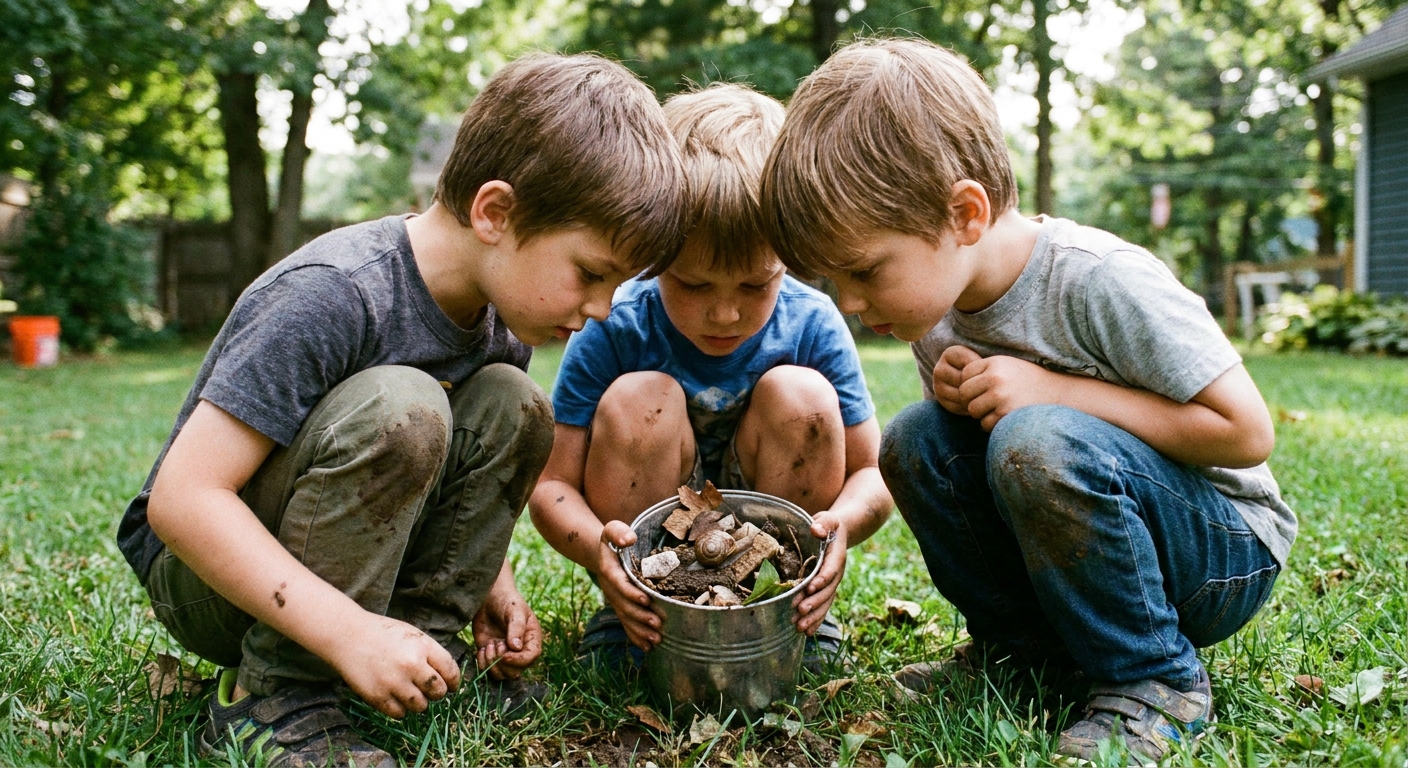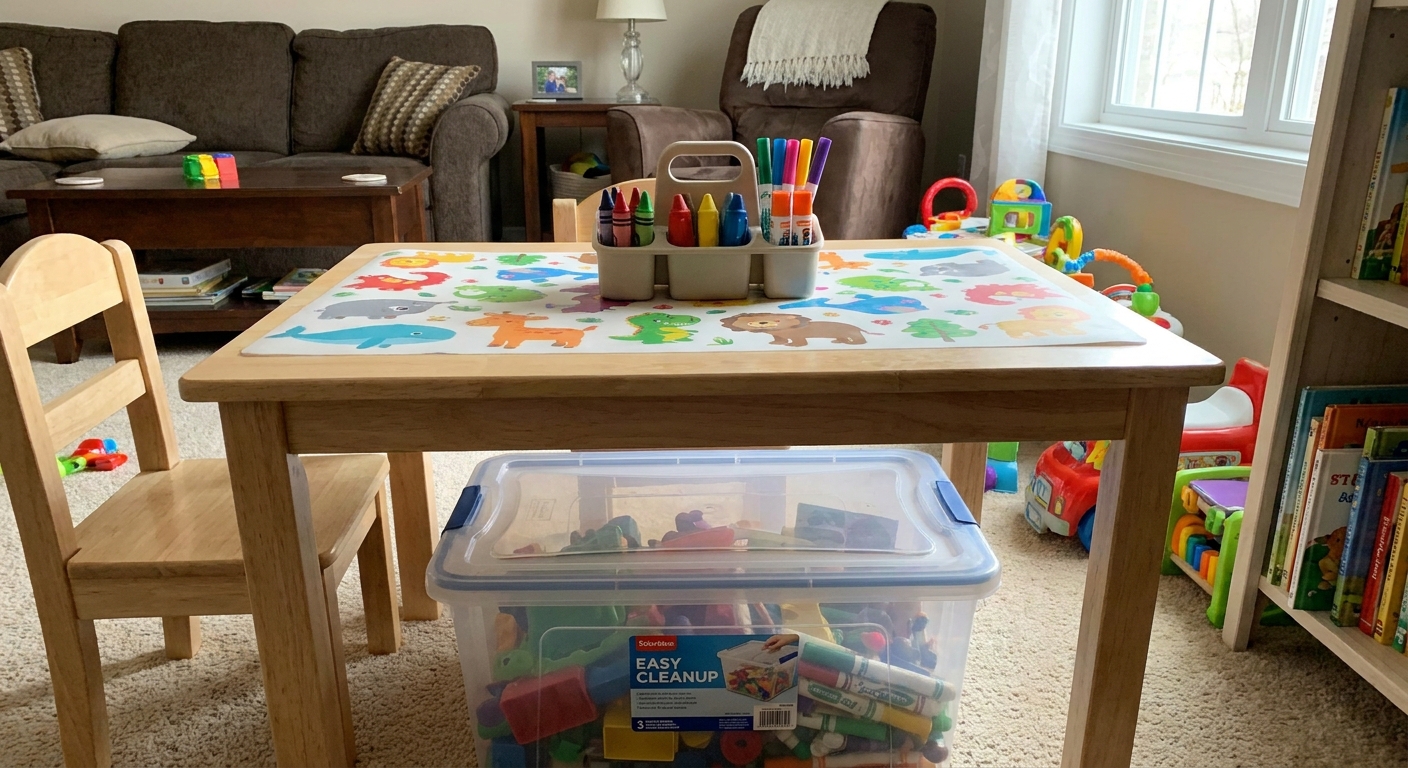

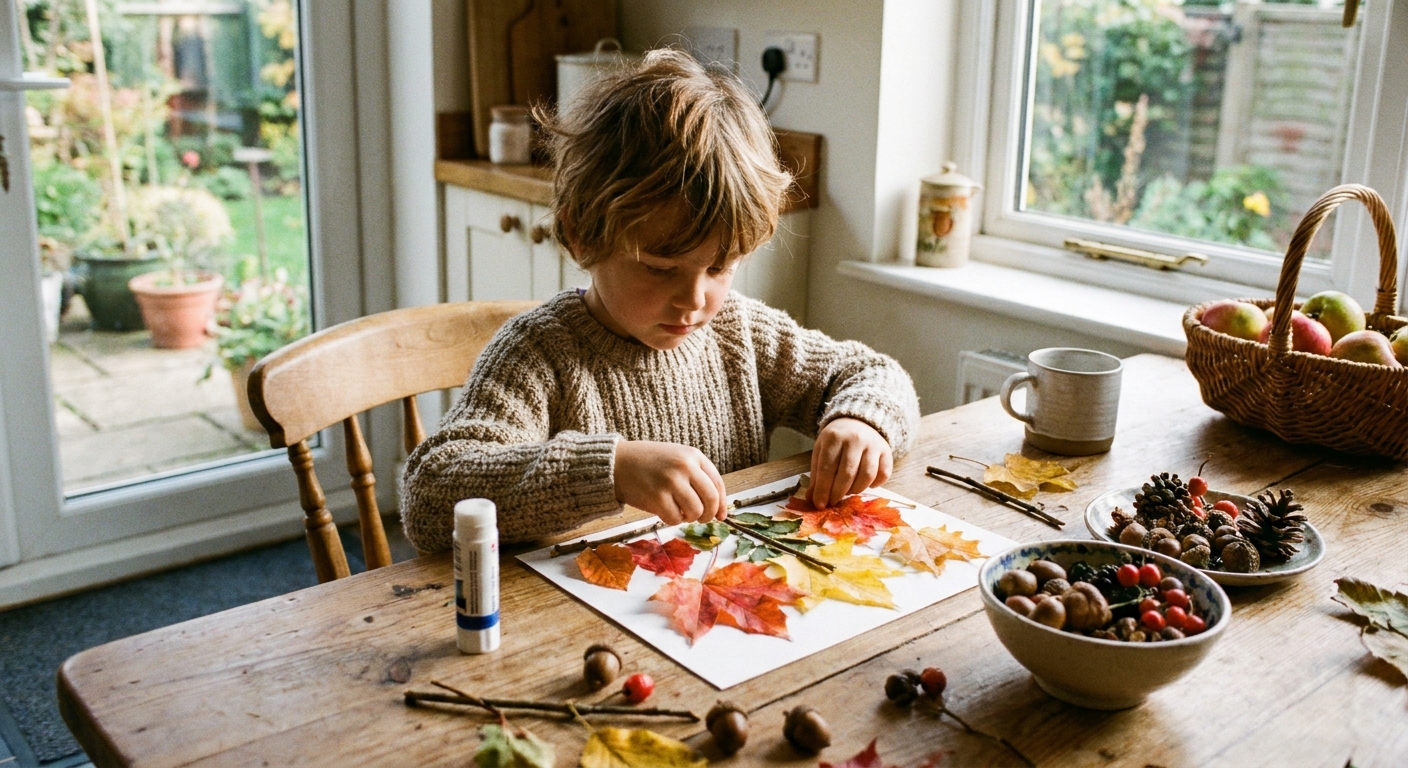
When my kids are bouncing off the walls and I do not have the energy for a big craft setup, a nature collage is my favorite reset. We head outside for 10 minutes, gather a small “treasure pile” of leaves and twigs, then come back in and make something genuinely pretty with very little mess. The best part is that the supply list is basically your backyard.
Good for most ages
This one is easiest for preschool and up, but you can absolutely adapt it.
- Toddlers: great for collecting and placing bigger leaves (skip tiny pieces and do close supervision since small items can be a choking hazard).
- Preschoolers: can do the full collage with help squeezing glue.
- Big kids: can make scenes, patterns, and themed designs.
What you need (keep it simple)
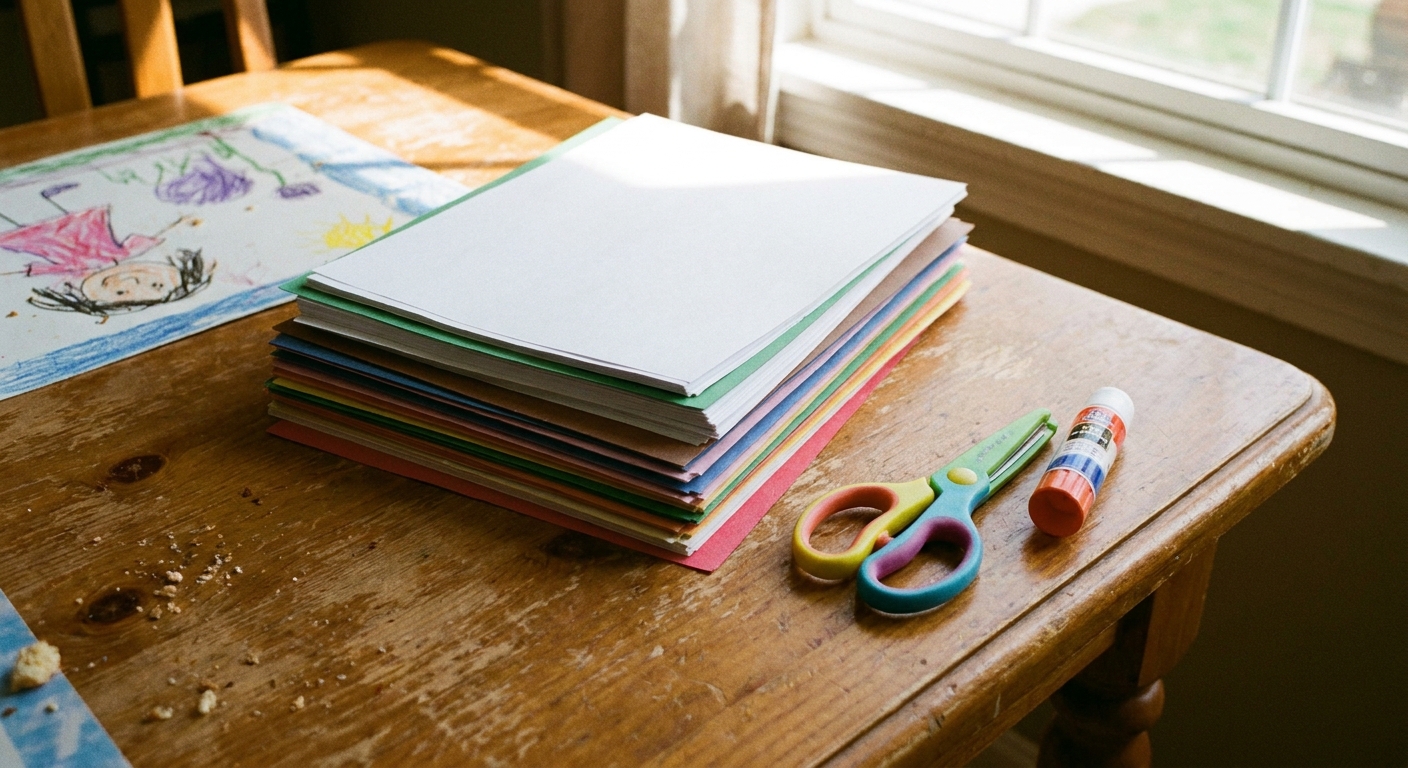
- Background: cardstock, construction paper, or a paper plate
- Nature items: fallen leaves, small twigs, flower petals, pine needles, grass, seed pods
- Adhesive: a glue stick usually works best for flatter leaves, and white school glue usually holds better for twigs and thicker bits
- Optional: child-safe scissors, washable markers, tape (for quick “frames”)
- Helpful: a tray or baking sheet to contain pieces while kids work
If you are out of sturdy paper, I keep a quick cheat sheet for picking the right kind in Best Paper for Printable Kids Crafts. The same paper tips apply here, especially if you want to hang the finished collage without curling.
Collecting supplies: a 10-minute backyard art walk
My three rules for gathering
- Pick fallen items only. We do not pluck living leaves or flowers unless it is your own garden and you are okay with it.
- Go small. Tiny twigs and small leaves glue down more easily and break less.
- One container per kid. A small bowl, paper bag, or recycled takeout container keeps the “mine” arguments to a minimum.
What to look for
- Leaves in different sizes and colors (green, yellow, brown, red)
- Twigs with interesting shapes (Y-shaped pieces are collage gold)
- Petals that already fell (great for bright color)
- Pine needles or ornamental grass for texture
- Seed pods, acorn caps, tiny pinecones (use sparingly, they add weight)
Want to turn the collecting part into the activity itself? Pair this with The 15-Minute Backyard Scavenger Hunt and have kids hunt for “something soft,” “something spiky,” and “three different leaf shapes.”
Step-by-step: classic nature collage
1) Prep the workspace in 2 minutes
- Lay down a tray, old placemat, or a piece of cardboard.
- Pour each child’s nature items into a shallow pile so they can see choices.
- Put out a glue stick and a small puddle of school glue (or a glue bottle).
2) Do a dry layout first
This is the secret to fewer tears. Have kids place leaves and twigs on the paper without glue until they like the design. I tell mine, “We are auditioning the leaves.”
3) Glue the flat items
- Start with big leaves as the base.
- Use a glue stick for thin leaves and petals. Rub glue on the paper where the leaf will go, then press.
- Press each leaf for about 5 to 10 seconds with a flat hand, especially around the edges.
4) Add texture with twigs and thicker pieces
- Use small dots or thin lines of school glue.
- Place twigs last so they sit “on top” like outlines or branches.
- If pieces pop up, add a second dot of glue and hold for a slow count of 10 (or a little longer if your twig is stubborn).
5) Let it dry flat
Most collages feel dry to the touch in about 30 to 60 minutes, but thicker pieces often do better with a longer dry time or overnight. Set collages on a counter or table where they can dry undisturbed. If you need to move them, slide each one onto a piece of cardboard first so nothing shifts.
3 easy themes kids can finish
Leaf animal faces
- Use one large leaf as the face.
- Petals become ears, tiny leaves become cheeks, pine needles become whiskers.
- Draw eyes and a nose with marker after the glue dries.
Tree silhouette collage
- Glue one thicker twig as the trunk.
- Add smaller twig “branches.”
- Fill in the canopy with small leaves and petals.
Nature stained glass plate
- Use a paper plate as your base.
- Arrange leaves and petals in sections like a simple pattern.
- Outline sections with thin twigs or marker lines.
If your kids love working with outdoor bits and pieces, you will also like 7 Easy Nature Crafts for Kids Using Leaves, Sticks, and Rocks.
How to keep it low-mess (my sanity checklist)
- Contain the materials: tray or baking sheet under each collage
- Use “tiny glue” language: dots and lines, not puddles
- Set a piece limit: “Choose 12 items” prevents an inch-thick masterpiece that never dries
- Do a quick reset routine: kids return unused nature pieces outside, then wipe hands
For a fast craft setup you can reuse again and again, I walk through my real-life system in Five-Minute Mess-Free Craft Station for Toddlers. It works for preschoolers too, honestly.
Kid-safe nature crafting tips
- Skip anything prickly or irritating: thorny stems, spiky burrs, fuzzy “mystery” plants.
- Avoid very small items with young kids: small seed pods, tiny berries, and mini pinecones are easy to mouth. Supervise closely.
- Wash hands after collecting: especially if you have poison ivy in your region.
- Avoid unknown berries and mushrooms: pretty does not mean safe, and kids touch their faces constantly.
- Check for bugs: a quick shake of leaves and twigs outside helps.
How to display it
Quick display options
- Fridge gallery: once fully dry, use a magnet at the top and bottom to prevent curling
- DIY frame: make a paper “frame” by taping a rectangle border on top
- Wall hanging: tape to the wall with painter’s tape (gentler than most tapes)
If you want it to last longer
Nature items get brittle. If you want a keepsake, choose flatter pieces and keep the collage somewhere dry, out of direct sunlight. You can also place it in a simple picture frame once everything is completely dry.
Troubleshooting
“My leaves are curling up.”
That is normal as they dry. Use smaller leaves, press them longer when gluing, and add glue to the edges, not just the middle.
“The twigs keep popping off.”
School glue usually grips better than a glue stick for twigs. Add a dot on both ends of the twig and one in the middle. Hold it down for a slow count of 10, and a bit longer if needed.
“Everything is sliding around.”
Too much glue can get slippery. Switch to dots and lines. Also, glue the big base leaves first and let them set for a minute before adding the smaller pieces.
A gentle way to wrap it up
When we do nature collages, I try to end with a quick “art show.” Each kid holds theirs up and tells me one thing they chose on purpose, like “I used the tiny red leaf as a heart” or “this twig is the dragon tail.” It takes two minutes and somehow makes the whole afternoon feel calmer.