

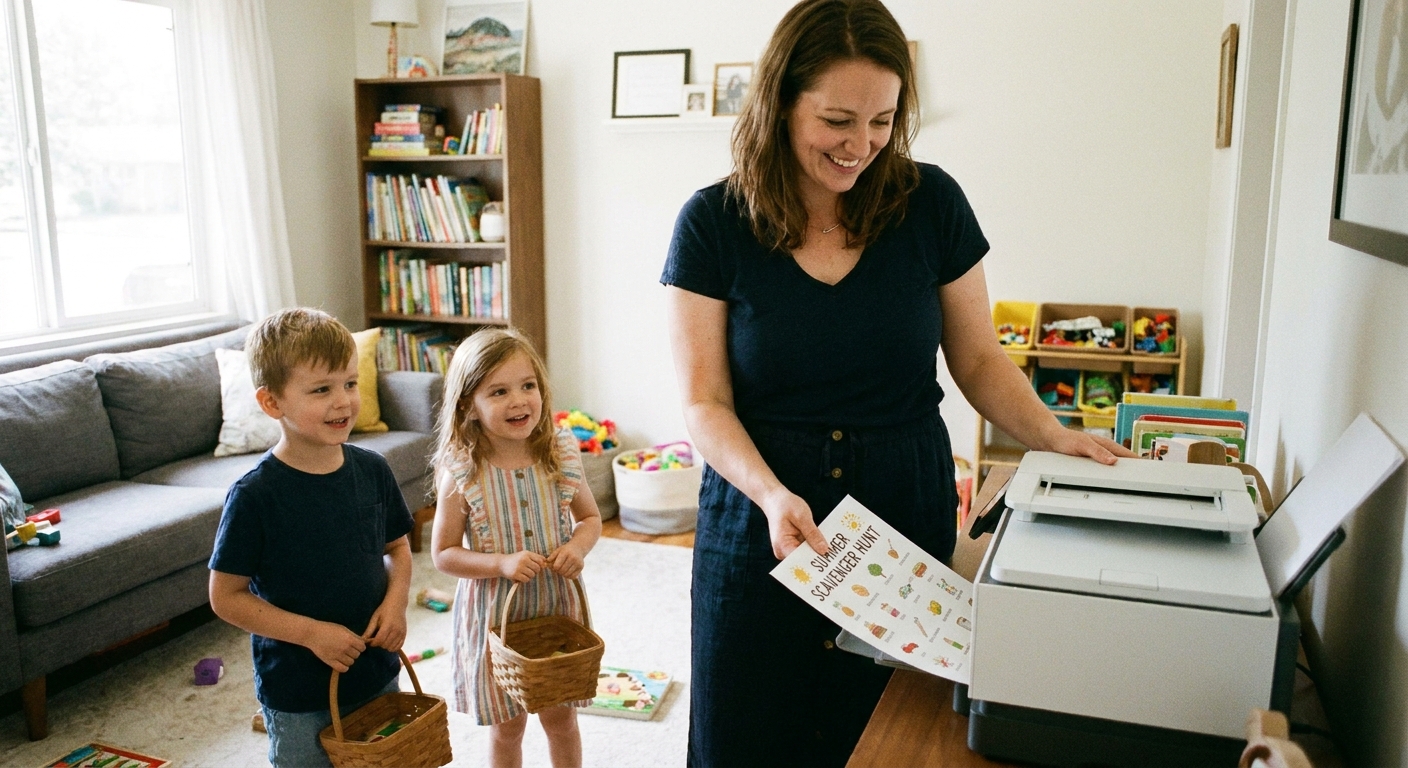
When my kids hit that restless mid-afternoon energy spike, I do not want a “big project.” I want something I can set up in five minutes, print (or pull up on my phone), and let them run with. A scavenger hunt list checks every box, especially when you can whip one up using tools you already have: a basic word processor, simple tables, and built-in icons or clip art.
This is my busy-parent method for making DIY, custom scavenger hunt lists that look fun and polished without turning into a design project.
What you need
- Any word processor you already use (Google Docs, Microsoft Word, Apple Pages, LibreOffice Writer)
- Printer (optional), or a device your child can carry around
- Paper and a clipboard (optional but helpful for outdoor hunts)
- A pen, crayon, or marker for checking off finds
That is it. No special scavenger hunt apps required.
The fastest format: use a table
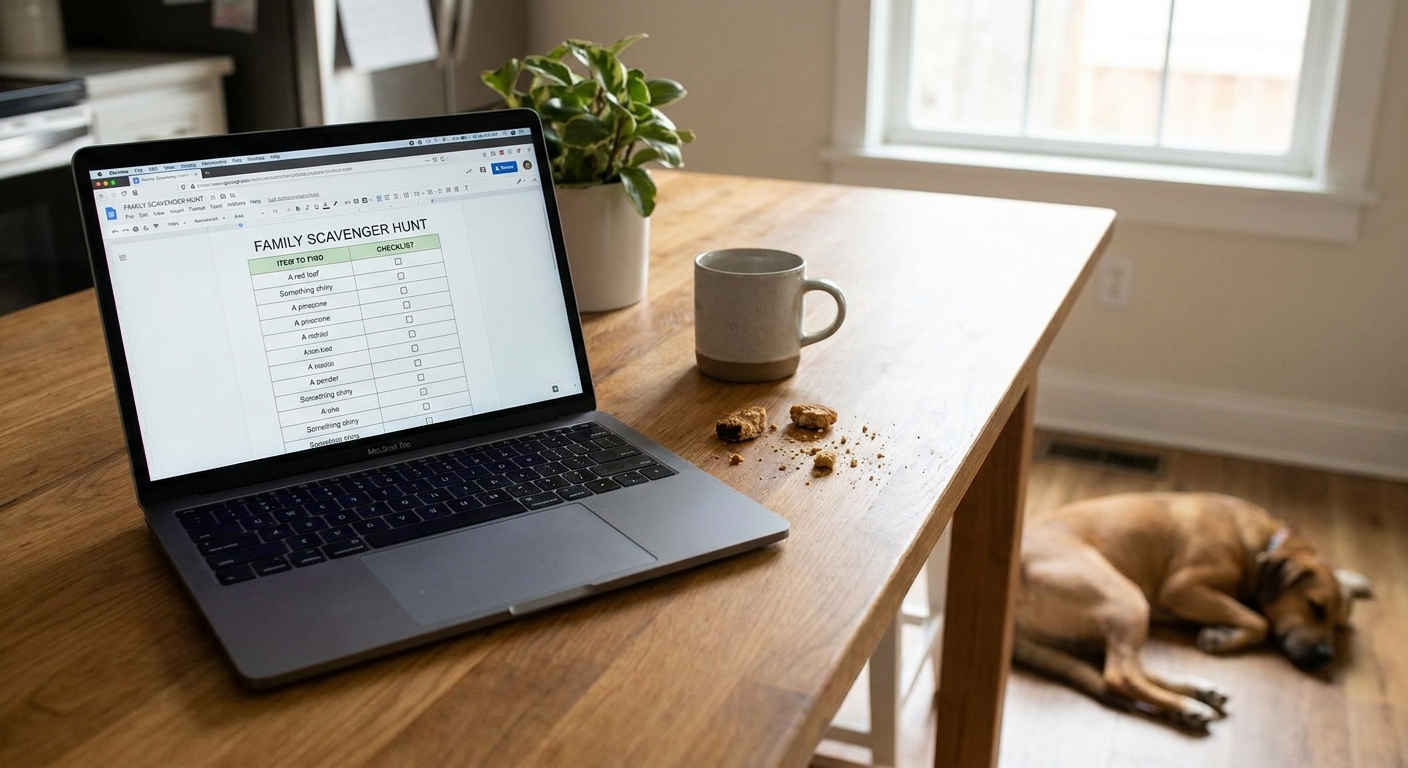
If you take one thing from this article, let it be this: use a table. Tables keep everything aligned, readable, and easy to adjust when you are making “one more version” for a different kid.
Step 1: Insert a 2-column table
Start with 2 columns and as many rows as items you want (10 to 20 is the sweet spot for most ages).
- Left column: a checkbox space
- Right column: the prompt (what they need to find)
Step 2: Make the checkbox column skinny
Drag the left column narrow so the list looks tidy. You are aiming for a small square space that fits a check mark, sticker, or little icon.
Step 3: Turn off table borders (optional)
If you want the “printable” look, hide borders.
- Google Docs: Table properties, set border width to 0 pt (or set the border color to transparent if 0 pt acts fussy).
- Microsoft Word: Table Design, Borders, select No Border.
- Pages: Format panel, Table tab, turn off cell borders.
Step 4: Add a simple header
Keep it short and kid-friendly, like “Backyard Hunt” or “Rainy Day Hunt.” Under that, add one line of instructions: “Find each item and check the box.”
My timing tip
I set a timer for 7 minutes. If I am still fussing with formatting at 7 minutes, I stop and print anyway. Kids do not need perfection. They need a mission.
Checkboxes and icons (without the mess)
You have three good options here. Choose one based on your kid’s age and your patience level that day.
Option A: Type a checkbox character
Copy and paste one of these into the left column and repeat down the table:
- ☐ empty box
- ☑ checked box (for answer keys, or if you want to pre-check “free space”)
On most systems you can also insert symbols via the Insert menu, but copying and pasting is usually faster.
Option B: Use built-in checkboxes
Some word processors support interactive checkboxes or checklist items. These are great if your child will use a tablet or laptop.
- Google Docs: try Insert > Checkbox (or Checklist, depending on your version).
- Microsoft Word: on desktop Word (Windows or Mac), the Developer tab can add checkboxes. Word for the web and mobile apps can look different.
Option C: Add small icons or clip art
If your processor has built-in icons, use them as tiny “category clues” rather than decorating every line.
- Add a leaf icon next to “something green”
- Add a star icon next to “something shiny”
- Add a paw icon next to “something soft”
Keep icons consistent in size so your list does not jump around. One quick trick is to insert the icon once, resize it, then copy and paste that same one.
Prompts that work indoors and outdoors
The most successful scavenger hunts mix concrete items (easy wins) with descriptive items (little challenge). I usually aim for:
- 50% obvious (sock, spoon, pinecone)
- 30% descriptive (something rough, something that smells good)
- 20% silly or creative (something that makes a funny sound, something that looks like a face)
Indoor prompt ideas
- Something soft
- A spoon
- Find something from the kitchen
- Spot something that starts with the letter B
- A book with an animal on it
- Something you can stack
- Find something red
- Something that smells nice
- Something that makes noise
- A sock (bonus if it matches)
- One thing you are thankful for
Outdoor prompt ideas
- Something green
- Something that fell from a tree
- A rock with an interesting shape
- Find something taller than your hand
- Something tiny (smaller than a fingernail)
- Something that feels rough
- A feather (look, do not take if it is unsafe or dirty)
- Something that smells like nature
- Something that makes a shadow
- Something that can roll
If you want a ready-to-go activity to pair with your new list, I also love our 15-minute backyard scavenger hunt for those “we need to get outside now” afternoons.
Three quick layouts
1) Simple checklist
Best for: toddlers through elementary when you want minimal setup.
- Header at top
- 2-column table: checkbox + prompt
- 10 to 20 items
2) Picture-friendly hunt
Best for: toddlers and preschoolers.
- Make a 3-column table
- Column 1: checkbox
- Column 2: small icon or clip art
- Column 3: one or two words (example: “spoon,” “leaf,” “shoe”)
Even if the icons are not perfect matches, the visual cue helps pre-readers feel successful.
3) Photo hunt
Best for: kids with a phone or tablet during a walk, party, or family outing.
- Replace “check the box” with “take a photo”
- Add prompts like “something that shows a pattern” or “something that looks like a letter”
- Keep it to 8 to 12 items so it does not turn into a 45-minute photo shoot
Formatting shortcuts
Use one font, two sizes
- Title: 18 to 24 pt
- List text: 12 to 14 pt
Use cell padding (or cell margins)
Instead of adding blank lines, increase table cell padding (sometimes called cell margins) or line spacing. It prints cleaner and is easier to edit later.
Add a free space
One row in the middle can say “Free space” or “High five a grown-up.” Kids love checking something off right away.
Save a master file
Name it something boring like “Scavenger Hunt Master” and duplicate it each time. Future-you will be so grateful.
Keep it fair (and calmer)
Decide upfront: together or solo?
- Together hunt: one list, teamwork, less drama
- Solo hunt: each kid gets their own list, best when ages are far apart
Make two difficulty levels with one edit
Duplicate the page. On the easier version, swap in more concrete items. On the harder version, use more descriptive prompts and add a few bonus challenges.
Set boundaries for where they can look
My house rule: no digging through drawers unless the list specifically says “drawer item.” Otherwise, the scavenger hunt becomes a tornado.
- Pick the allowed rooms (example: living room + kitchen only)
- No bedrooms or bathrooms unless you truly mean it
- No moving furniture
If you want another low-prep activity that channels that same “mission energy,” pair your scavenger hunt with an indoor obstacle course and let them rotate between the two.
Outdoor safety (quick rules)
I keep this part short, clear, and repeated like a broken record:
- Stay where a grown-up can see you.
- Do not touch unknown plants, mushrooms, or berries.
- Do not approach unfamiliar animals, even if they look friendly.
- Only pick up “nature items” if you have permission and it is safe.
- Wash hands when you come inside.
Accessibility and sensory tips
- Make it easier to scan: use bigger font, fewer items, and more spacing.
- Use visuals: icons or simple pictures can help kids who are pre-readers, anxious, or just overwhelmed by text.
- Be flexible with sensory prompts: if smells or textures are a no-go that day, swap in a sight-based clue like “something with dots” or “something that matches a color.”
Printing tips
- Choose grayscale unless color is part of the game. It saves ink and you avoid the “my printer is out of cyan” surprise.
- Print two per page (often called “2 pages per sheet”) for parties or classrooms if your printer settings allow it.
- Slip it into a page protector and use a dry-erase marker if you want to reuse the same hunt again and again.
- Outdoor durability: clip it to a clipboard or place it on a piece of cardboard. Wind is undefeated.
Two lists you can paste
Here are two ready-to-type lists. Copy and paste into your table prompts column, then tweak to match your space.
Rainy day indoor hunt (15 items)
- Something soft
- A spoon
- A book with a person on the cover
- Something that opens and closes
- Something striped
- Something that smells good
- Something you can build with
- A sock
- Something smaller than your thumb
- Something that makes a loud noise
- Something that belongs to a grown-up
- Something shiny
- Find something blue
- Something round
- Something that makes you laugh
Backyard or park hunt (15 items)
- A leaf
- Find something green
- Something that feels rough
- A rock you can hold in one hand
- Something that makes a shadow
- Something that moved in the wind
- A stick longer than your hand
- Something tiny
- Something with a pattern
- Something that smells like nature
- Something that looks like a letter
- Find a straight line
- Find a curve
- Something that can roll
- Something beautiful
FAQ
How many items should a scavenger hunt list have?
For toddlers and preschoolers, 8 to 12 items is plenty. For elementary kids, 12 to 20 works well. For older kids doing a photo hunt, I keep it at 8 to 12 so it stays fun and does not drag.
How do I make it work for non-readers?
Use a 3-column table and add small icons in the middle column. Keep the text to one or two words per line. You can also read the list out loud once, then let them “match” by memory.
What is the easiest way to reuse the same hunt?
Save your master file, print it once, and slip it into a page protector. Then your kids can check items off with a dry-erase marker and you can wipe it clean.
What if I do not have a printer?
No problem. Put the list in a note on your phone or tablet. Kids can point as they find items, or you can do a photo scavenger hunt where each prompt gets a picture.
More low-prep ideas
If your household runs on quick wins (mine does), you will find more ideas in our Printables guide. And for weekend energy that needs a direction, I love starting with one-hour micro-adventures and slipping a scavenger hunt list into the plan.